
SCCM Import
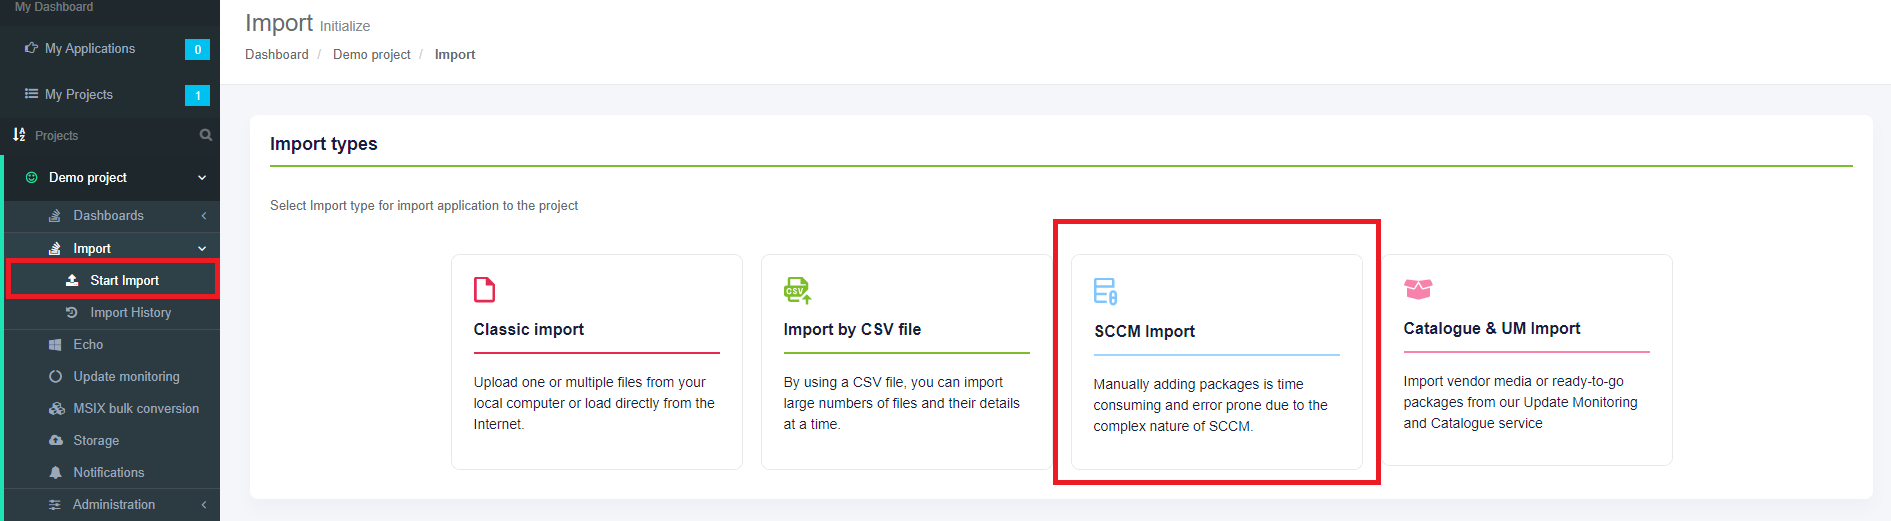
The option to start the import is called “SCCM Import”. It is available under Import in project menu > Start Import section > SCCM import option.
The initial preparation may take a few moments.
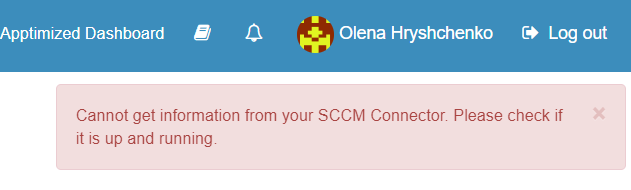
In case of a connection failure, Apptimized shows the following message:
Single import session imports a single folder. For example, one of the following folders import in the scope of import session: root folder Application or folder Test 1 or folder bis_628.
Note. The checkbox All applications always relates to the current folder. The screen below shows the content import in the root Applications folder.
Applications can be excluded from import by unticking checkboxes in front of their names.
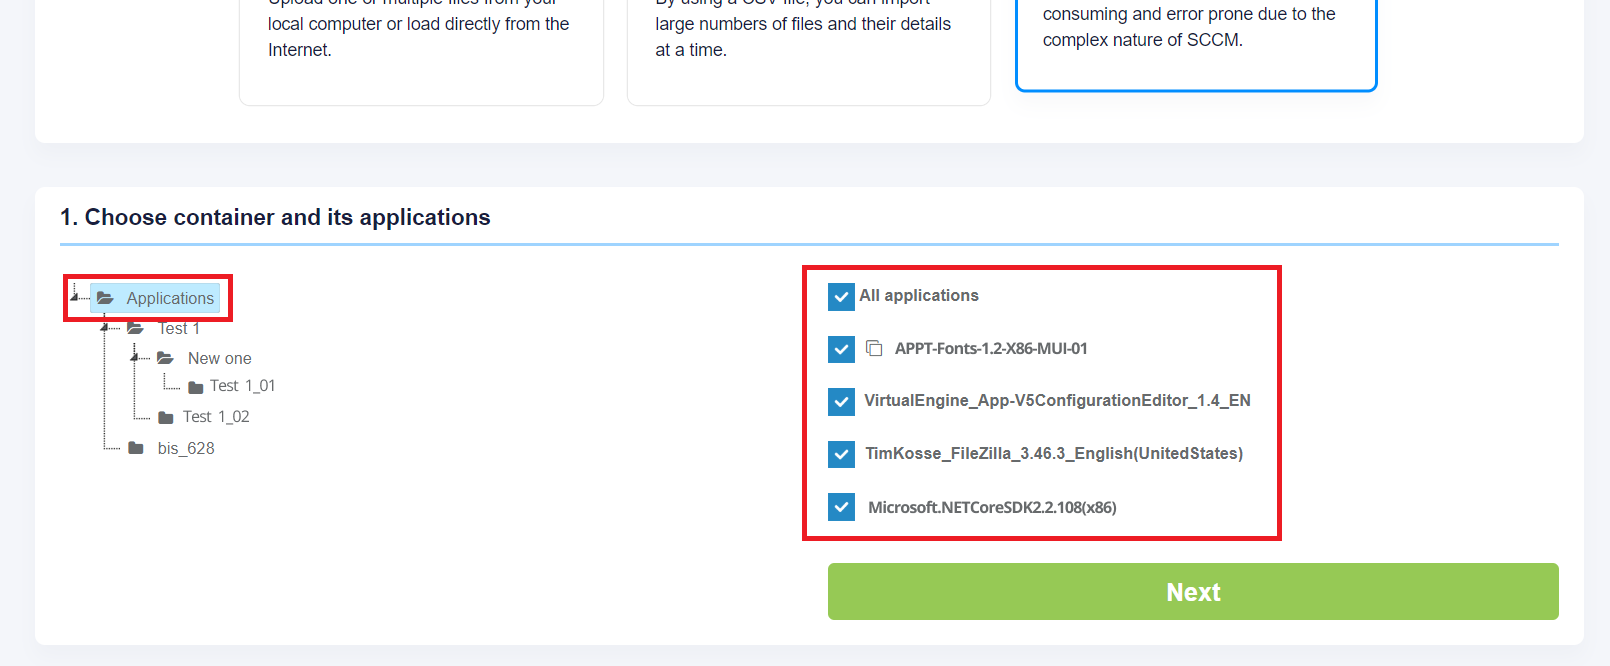
Note. The icon below means that this application already exists in the project portfolio but can be imported for a second time. As a result, duplicates are created in the project portfolio.

The import process starts by clicking on the Next button. It can take up to 30 minutes and is dependent on the number of applications and their size.
“Set metadata” shows import candidates' meta information and provides the ability to update it to desired values. All required fields are marked with an asterisk *.
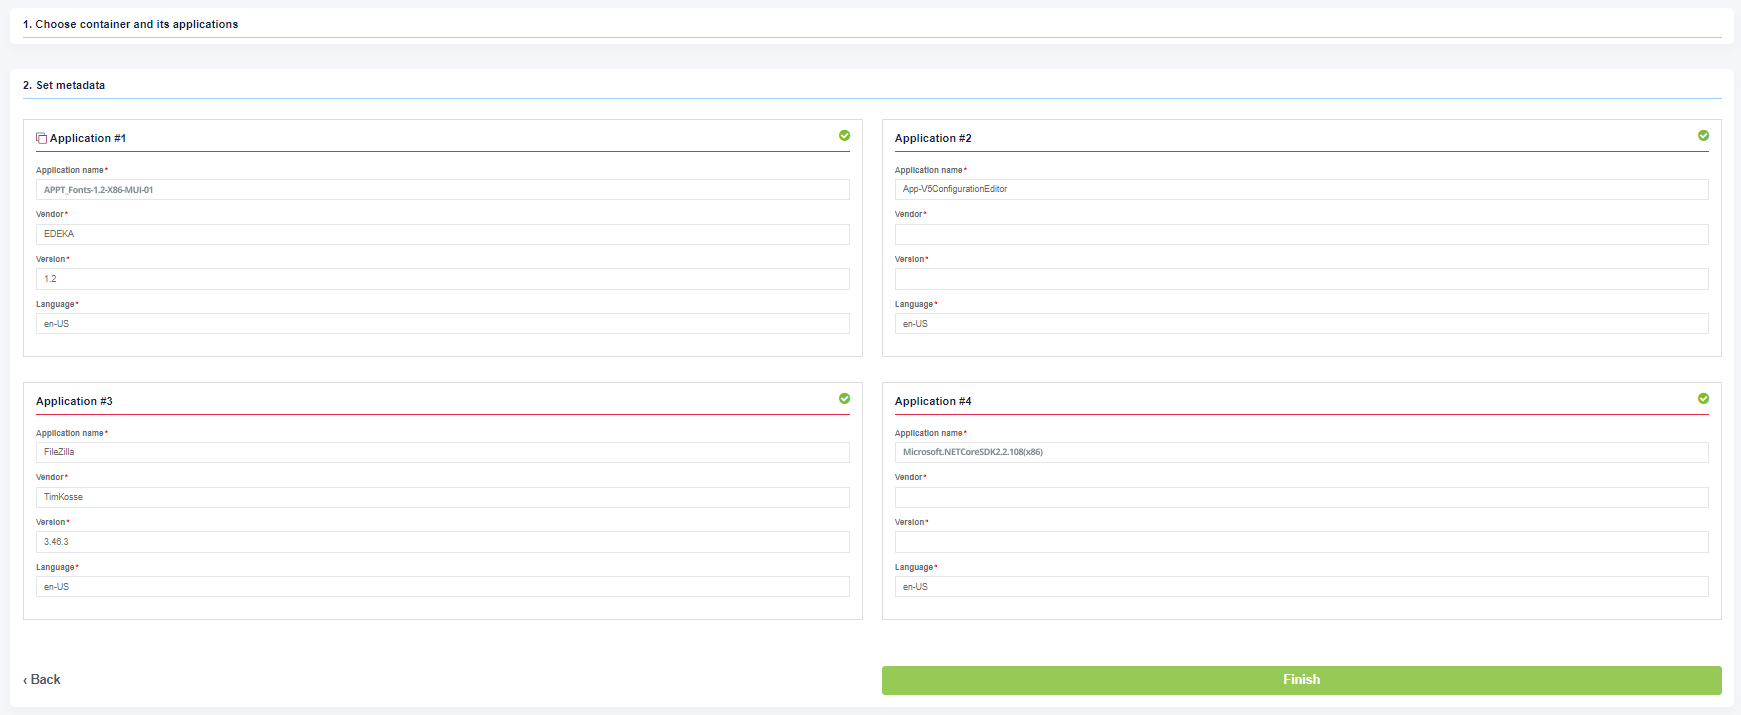
Exclude applications from the import by unticking the checkbox.
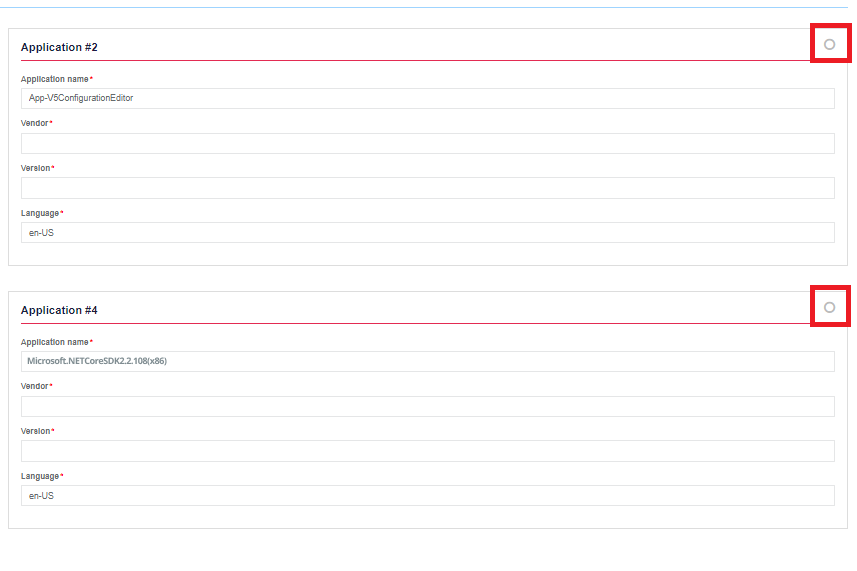 The process reverts to the initial screen by clicking on the Back button and finalizes by clicking on the Finish button.
Apptimized shows the following notification when successful:
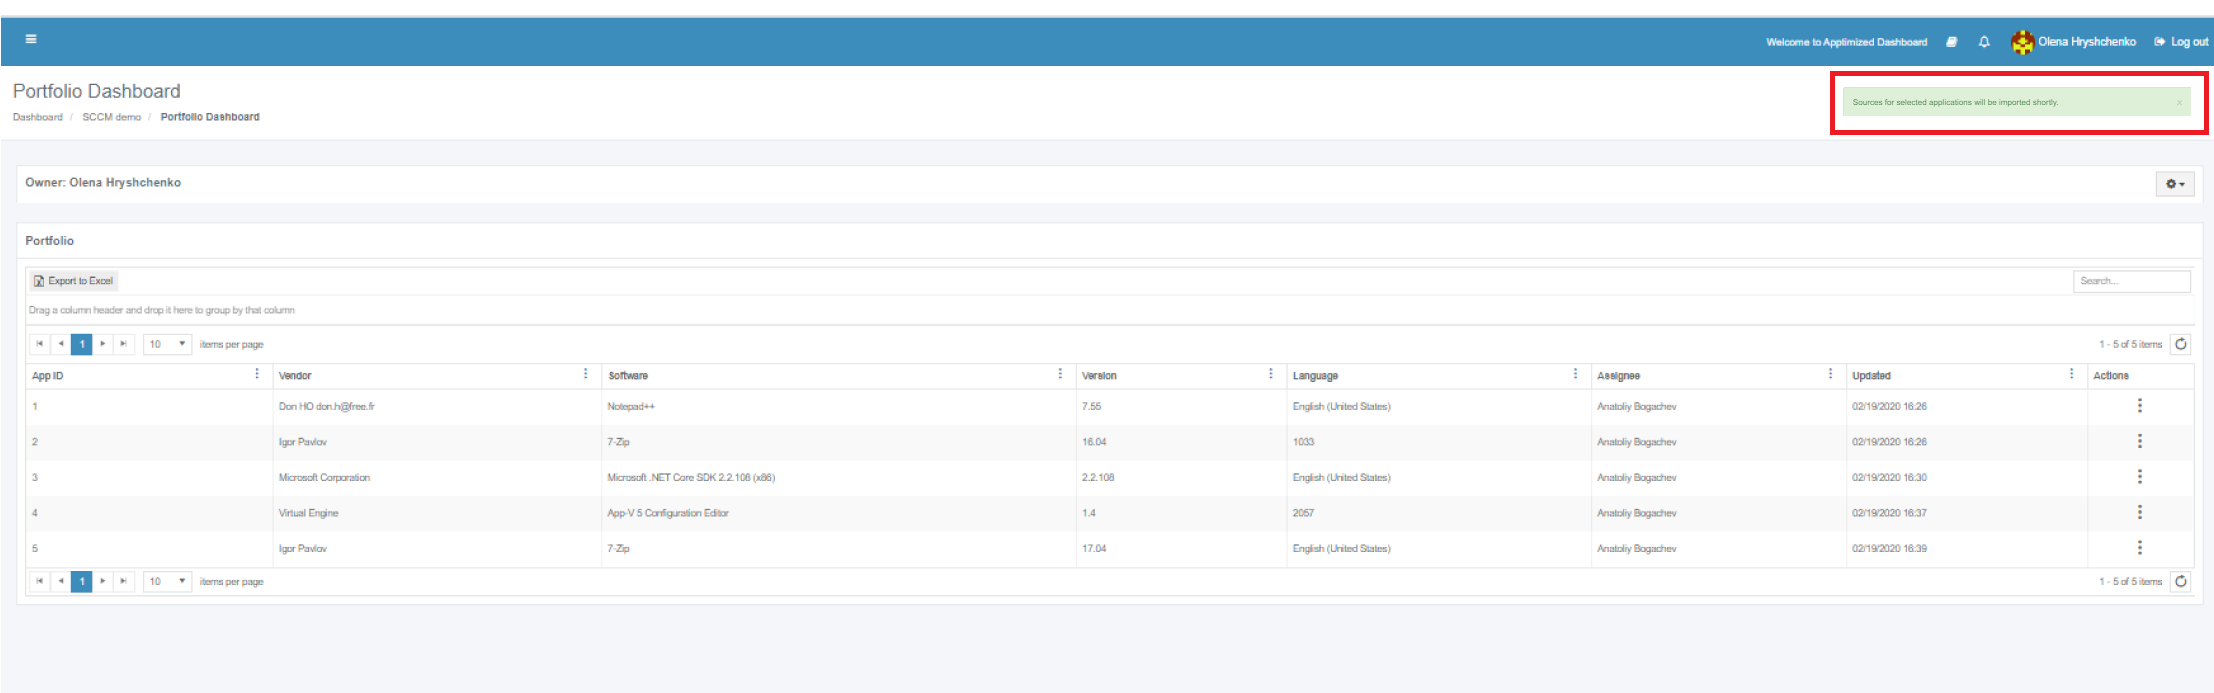
Imported applications appear in the project portfolio.
No comments to display
No comments to display