CSV Import
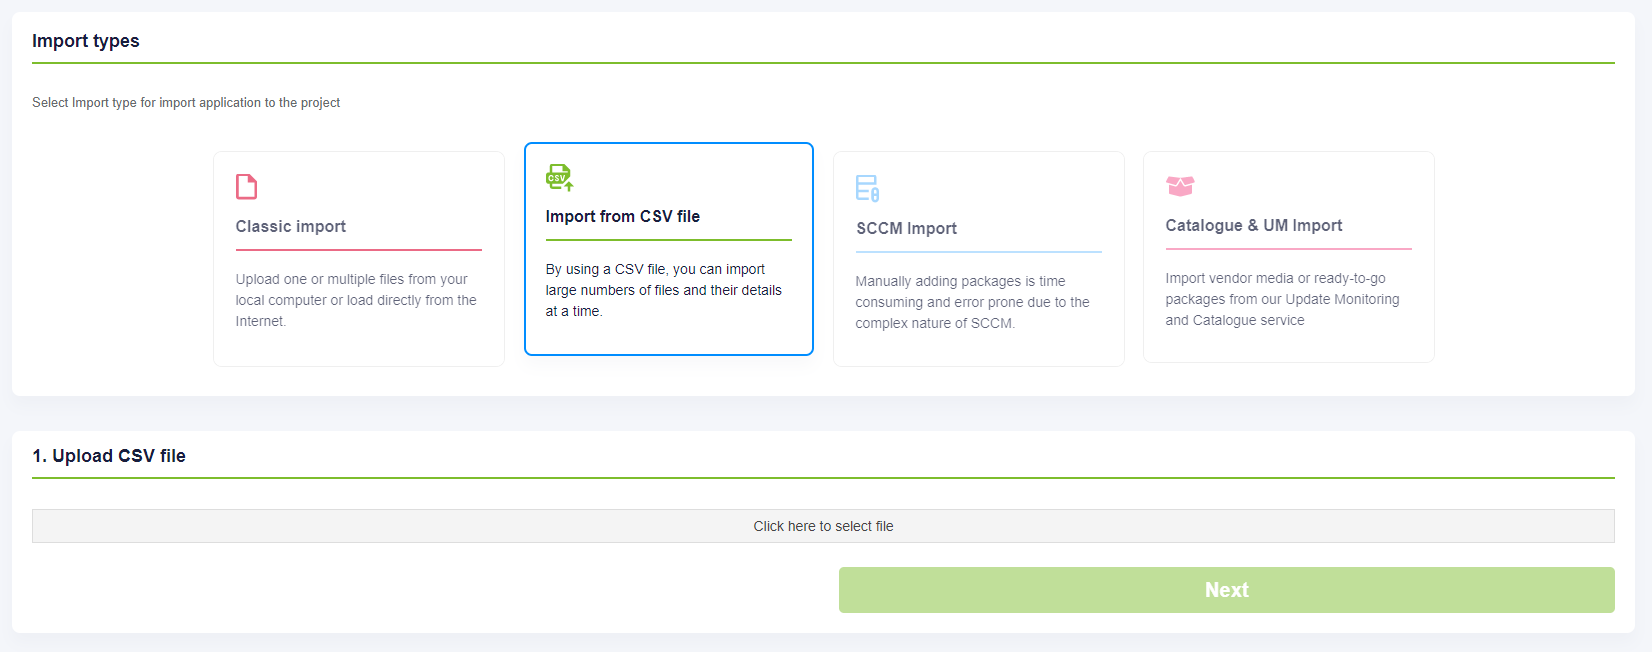
The option to start the import is called “Import from CSV file”. It is available under Import in project menu > Start Import > Import from CSV file option.
The initial preparation process may take a moment or two. When successfully imported, Apptimized shows the Upload CSV file step.
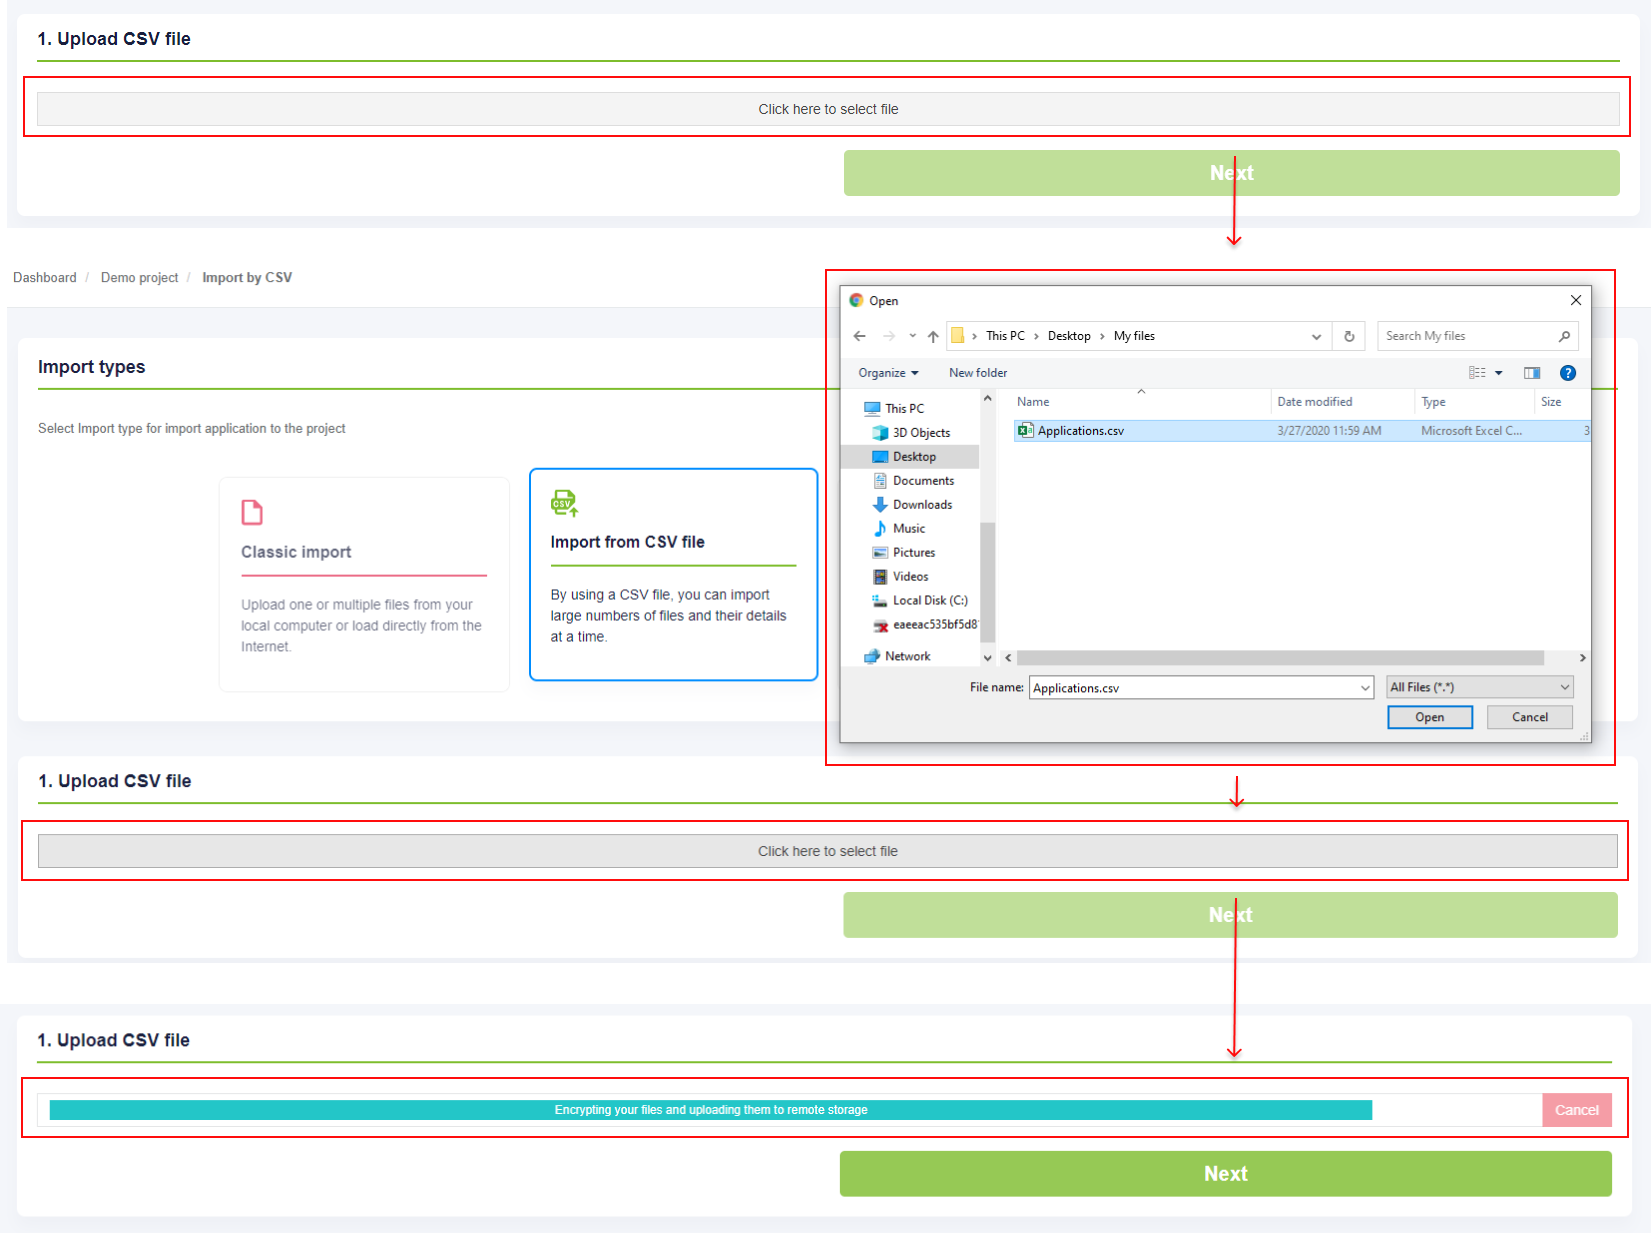
The option to upload the CSV file is available under the Click here to select file button.
The upload time depends on the application's size. Apptimized shows the following screen when successful:
A user can set a CSV Columns separator. Three options available: Comma, Semicolon, or Tab. The default value is Comma.
The Upload CSV file step is finalized by clicking the Next button.
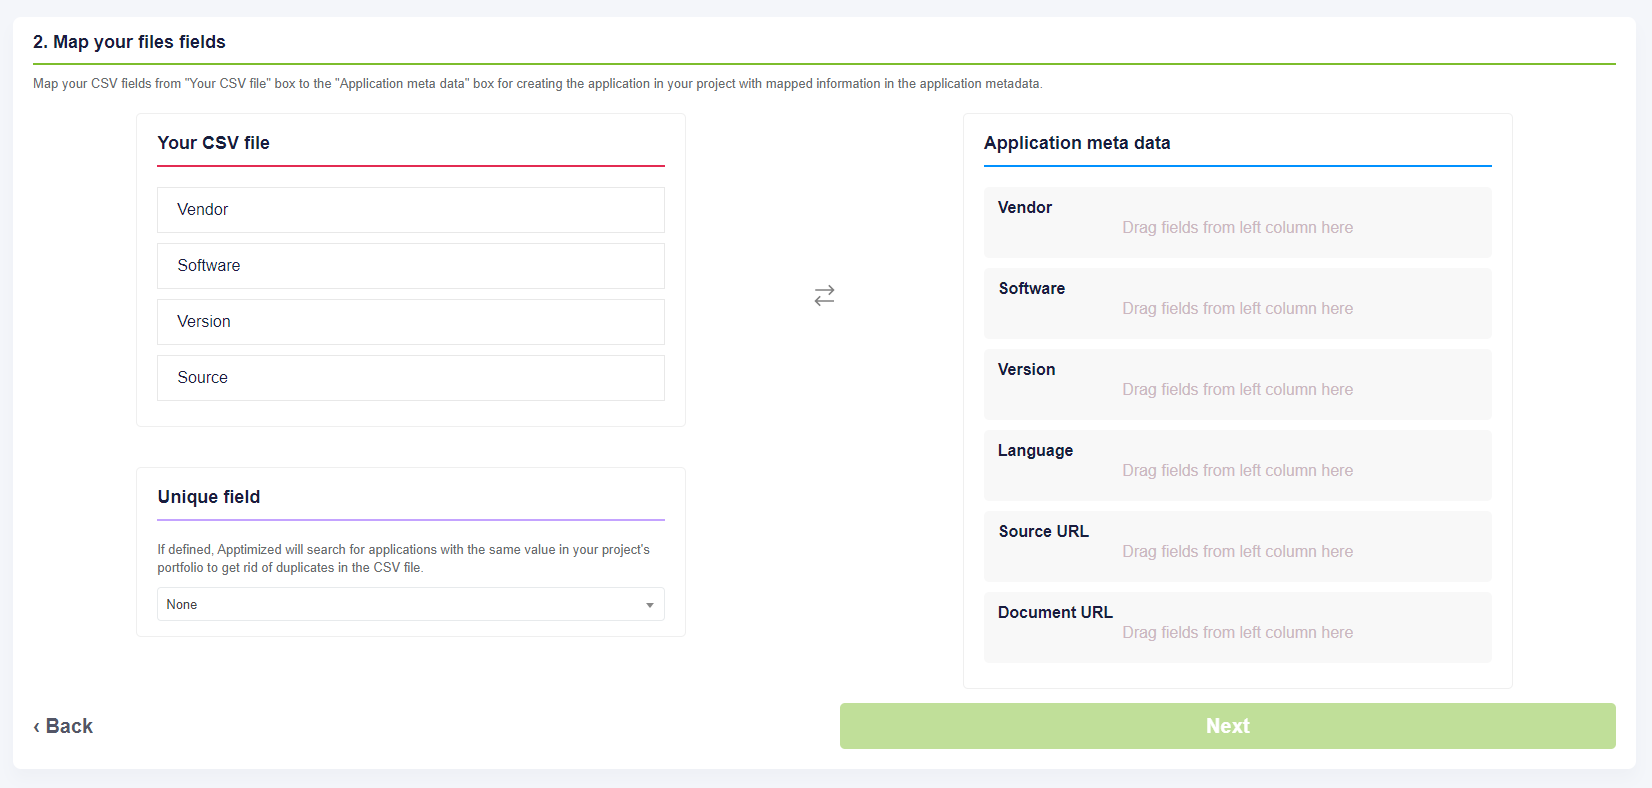
Apptimized shows the Map your files fields step when successful.
The process reverts to the previous step by clicking the Upload CSV file button.
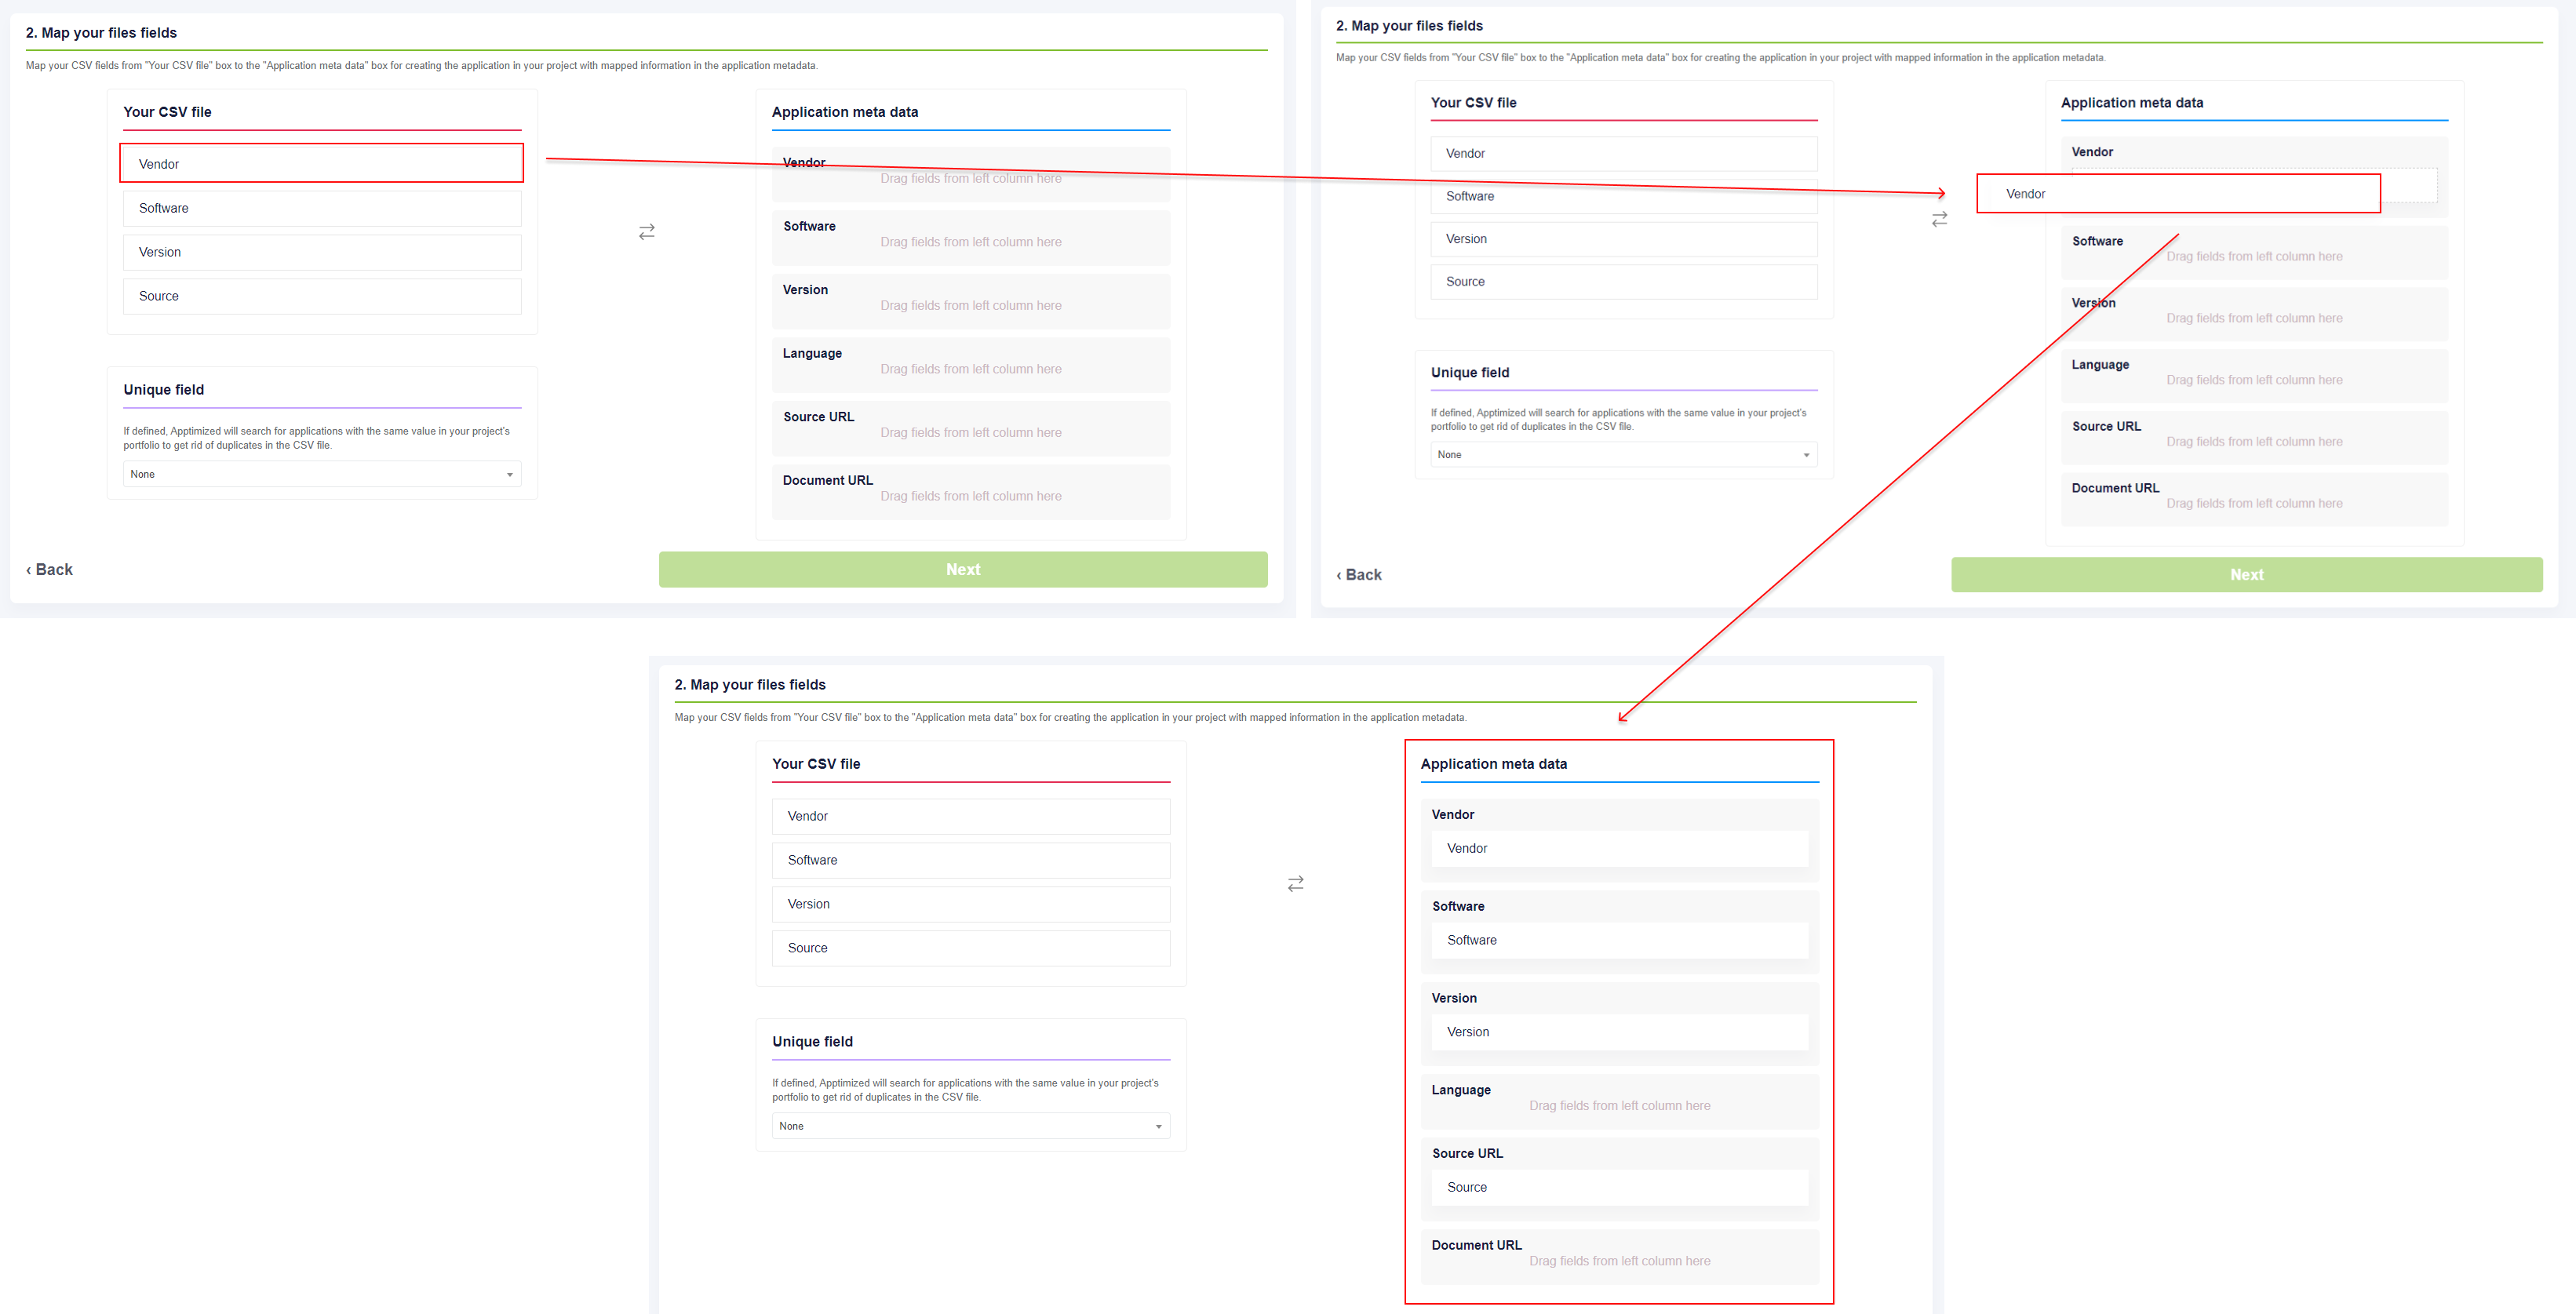
A user maps CSV file fields when dragged and dropped modules from the “Your CSV file” to the “Application meta data” box. Several CSV file fields can be mapped to one file filed in Apptimized.
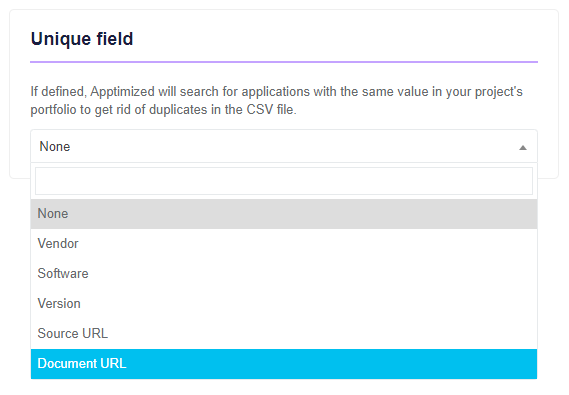
An option to search for applications with the same value in user's portfolio to remove duplicates in the CSV file is available under Unique field block.
The Map your files fields step finalizes by clicking the Finish button. The process reverts to the previous step by clicking the Back button.
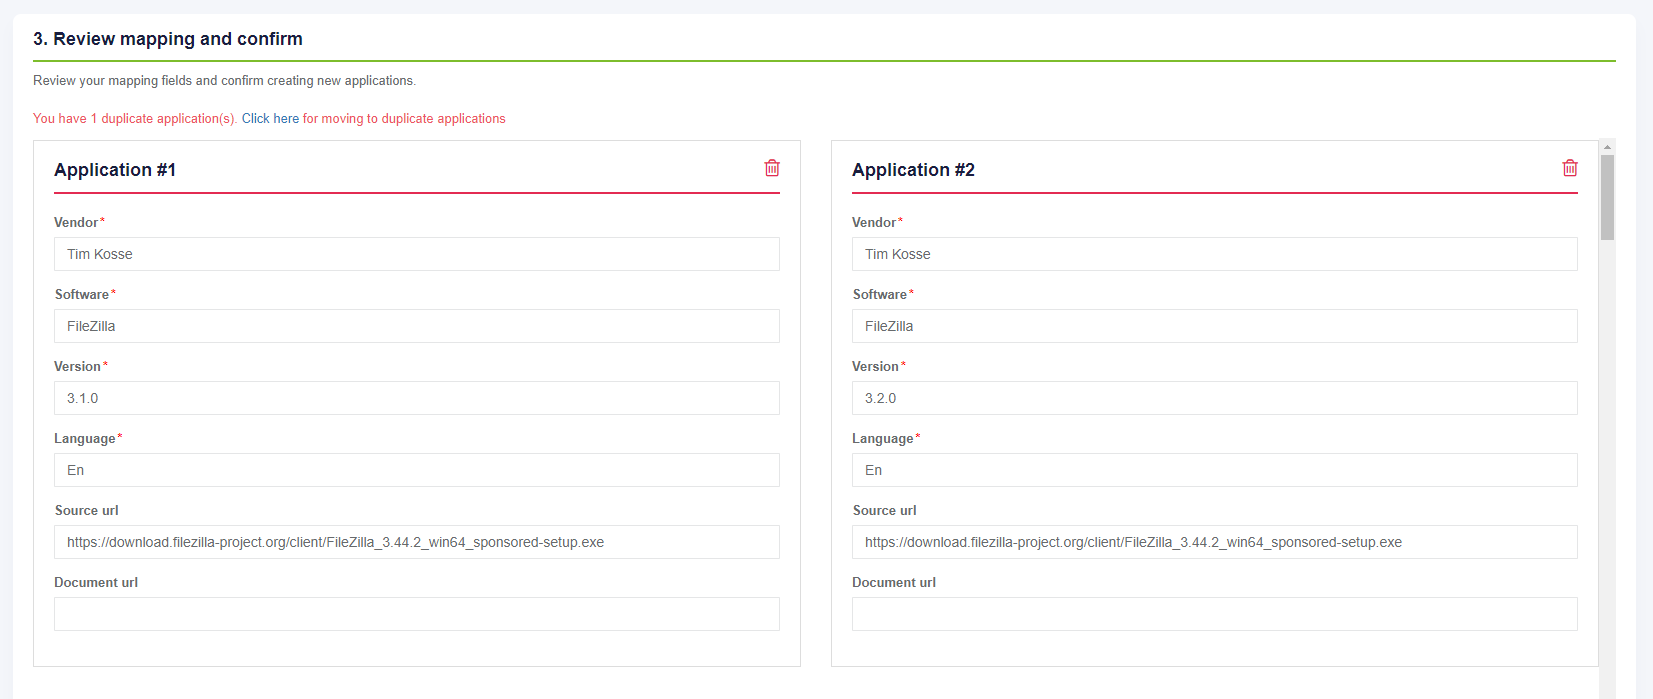
Apptimized shows the Review mapping and confirm step when successful.
If a duplicate application is found, Apptimized shows the notification:
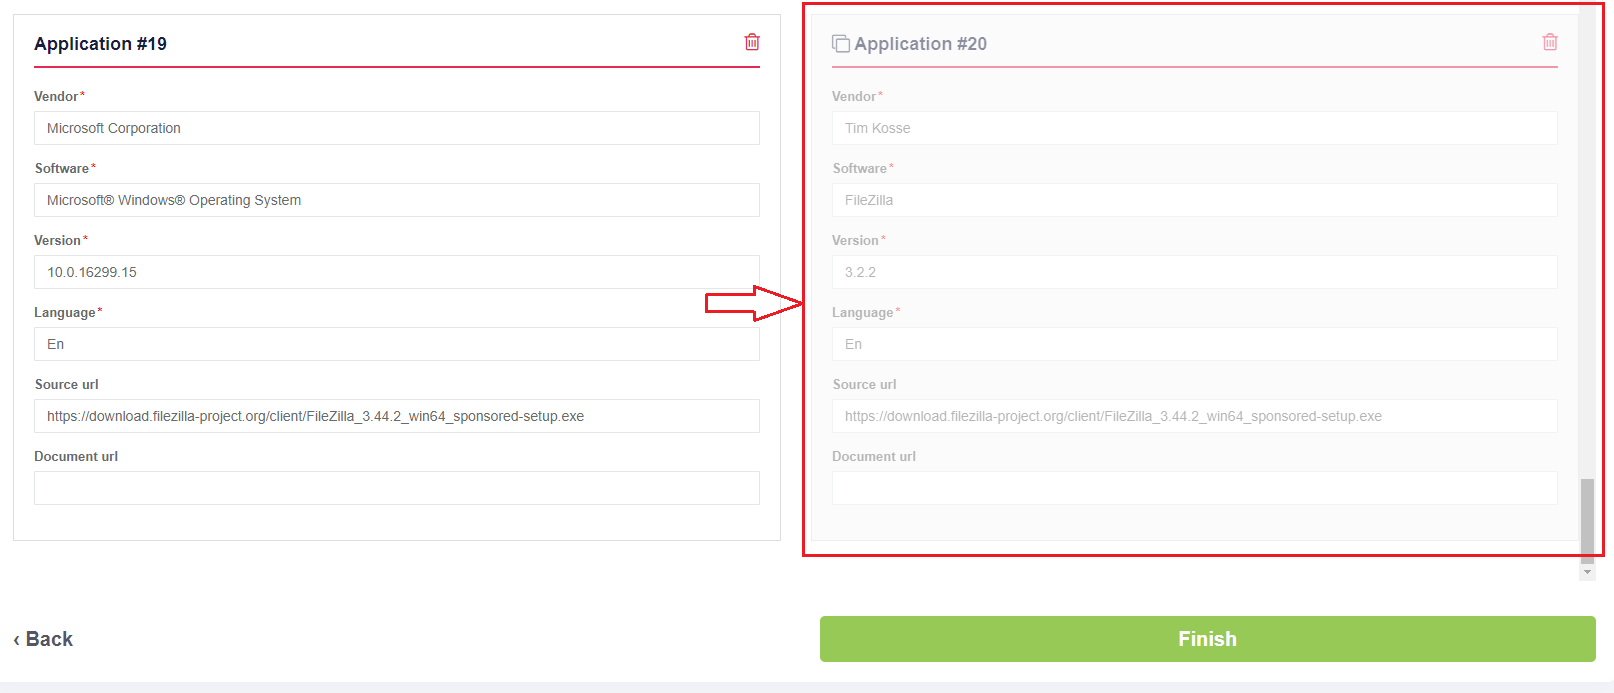
The duplicate application is indicated as follows:
Exclude applications from the import by clicking the bin symbol.
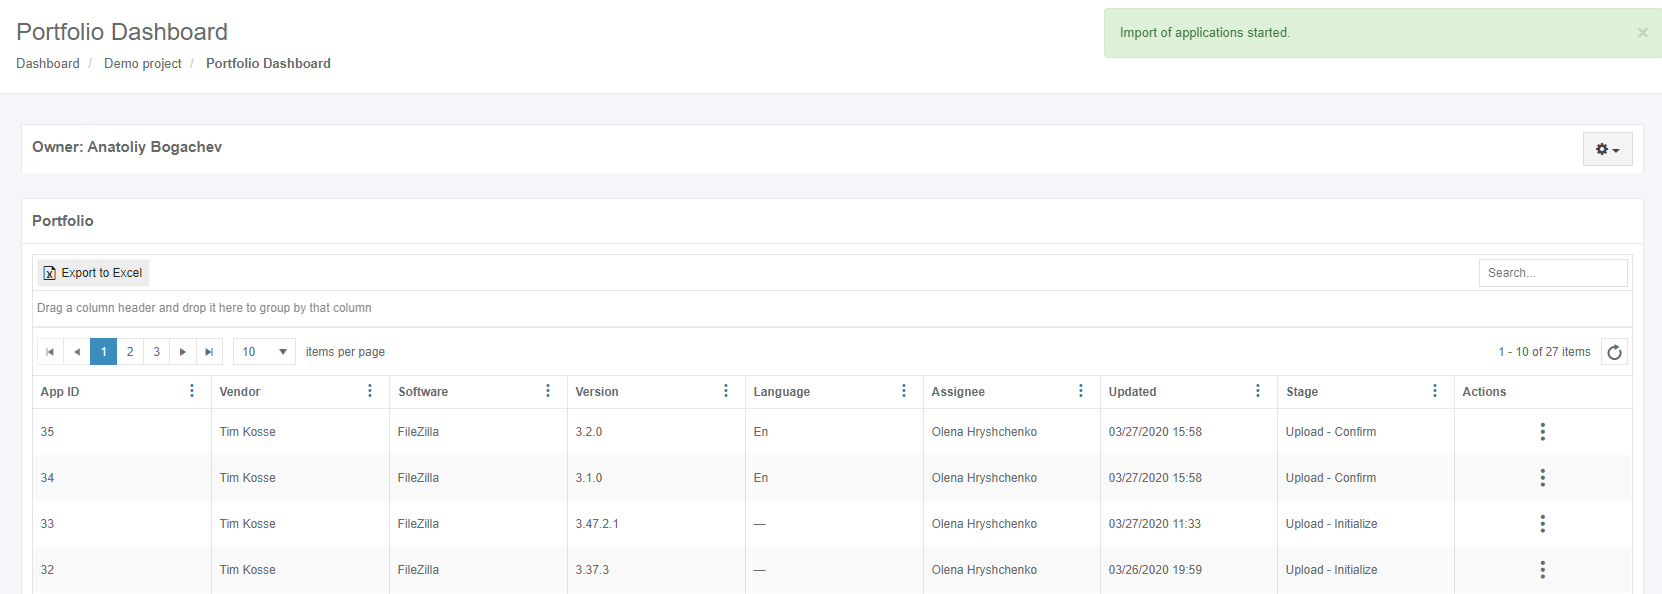
The Review mapping and confirm step finalizes by clicking the Finish button.






No comments to display
No comments to display