Project management
Project dashboard
The following scenarios to open the Project dashboard available:
- Header > [Organization name] > Projects tile > Select a project > Actions button > Dashboard;
- Header > Projects tab > Projects page > Select a project > Actions button > Dashboard.
Apptimized shows the following screen when successful:
 The Project dashboard contains the SafeBoxes tile and the Users tile.
The option to edit the project is available by clicking Edit <project name> button (see Edit project).
Safebox tile
SafeBox tile enables a user to manage SafeBoxes (open, resume, add, edit, and delete).
The description is available under the Organization dashboard > SafeBox tile (see Organization management).
Users tile
Users tile enables to manage Users (view, edit, and monitor).
The description is available under the Organization dashboard > Users tile (see Organization management).
Project section
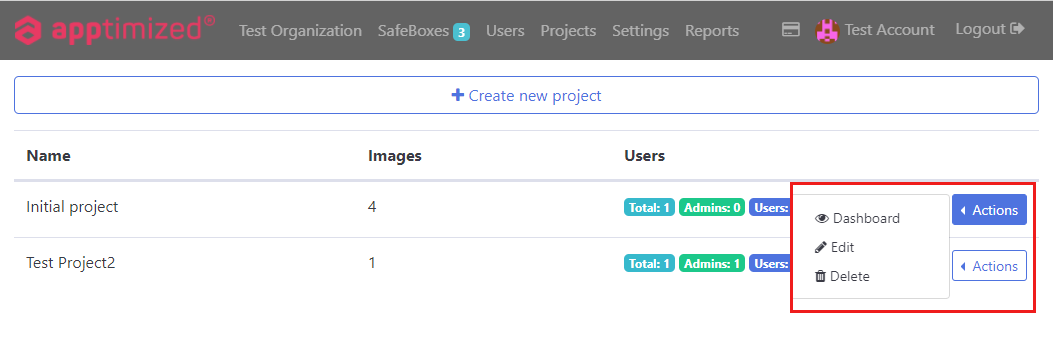
The general project section is available under the Projects tab.
![]()
Apptimized shows the following screen when successful:
Projects are created to structure work and properly delineate areas of responsibility for performing work tasks.
The project section is displayed in 2 blocks:
- Information block – this block contains detailed information about SafeBox projects;
- Action block – this block provides options to interact with the SafeBox projects.
 Projects data is grouped into the following categories:
|
Category |
Description |
|
Name |
Indicates the Name of the project. |
|
Images |
Indicates the quantity of the images assigned to the project. |
|
Users |
Provides with the counters of the Users assigned to the project. |
 Projects actions are grouped into the following categories:
|
Category |
Description |
|
Dashboard |
Enables a user to enter the project Dashboard section (see Project Dashboard). |
|
Edit |
Enables a user to enter the Edit project section (see Edit project). |
|
Delete |
Enables a user to enter Delete project modal window (see Delete project). |
 The following Users counters are available:
|
Icon |
Counter |
Details |
|
Total |
Indicates the total amount of users with all roles assigned to the project. |
|
|
Admins |
Indicates the number of users with the Project manager role or above assigned to the project. |
|
|
Users |
Indicates the total amount of users with the Project user role assigned to the project. |
 The option to create a project is available under Create new project button.
Create project
The following scenarios to open the Create project section available:
- [Organization name] dashboard > Projects tile > Add new
- Projects > Create new project
The Create project option is available for users with the appropriate permission level. There is no limit on the number of projects.
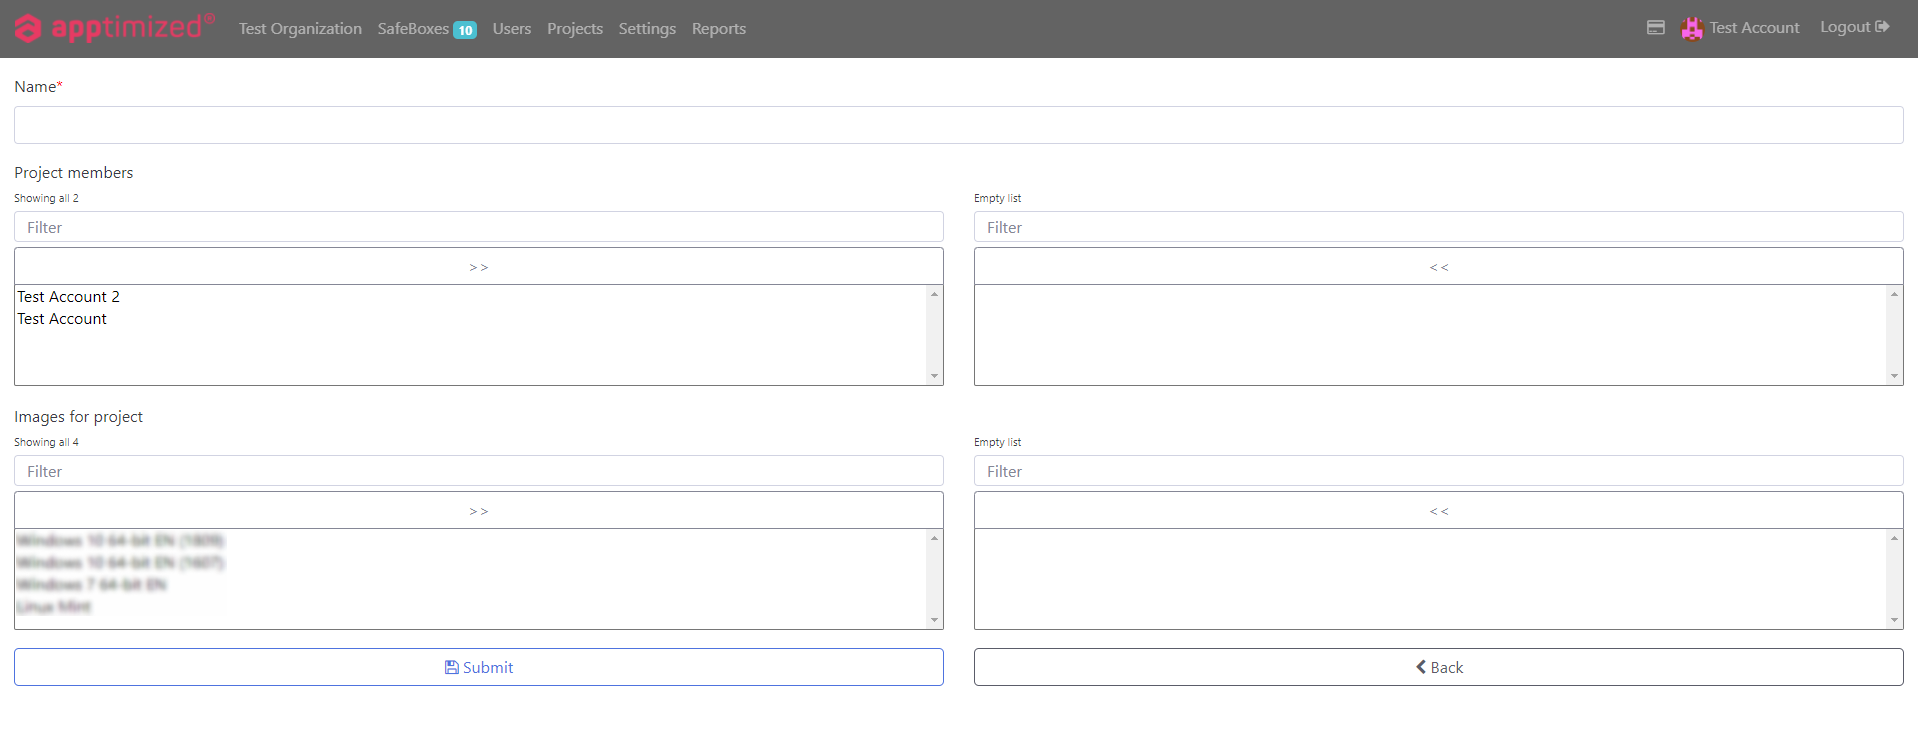
Apptimized shows the following screen when successful:
 The Create new project section is divided into several blocks:
|
Field |
Description |
Choice |
Required |
|
Name |
This field indicates the Name of the project. There is no default value for this field. |
n/a |
+ |
|
Project members |
This field provides a user with a list of all members assigned to a project. There is an option to assign users to the project (see Project assignment). There is no default value for this field. |
Users created by the Organization manager (see Organization management > Add a user) |
- |
|
Images for project |
This field indicates the list of OS images that can be assigned to a project. |
The following OS images are available to a user by default:
|
- |
The option to save settings is available under the Submit button.
Apptimized shows the following notification when successful:
The option to revert to the Projects page is available under the Back button.
Edit project
The following scenarios to open the Edit project section available:
- Projects > [Project name] field > Actions > Edit;
- Project Dashboard > Edit [Project name].
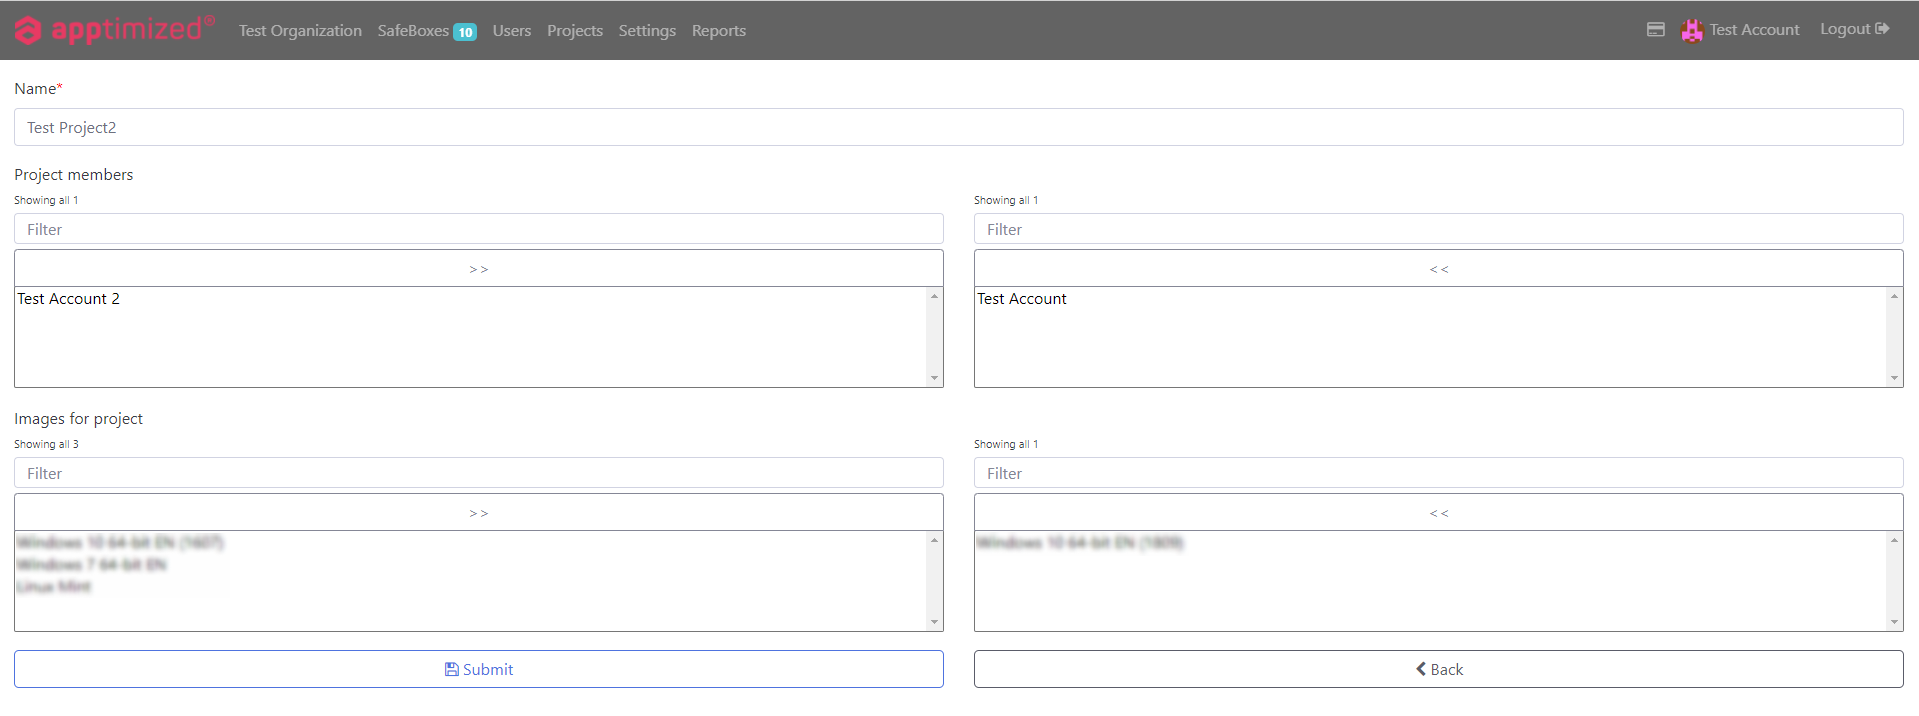
Apptimized provides the following screen when successful:
 A user granted the Organization manager role can create changes in the Name section, Project members, and Images for project sections.
The option to save changes is available under the Submit button.
Apptimized shows the following notification when successful:
The option to revert to Projects page is available under the Back button.
Delete project
The following scenarios to open Delete project modal window available:
- Header > [Organization name] > Projects tile > Select a project > Actions button > Delete;
- Header > Projects tab > Projects page > Select a project > Actions button > Delete.
Apptimized provides the following modal window when successful:
 The option to confirm deleting is available by typing ‘YES’ in the field ‘Commit by typing ‘YES’ below and clicking OK.
The option to revert to the Projects page is available under the Cancel button.
Apptimized provides with the following notification when successful:


No comments to display
No comments to display