Testing via Apptimized TO GO
Using the Testing module, a customer can record a guide to install and configure the application. Also, a testing option can be enabled and the status of the testing can be set.
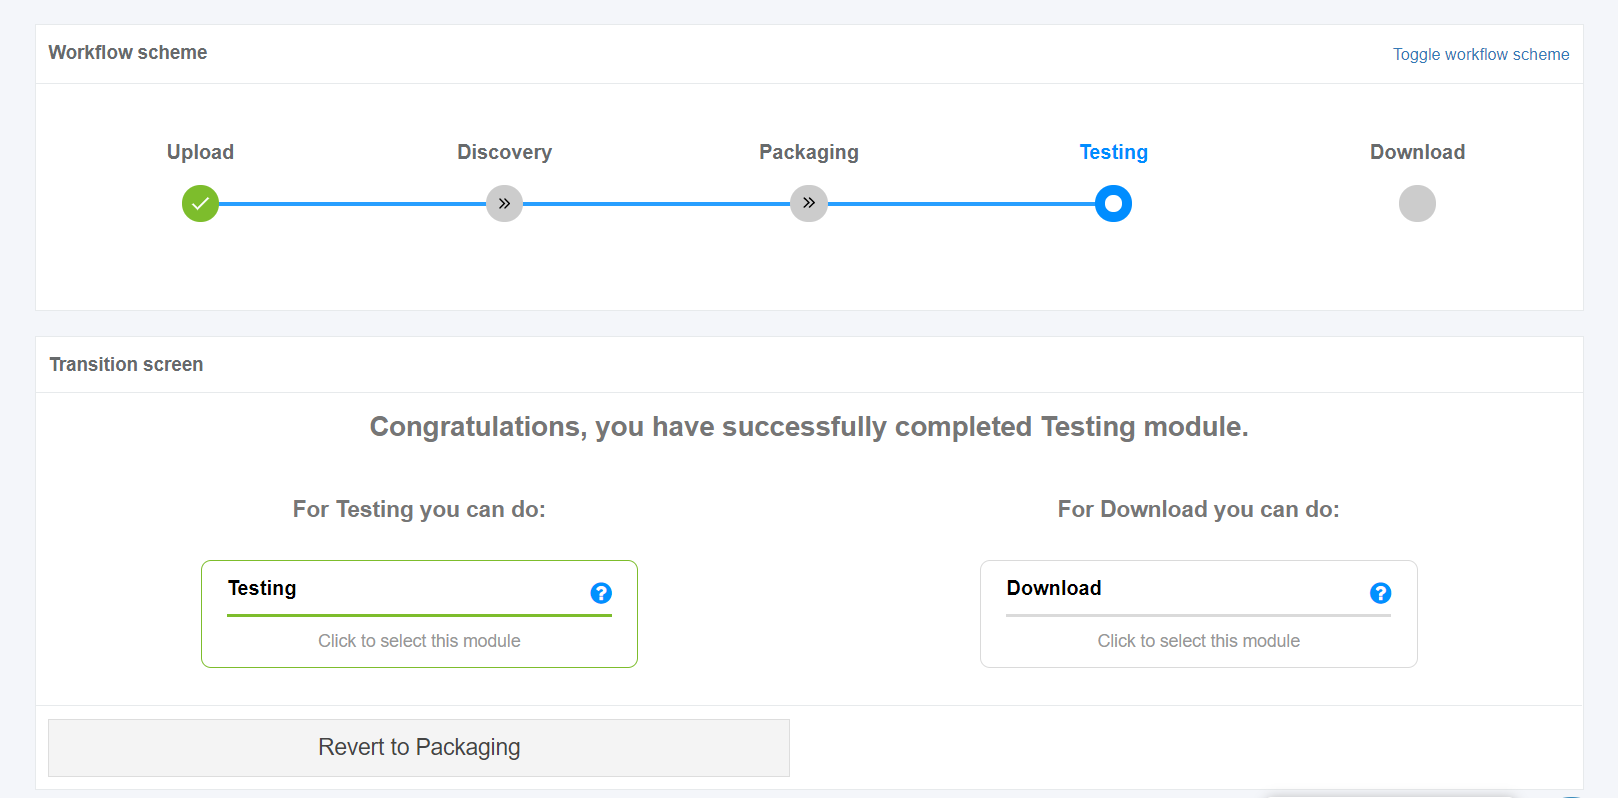
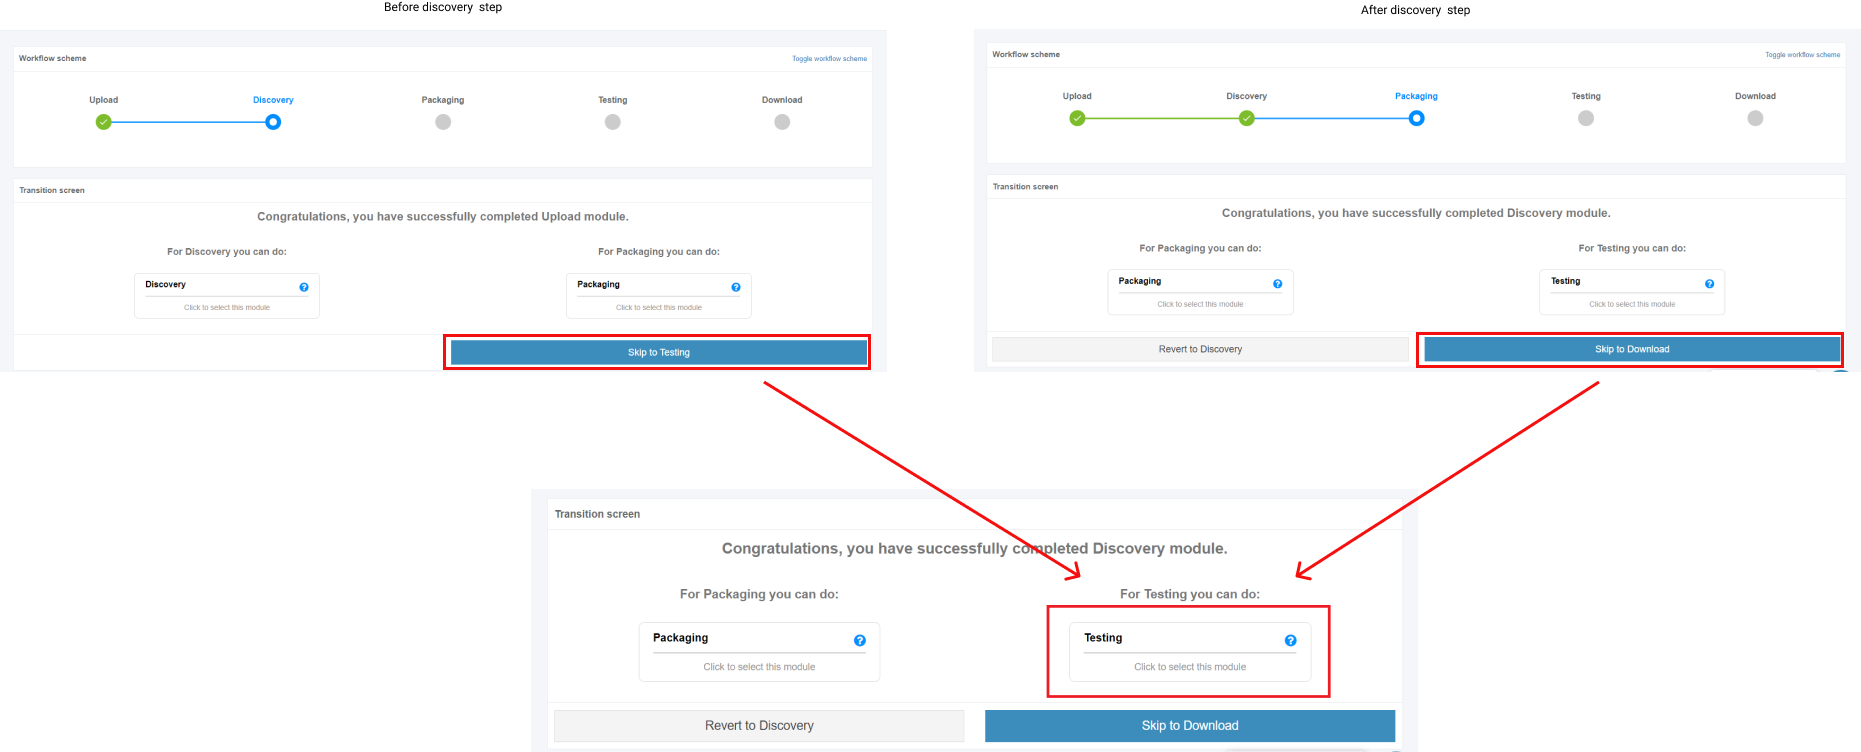
The testing process starts by clicking on the Skip for Testing button (before or after discovery step) and clicking in the Testing module on the Transition screen.
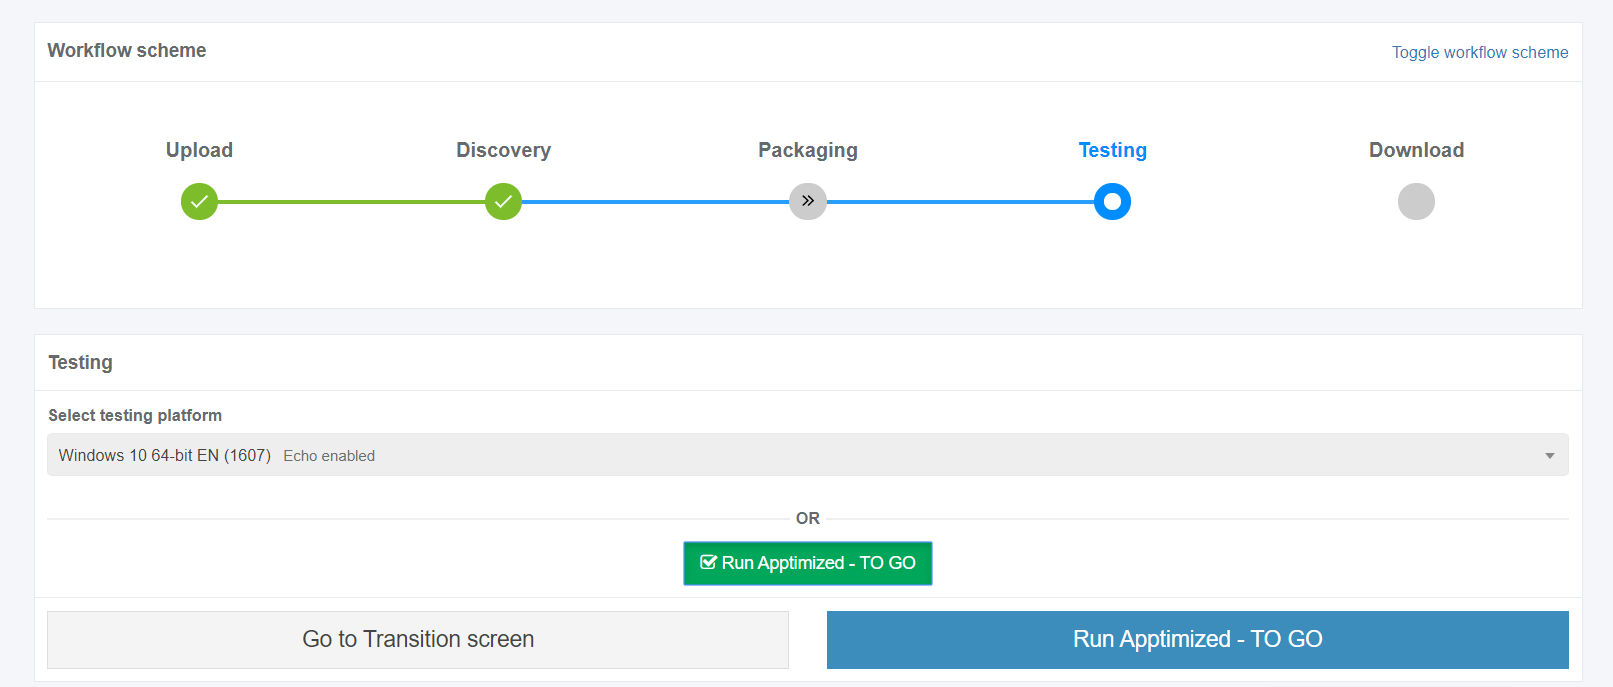
Apptimized shows the following interface when successful:
A field "Select discovery platform" is filled automatically and can be changed if needed.
The Apptimized To Go is enabled by ticking the checkbox and clicking on the Run Apptimized - To Go button.
The files synchronizing process may take a while. In case of success, Apptimized shows the following interface:
The instructions to launch Apptimized TO GO agent were provided in the paragraph "Run the Apptimized TO GO agent".
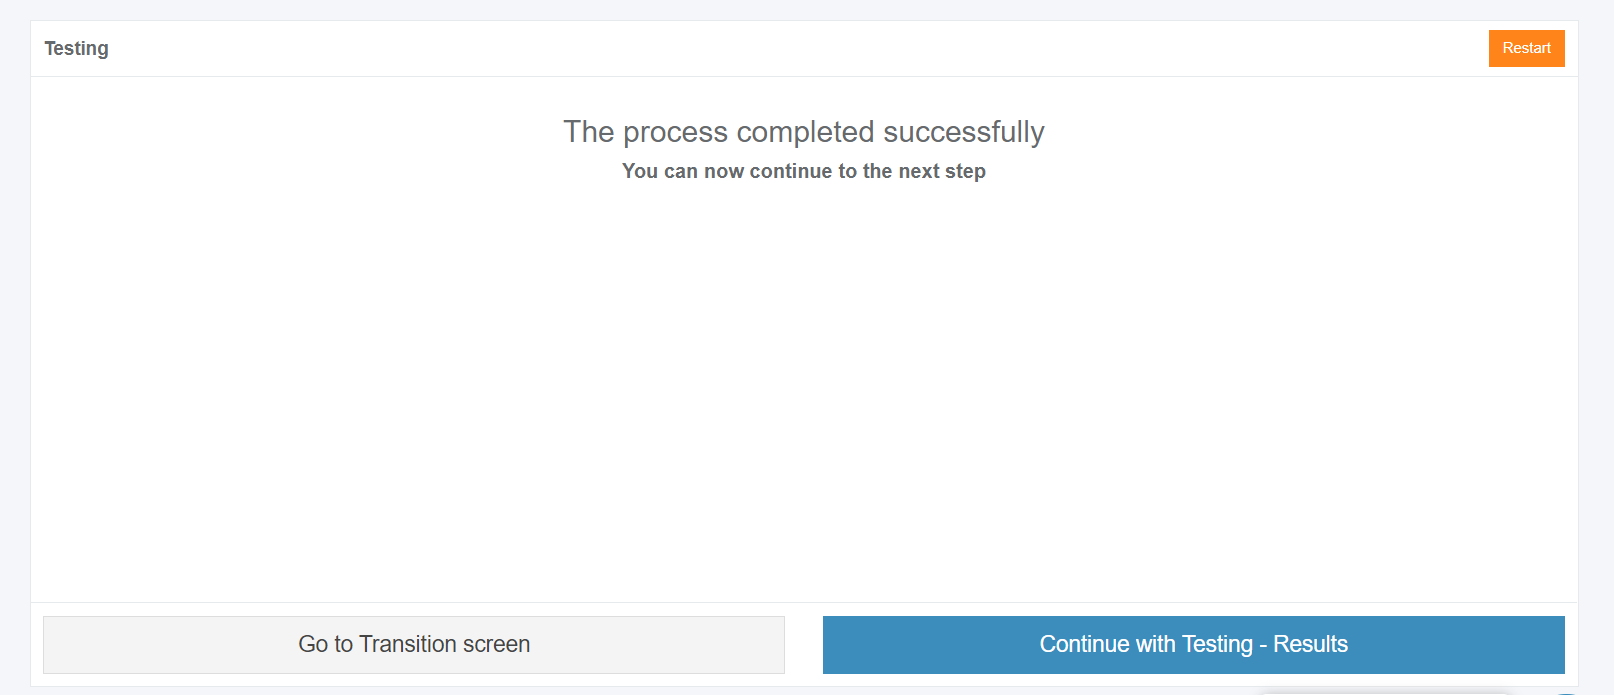
The following interface will appear when recording session with Apptimized TO GO agent finishes:
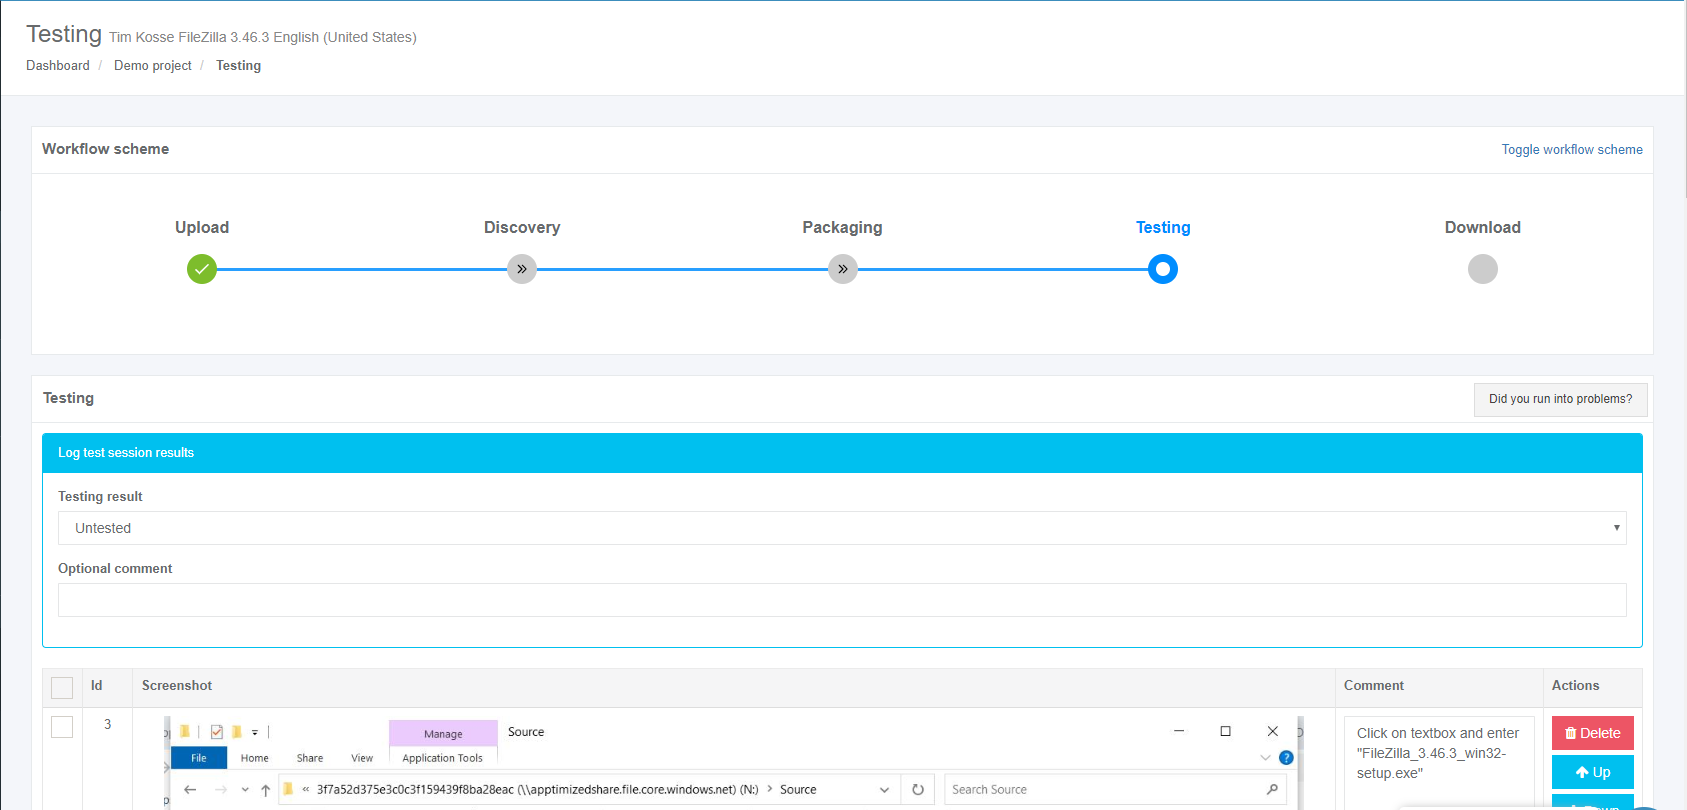
Screenshots editing mode becomes active when clicking on the Continue with Testing - Results button.
Apptimized shows the following interface when successful:
The following options to log test session results are available:
- Untested;
- Success;
- Failed.
The default value is Untested.
The field Optional comment can stay blank.
Screenshots can be excluded from discovery by clicking on the Delete button.
Screenshots can be excluded from discovery in a multiple mode by unticking checkboxes in front of their ID and clicking on the Delete selected screenshots button.
Screenshots sequence can be changed in discovery by clicking on the Up or Down buttons.
Comments to the screenshots can be edited by clicking on the comment cell.
The field Additional comment (Optional) can stay blank.
Screenshots editing mode finalizes when clicking on the Save changes button.
Apptimized shows the following interface when successful:
The generated document is available in PDF and HTML formats. Download starts when clicking on the Download generated HTML document or Download generated PDF document buttons.
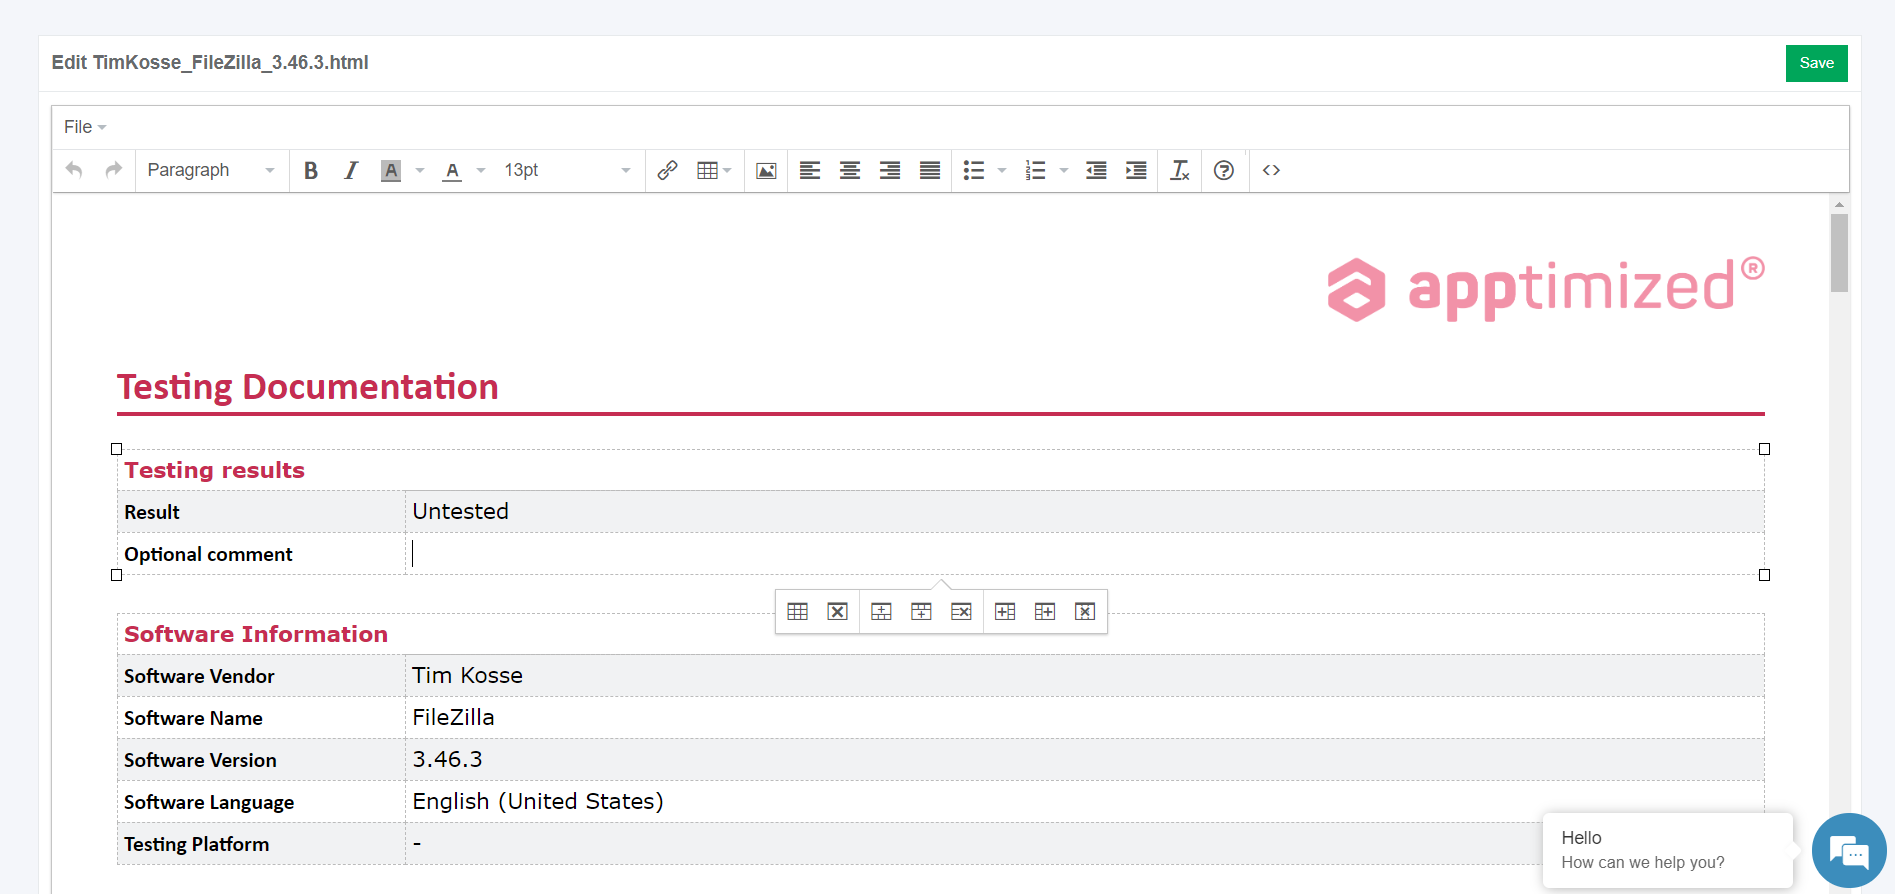
A testing document can be edited by clicking on the Edit generated document button. The document editing finalizes by clicking on the Save button.
The process reverts to the screenshots editing mode by clicking on the Revert to Testing - Results button and finalizes by clicking on the Finish button.



.png)
.PNG)


