
Deploy to SCCM
Procedure
Deployment starts from the project portfolio.
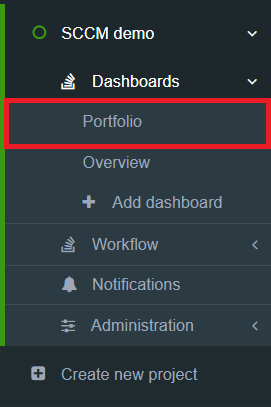
After locating the desired application in the list, the deployment process can be triggered by clicking the extended menu in the Actions column and selecting Deploy to SCCM.
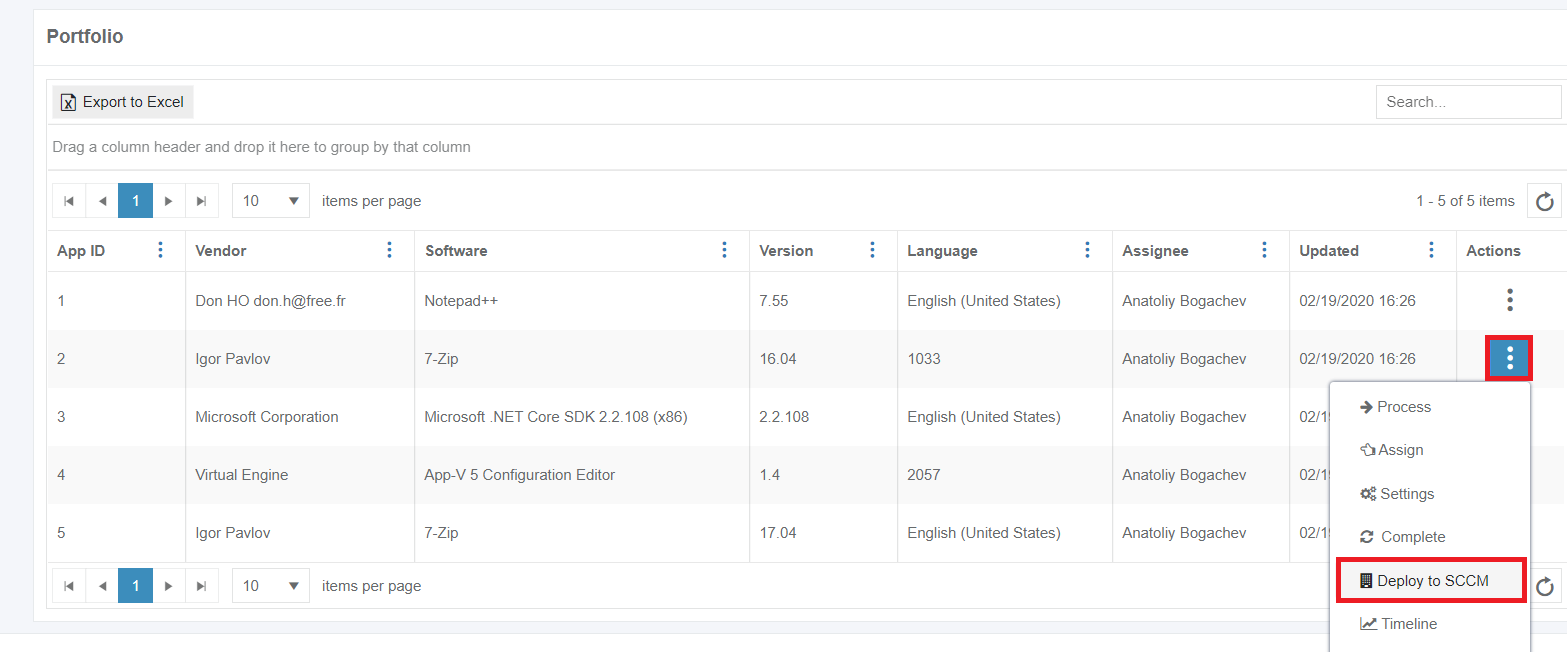
A click opens a dialogue box to create appropriate SCCM objects.
The package name option is the only option that requires manual verification and confirmation. The application inherits default SCCM project settings.

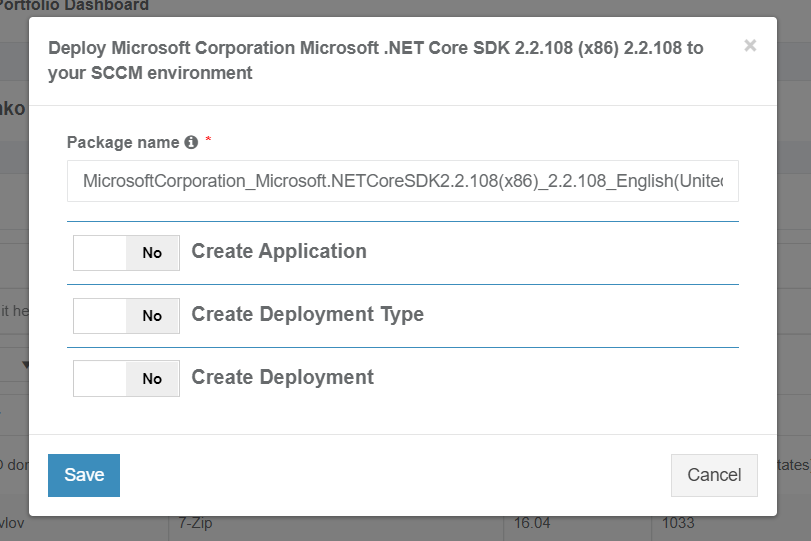
The application should have a package file produced during the Packaging step (Factory or Self-Service). If the required file is missing, Apptimized shows the notification.

An application is scheduled for deployment by clicking on the Save button. Apptimized shows the following notification when successful:
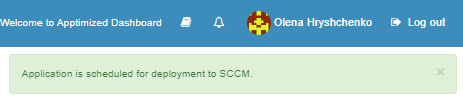
It takes a few minutes for SCCM objects to appear in the SCCM Admin Console.
Details of the deployment process components are described in sections 2.1 - 2.3 of the manual.
Create the application in SCCM
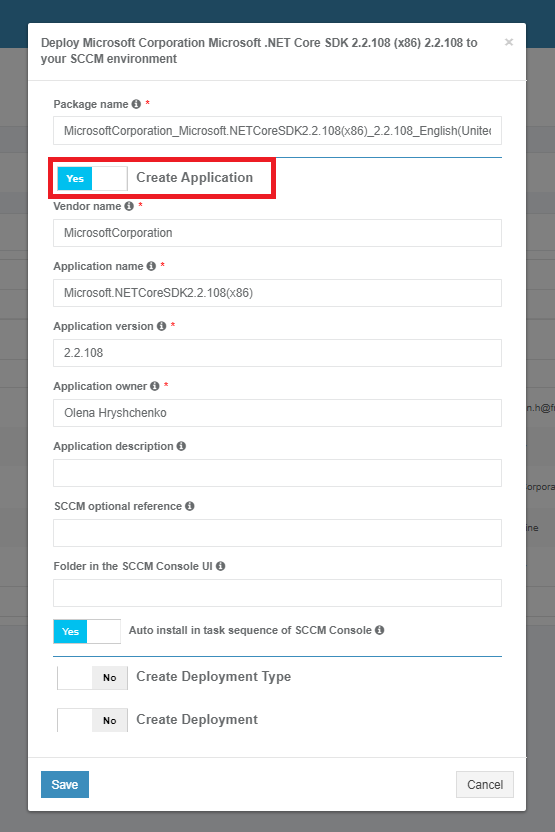
The creation of applications can be enabled by Create Application switch and editing appropriate settings if required. Brief field descriptions are available by hovering the info icon (![]() ) located near every field.
) located near every field.
Table 6. Application settings
| Settings | Details |
| Vendor name |
The vendor name equals the vendor field of application in the project portfolio. |
| Application name |
The application name equals the application field of application in the project portfolio. |
| Application version |
The application version equals the application version of the application in the project portfolio. |
| Application owner |
Package creator name. The default value is the name of a current user. |
| Application description |
Application description corresponds to the term Administrator comments in the SCCM admin console. |
| SCCM optional reference |
Optional reference to the SCCM environment. |
| A folder in the SCCM Console UI |
This setting indicates the folder for applications in SCCM Console UI. Applications can store in the main folder Applications (default) or any subfolders. |
| Auto-install in task sequence of SCCM Console |
This setting corresponds to the setting Install or uninstall the application by default in the Connection and default configuration step (see Table 2). |
Create the deployment type in SCCM
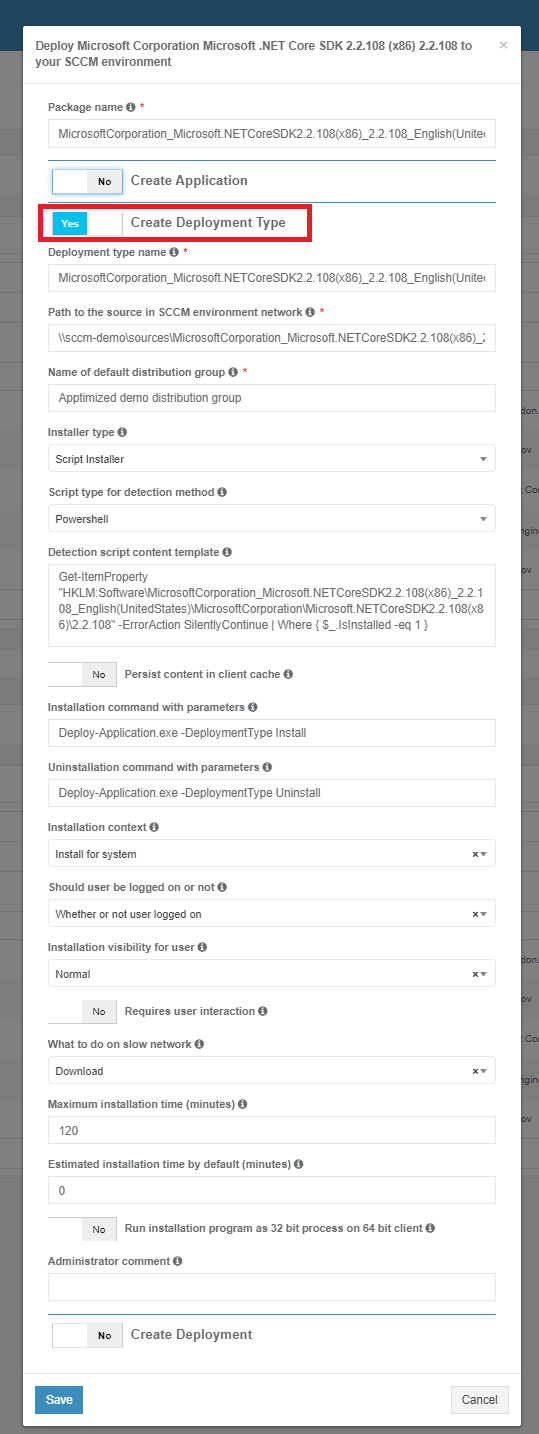
The creation of deployment type can be enabled by Create Deployment Type switch and editing appropriate settings if required. Brief field descriptions are available by hovering the info icon (![]() ) located near every field.
) located near every field.
Table 7. Deployment type settings
|
Settings |
Details |
|
Deployment type name |
Value is generated automatically by the pattern "package name +_DT." |
|
Path to the source in SCCM environment network |
Value is generated automatically from the network path indicated in project settings (see Table 1) and includes folder name with application sources. |
|
Name of the default distribution group |
This setting corresponds to the setting Name of a default distribution group in the Connection and default configuration step (see Table 1). |
|
Installer type |
This setting corresponds to the setting Installer type in the Connection and default configuration step (see Table 2). |
|
Script type for the detection method |
This setting corresponds to the setting Script type for the detection method in the Connection and default configuration step (see Table 3). |
|
Detection script content template |
This setting corresponds to the setting Detection script content template in the Connection and default configuration step (see Table 3). |
|
Persist content in the client cache |
This setting corresponds to the setting Persist content in the client cache in the Connection and default configuration step (see Table 3). |
|
Installation command with parameters |
This setting corresponds to the setting Installation command with parameters in the Connection and default configuration step (see Table 4). |
|
Uninstallation command with parameters |
This setting corresponds to the setting Uninstallation command with parameters in the Connection and default configuration step (see Table 3). |
|
Installation context |
This setting corresponds to the setting Installation context in the Connection and default configuration step (see Table 3). |
|
Should the user be logged on or not |
This setting corresponds to the setting Should the user be logged on or not in the Connection and default configuration step (see Table 3). |
|
Installation visibility for the user |
This setting corresponds to the setting of Installation visibility for the user in the Connection and default configuration step (see Table 3). |
|
Requires user interaction |
This setting corresponds to the setting Requires user interaction in the Connection and default configuration step (see Table 3). |
|
What to do on a slow network |
This setting corresponds to the setting What to do on a slow network in the Connection and default configuration step (see Table 2). |
|
Maximum installation time (minutes) |
This setting corresponds to the setting Maximum installation time in the Connection and default configuration step (see Table 2). |
|
Estimated installation time by default (minutes) |
This setting corresponds to the setting Estimated installation time by default in the Connection and default configuration step (see Table 2). |
|
Run installation program as a 32-bit process on 64-bit client |
This setting corresponds to the setting Run installation program as a 32-bit process on the 64-bit client in the Connection and default configuration step (see Table 4). |
|
Administrator comment |
This optional field corresponds to the term Administrator comments in the SCCM admin console. |
Create the deployment in SCCM
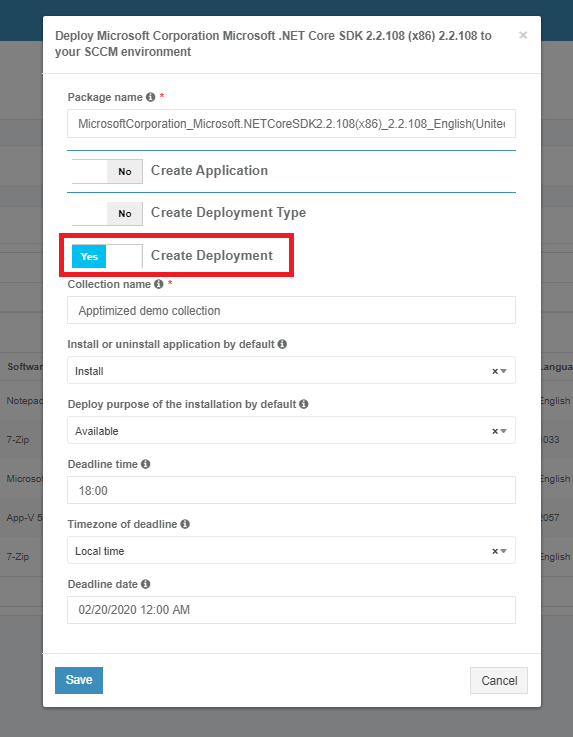
Creation of deployment can be enabled by Create Deployment switch and editing appropriate settings if required. Brief field descriptions are available by hovering the info icon (![]() ) located near every field.
) located near every field.
Table 8. Deployment settings
|
Settings |
Details |
|
Collection name |
This setting corresponds to the setting Device collection name in the Connection and default configuration step (see Table 1). |
|
Install or uninstall the application by default |
This setting corresponds to the setting Install or uninstall the application by default in the Connection and default configuration step (see Table 2). |
|
Deploy the purpose of the installation by default |
This setting corresponds to the setting Deploy purpose of the installation by default in the Connection and default configuration step (see Table 2). |
|
Deadline time |
This setting corresponds to the setting Deadline time in the Connection and default configuration step (see Table 1). |
|
Time zone of deadline |
This setting corresponds to the setting Time zone of a deadline in the Connection and default configuration step (see Table 1). |
|
Deadline date |
This setting sets the deadline date for the application installation. The default value sets to the current date. |
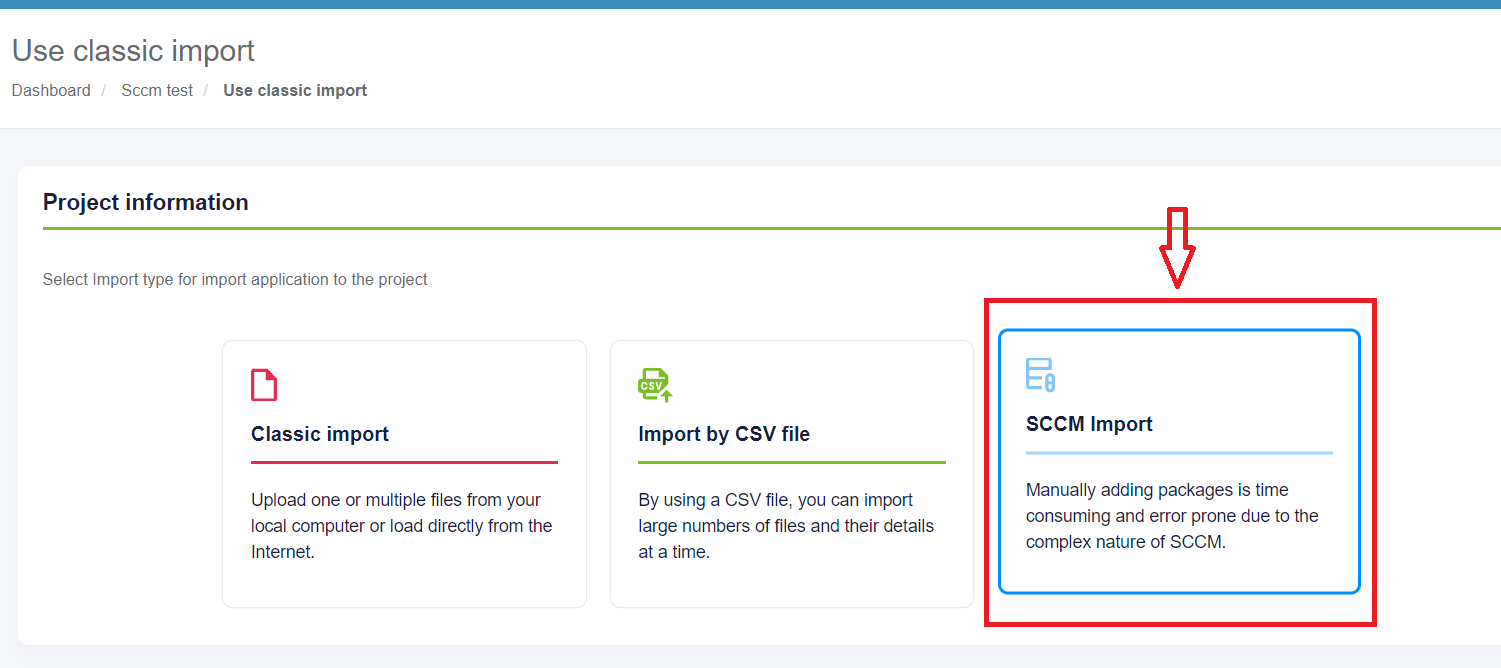
3. Import applications from SCCM
SCCM application import starts from the Import submenu of the workflow item in the menu of a project.
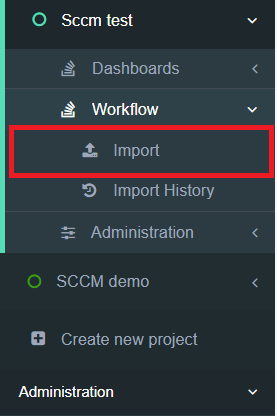
The option to start the import is called “SCCM Import.”
The initial preparation process may take a while.
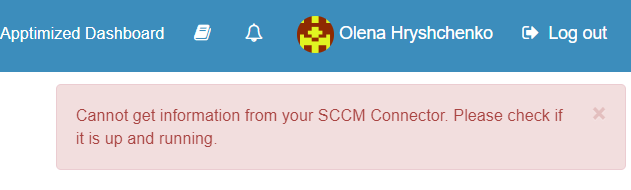
In case of a connection failure, Apptimized shows the following message:
Single import session imports a single folder. For example, one of the following folders import in the scope of import session: root folder Application or folder Test 1 or folder bis_628.
The checkbox All applications always relates to the current folder. The screen below shows the import of contained in the root Applications folder.
Applications can be excluded from import by unticking checkboxes in front of their names.
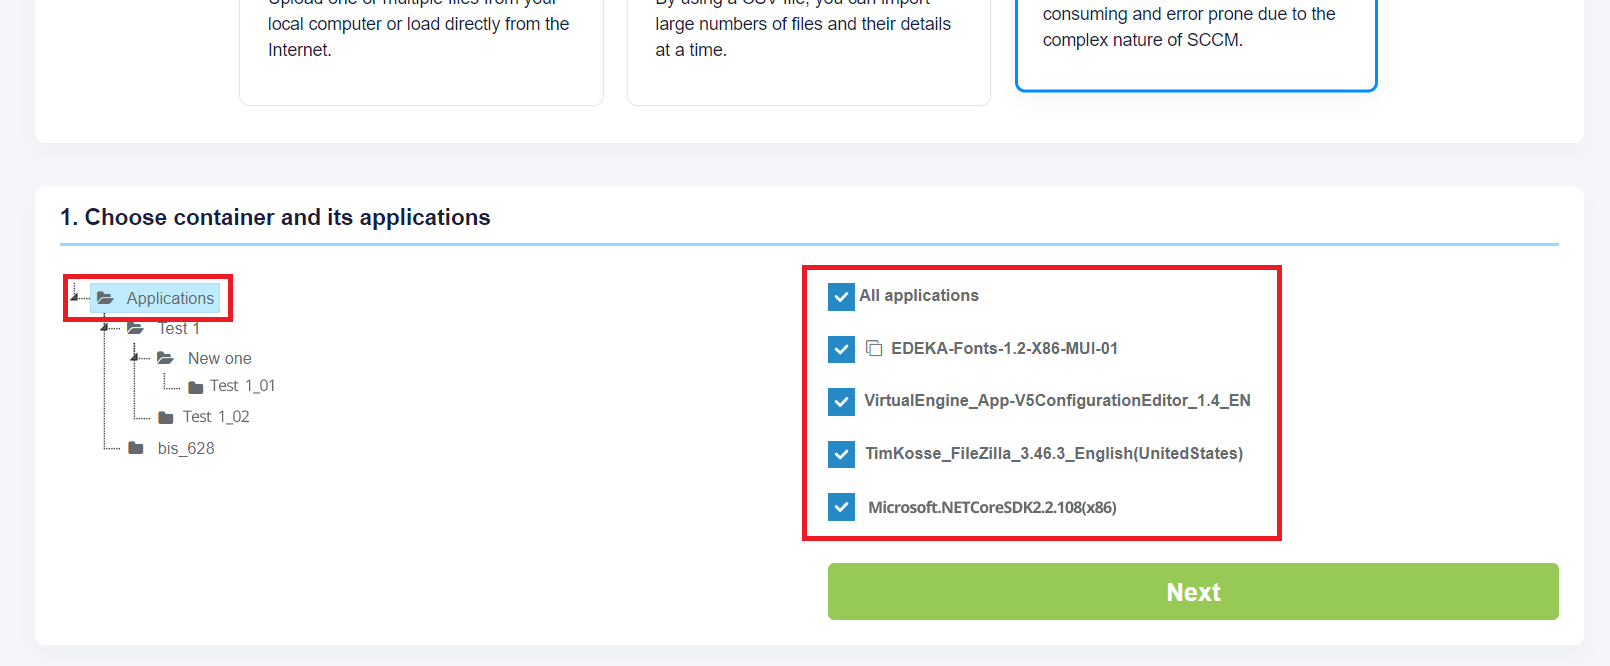
The icon below means that this application already exists in the project portfolio but can be imported for a second time. As a result, this created duplicates in the project portfolio.

The import process starts by clicking on the Next button. It takes up to 30 minutes and will depend on the number of applications and their size.
“Set metadata” shows import candidates' meta information and provides the ability to update it to desired values. All required fields have * in front of their label.
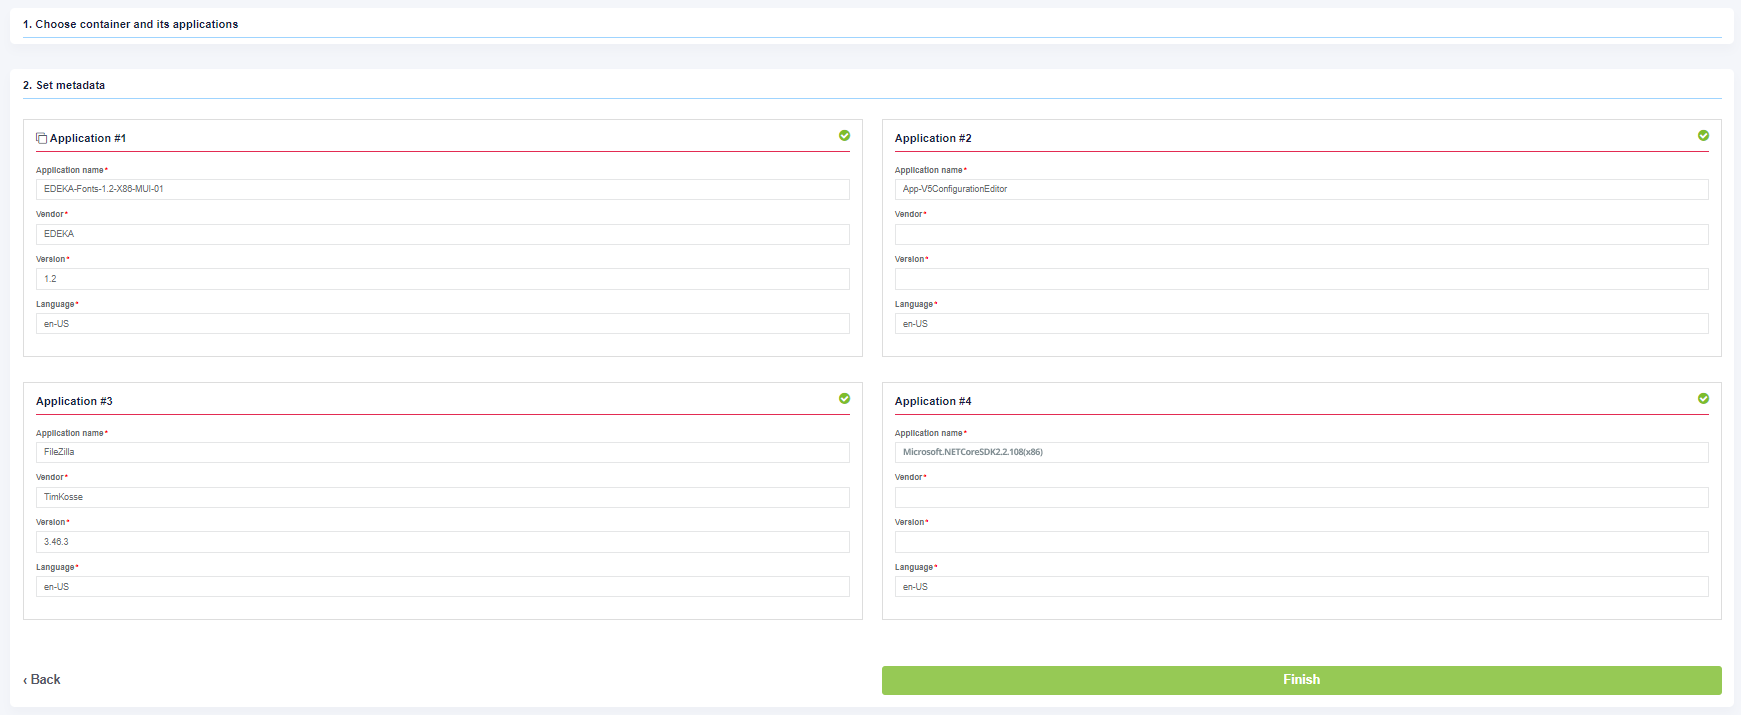
Exclude applications from the import by unticking the checkbox.
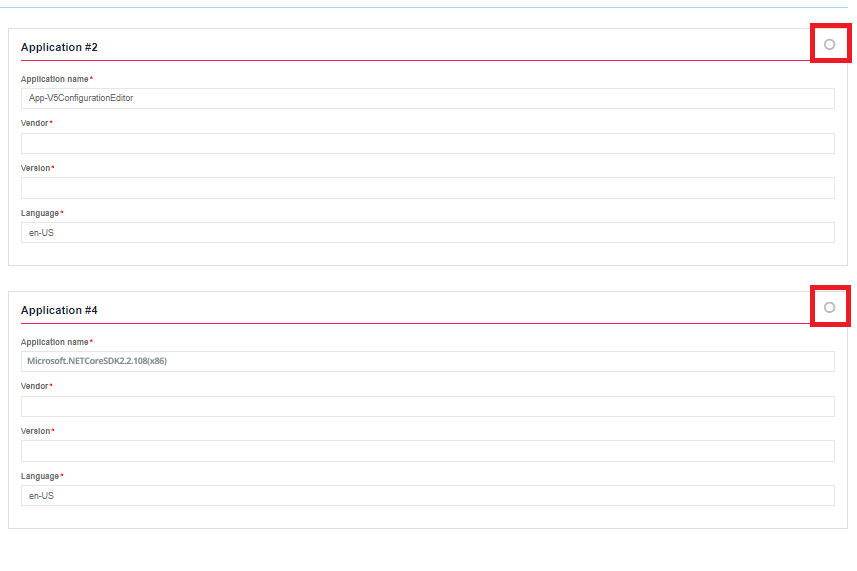
The process reverts to the initial screen by clicking on the Back button and finalizes by clicking on the Finish button.
Apptimized shows the following notification when successful:
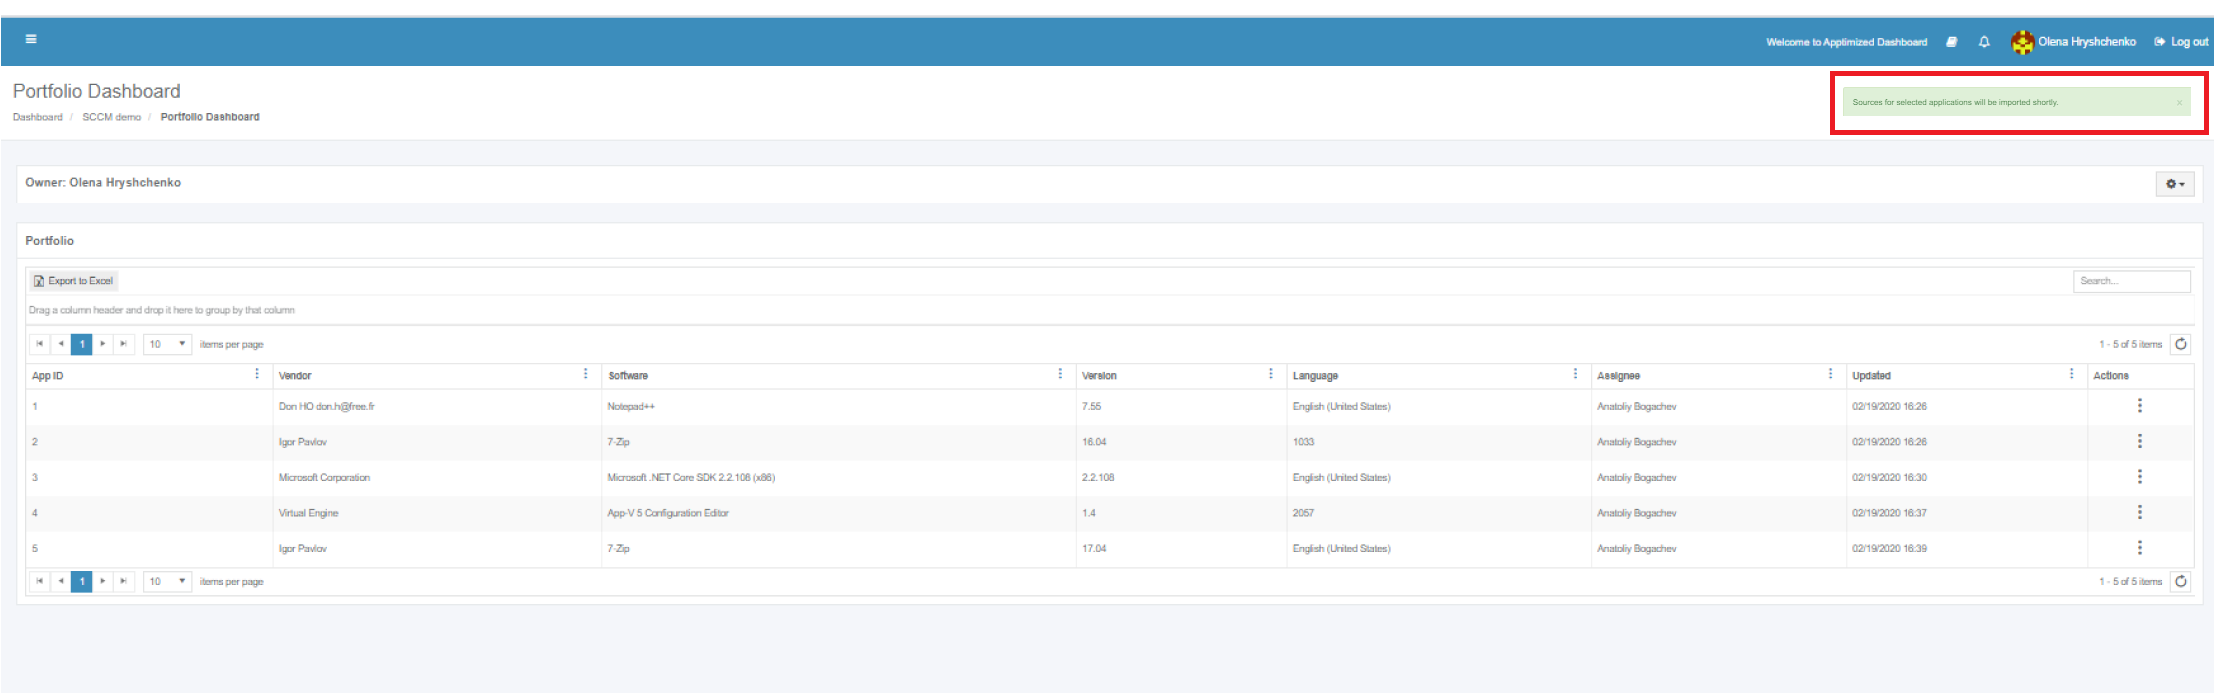
Imported applications immediately appear in the project portfolio.