
Discovery
The following scenarios to open the transition screen available:
- My Dashboard > My Applications > Choose the project > Actions column > Process option;
- Project menu > Dashboards > Overview > Your assignments module > Choose the application > Actions column > Process option;
- Project menu > Dashboards > Portfolio > Actions column > Process option;
- Project menu > Import > Start import > Classic import / Import from CSV file / SCCM Import /Catalogue & UM Import > Application upload session > Finish.
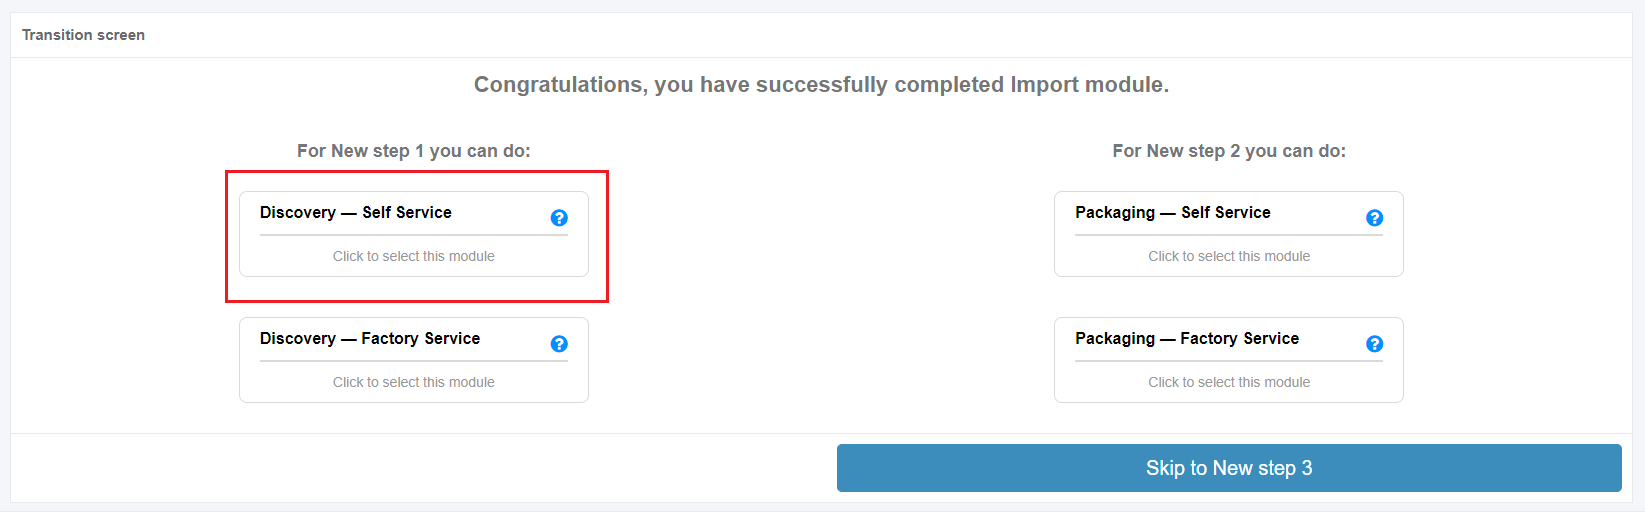
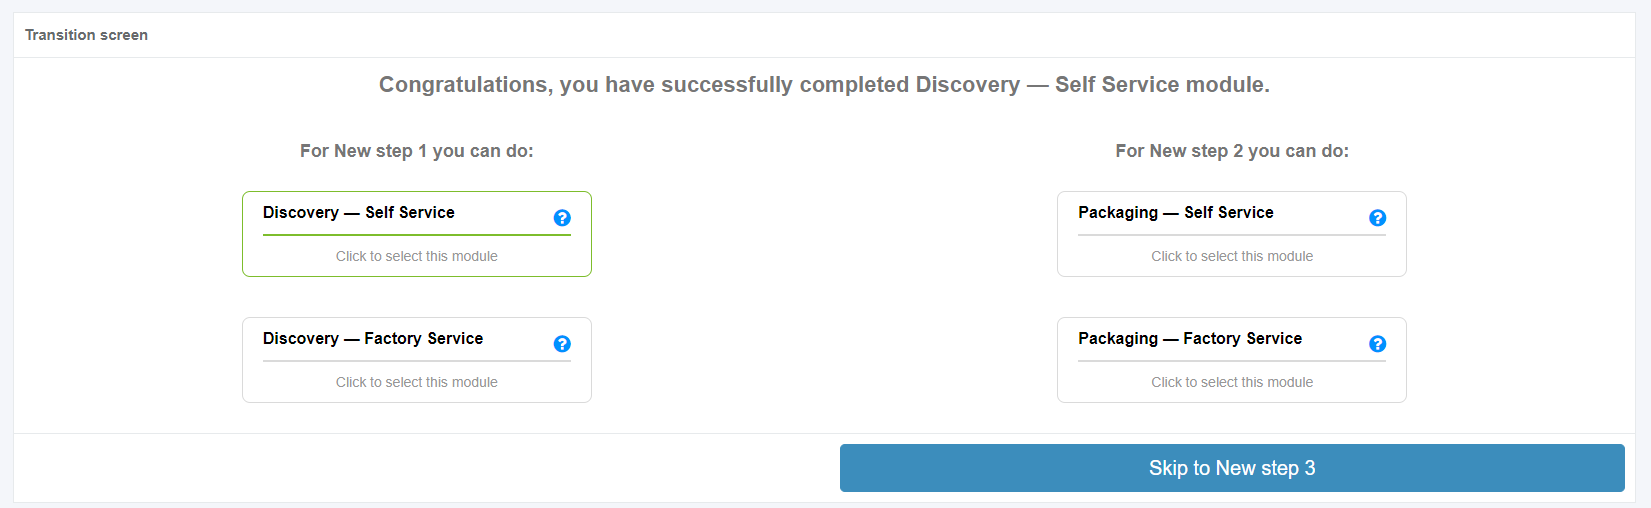
Apptimized shows the following screen when successful:

Two discovery scenarios available in Apptimized portal:
- Discovery – Self Service;
- Discovery – Factory Service.
Discovery – Self Service
A user can record a guide to install and configure the application on Apptimized VMs. A user’s actions are automatically captured as step-by-step screenshots and further described in textual format automatically. Before sending a document (which is available in PDF and HTML formats) to Apptimized, the user can change the scenario that they recorded (i.e., to swap screenshots, to edit comments for each screenshot or to delete unnecessary screenshots). Users can also create custom templates for the document, which are available in two formats.
Discovery - Self Service characteristics:
- A user installs an application on the chosen Microsoft Windows platform.
- A user automatically documents an installation, configuration, and test activities.
- A user can collaborate with his co-workers and Apptimized support staff.
The Discovery - Self Service option is available under the Discovery - Self Service module in the Transition screen.
Apptimized shows the following screen when successful:

A field "Select discovery – self service platform" is filled automatically and can be changed if needed. To change the discovery – self service platform, click the drop-down menu as it is shown in the screenshot below:
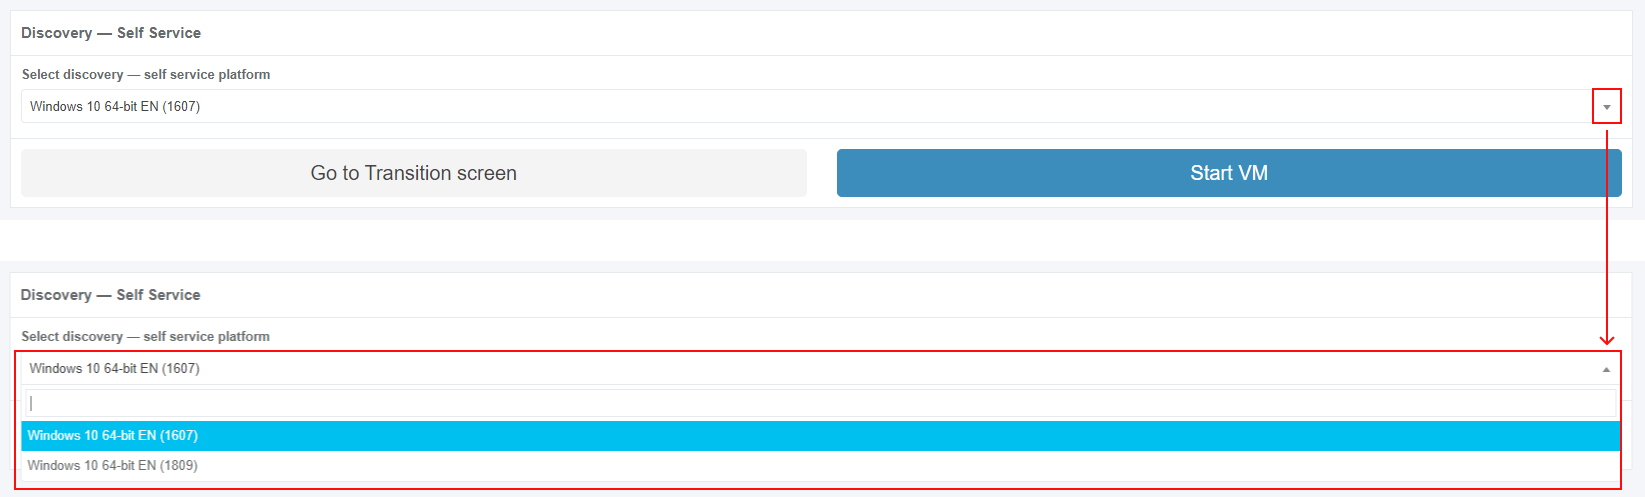
The option to revert to the transition screen is available under the Go to Transition screen button.
Discovery – Self Service process
The option to start the discovery – self service process is available under the Start VM button.
Apptimized shows the following screen when successful:
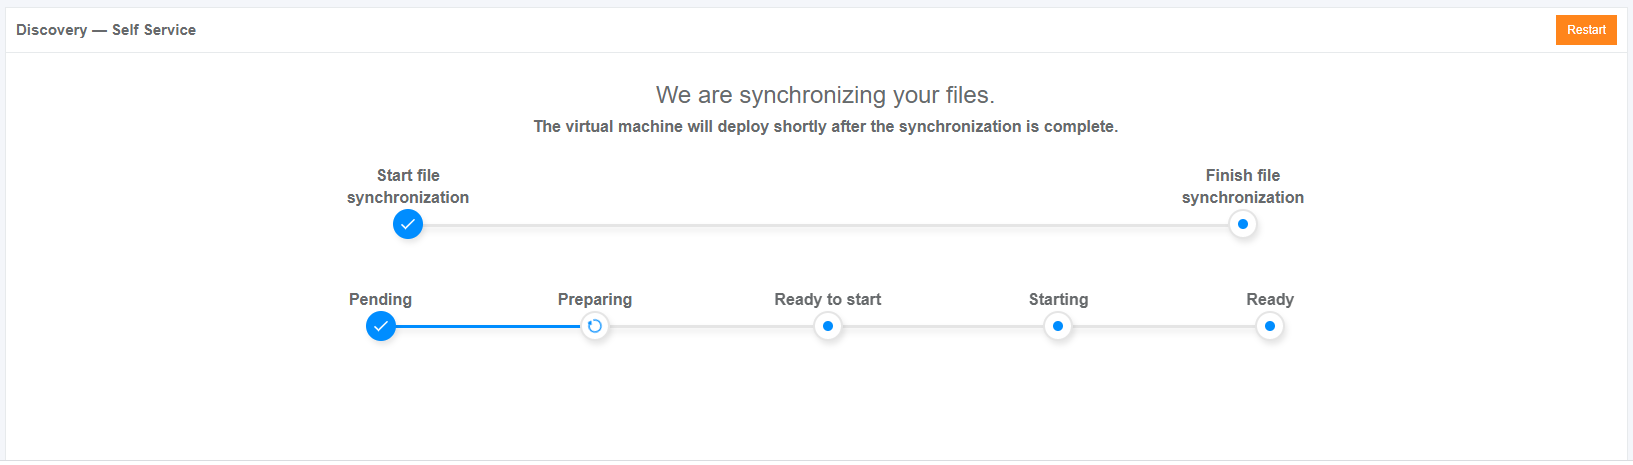
The file synchronization process may take few moments. Apptimized shows the following notification:

- Note.

The information is grouped into the following categories in the modal window:
1. Application
2. VM started time
3. Workflow progress
4. Link
The option to select a VM for termination is available under the Go to VM link. A new tab opens when successful:
.png)
When a VM is terminated, a user returns to the screen where he needs to restart a VM (previously a user started a VM but received a modal window with a list of running VMs).

.png)
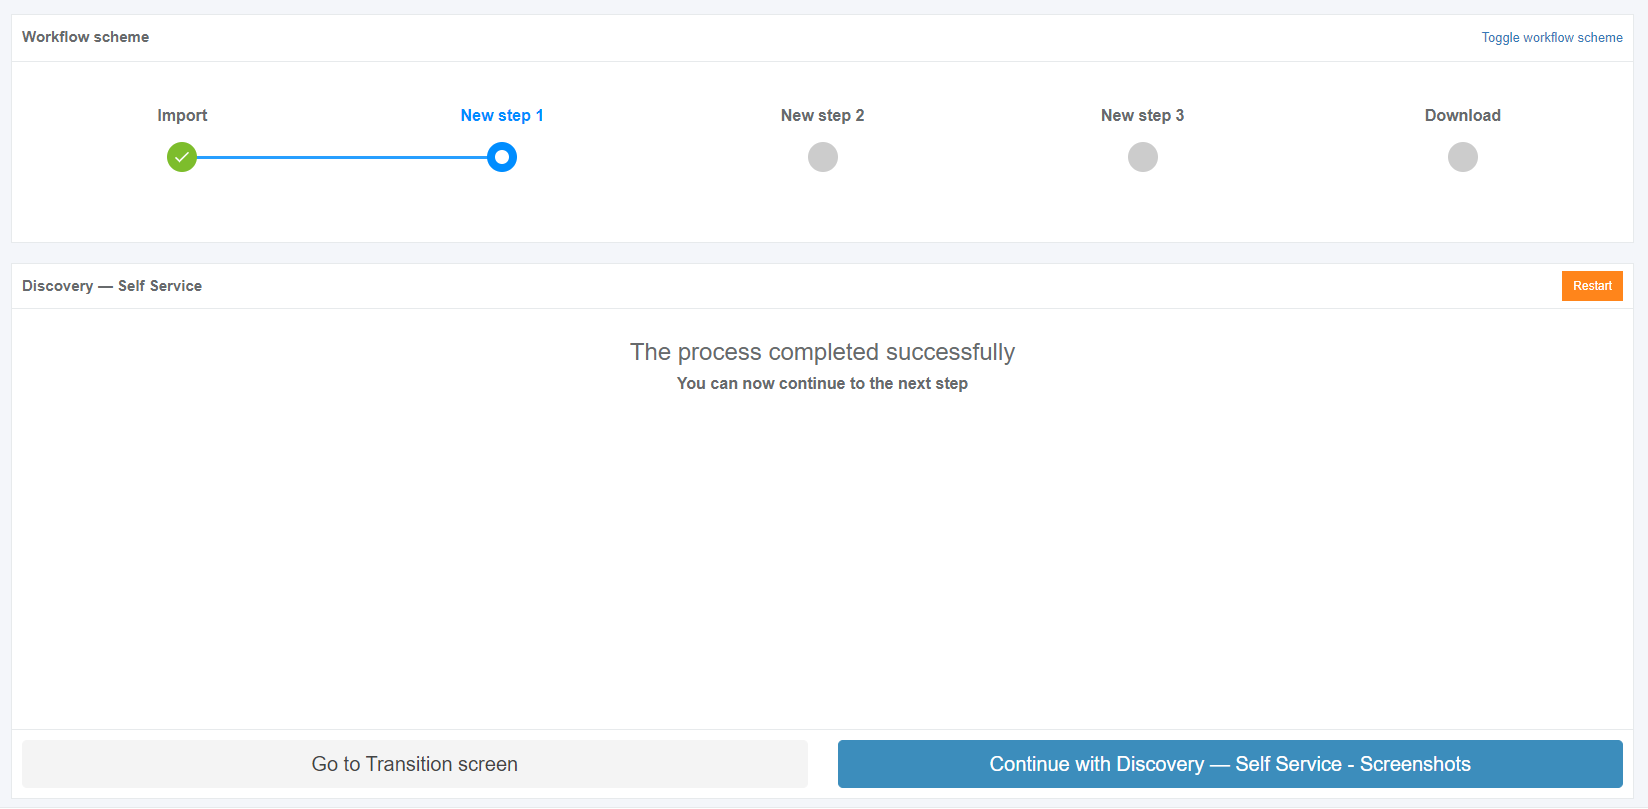
When the synchronization process is finished, Apptimized shows the following screen:
.png)
Note. If the internal error while starting VM occurred, Apptimized shows the following screen: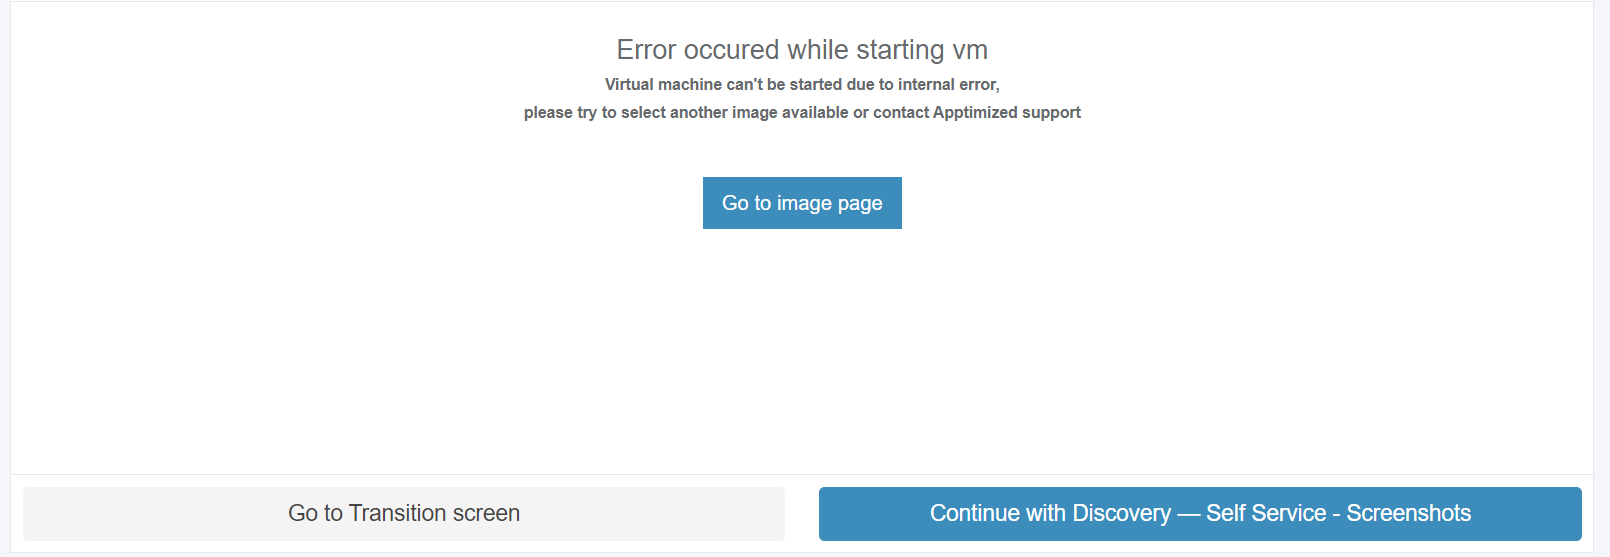
The following actions are recommended for consideration by a user:
1. Contact the Apptimized support
2. Go to image page button > Select discovery – self-service platform field > Start VM button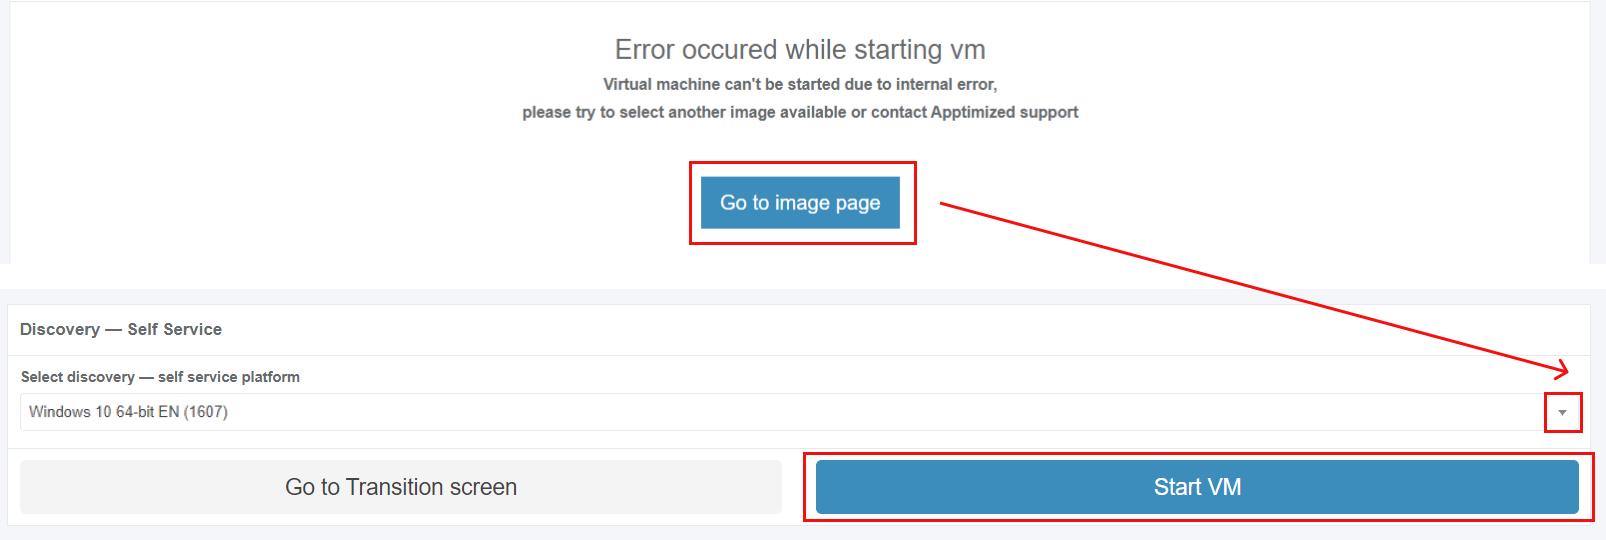
The uploaded files locate in the Apptimized files folder on the VM desktop.
To start the installation process, a user opens the .EXE file located in the Source folder.

Every action is captured as a screenshot which is shown in green boxes appearing on the right-hand side:
.png)
When application installation is completed, a user can provide further configurations (only the Edit and Settings categories).
The option to copy files to Temp storage storage is available under under Explorer context menu menu > Copy To Temp:

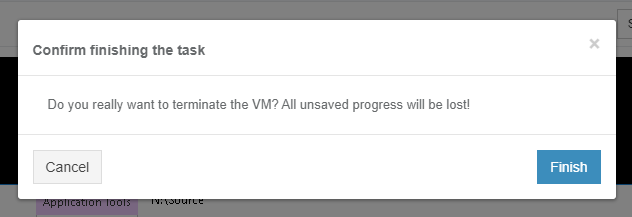
The options to finish the VM session is available under the Finish button.
The following interface will appear when recording session with Apptimized VM finishes:
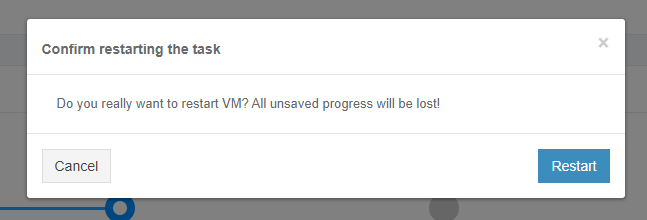
The option to restart the VM discovery session is available under the Restart button. To confirm the restarting the VM Apptimized shows the following modal window:
VM control menu
.png)
Next, each settings category is shown in more detail.
.png)
Table 1. VM control menu
|
|
Control menu category |
Details |
|
1 |
Screenshots |
This setting indicates the screenshot mode. On and Off options available. The default value is On. |
|
2 |
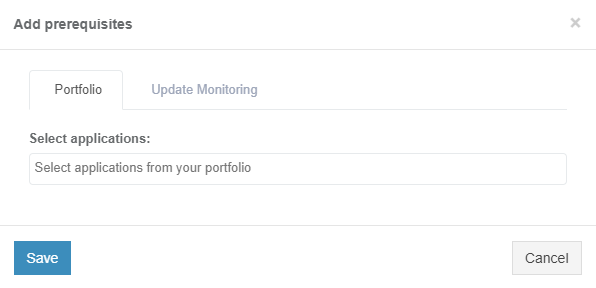
Add prerequisites/Edit prerequisites |
This setting enables a user to add prerequisite applications. Portfolio tab is available by default.
Portfolio tab
The option to select application is available
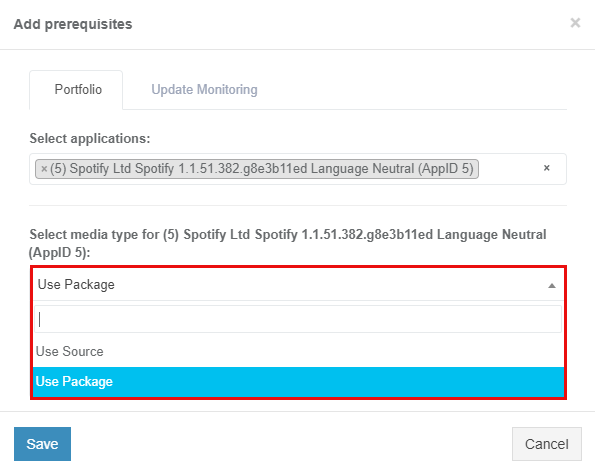
The option to select media type for applications is available after the application was selected. The following media types available:
Note. One media type is automatically selected if others are missing.
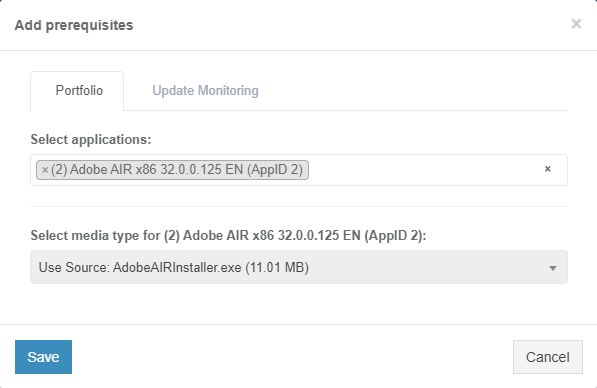
The option to use Source media type is available
The option
Update Monitoring
Update Monitoring tab allows to add prerequisites as applications
The option to Select application from Update Monitoring is available
Catalogue
The option to select applications from
The option to Save Changes is available
The option
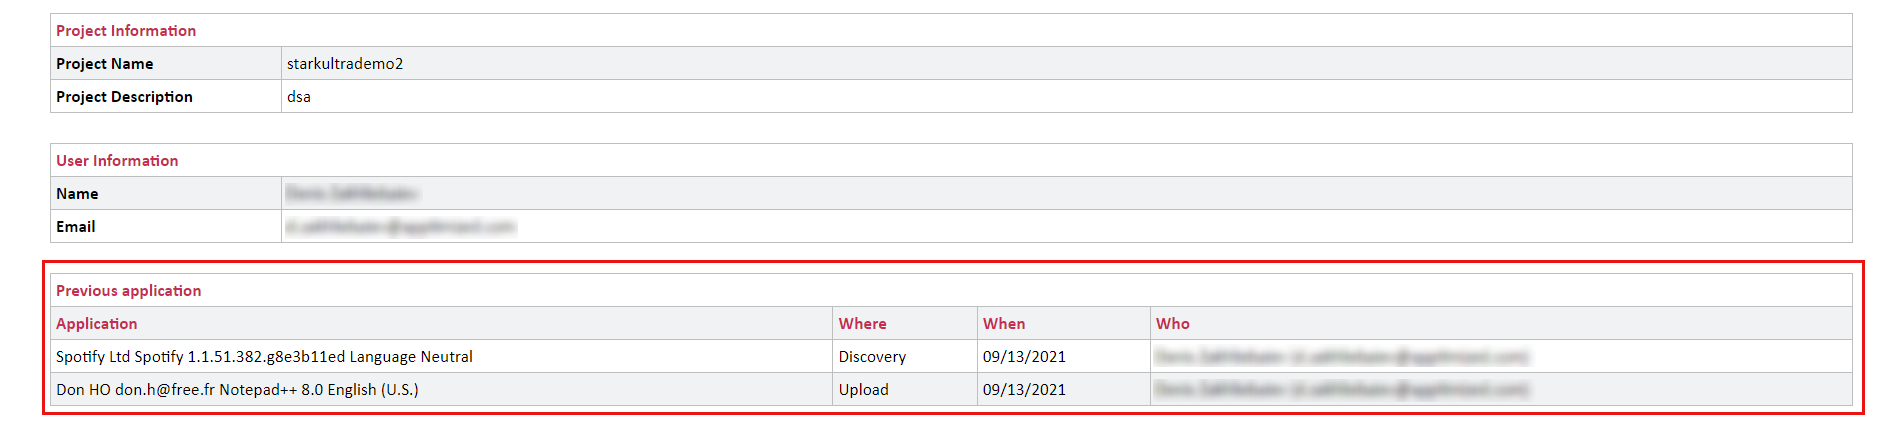
Note. Uploaded prerequisites are shown in the discovery documentation under the Previous application section. |
|
3 |
RDP |
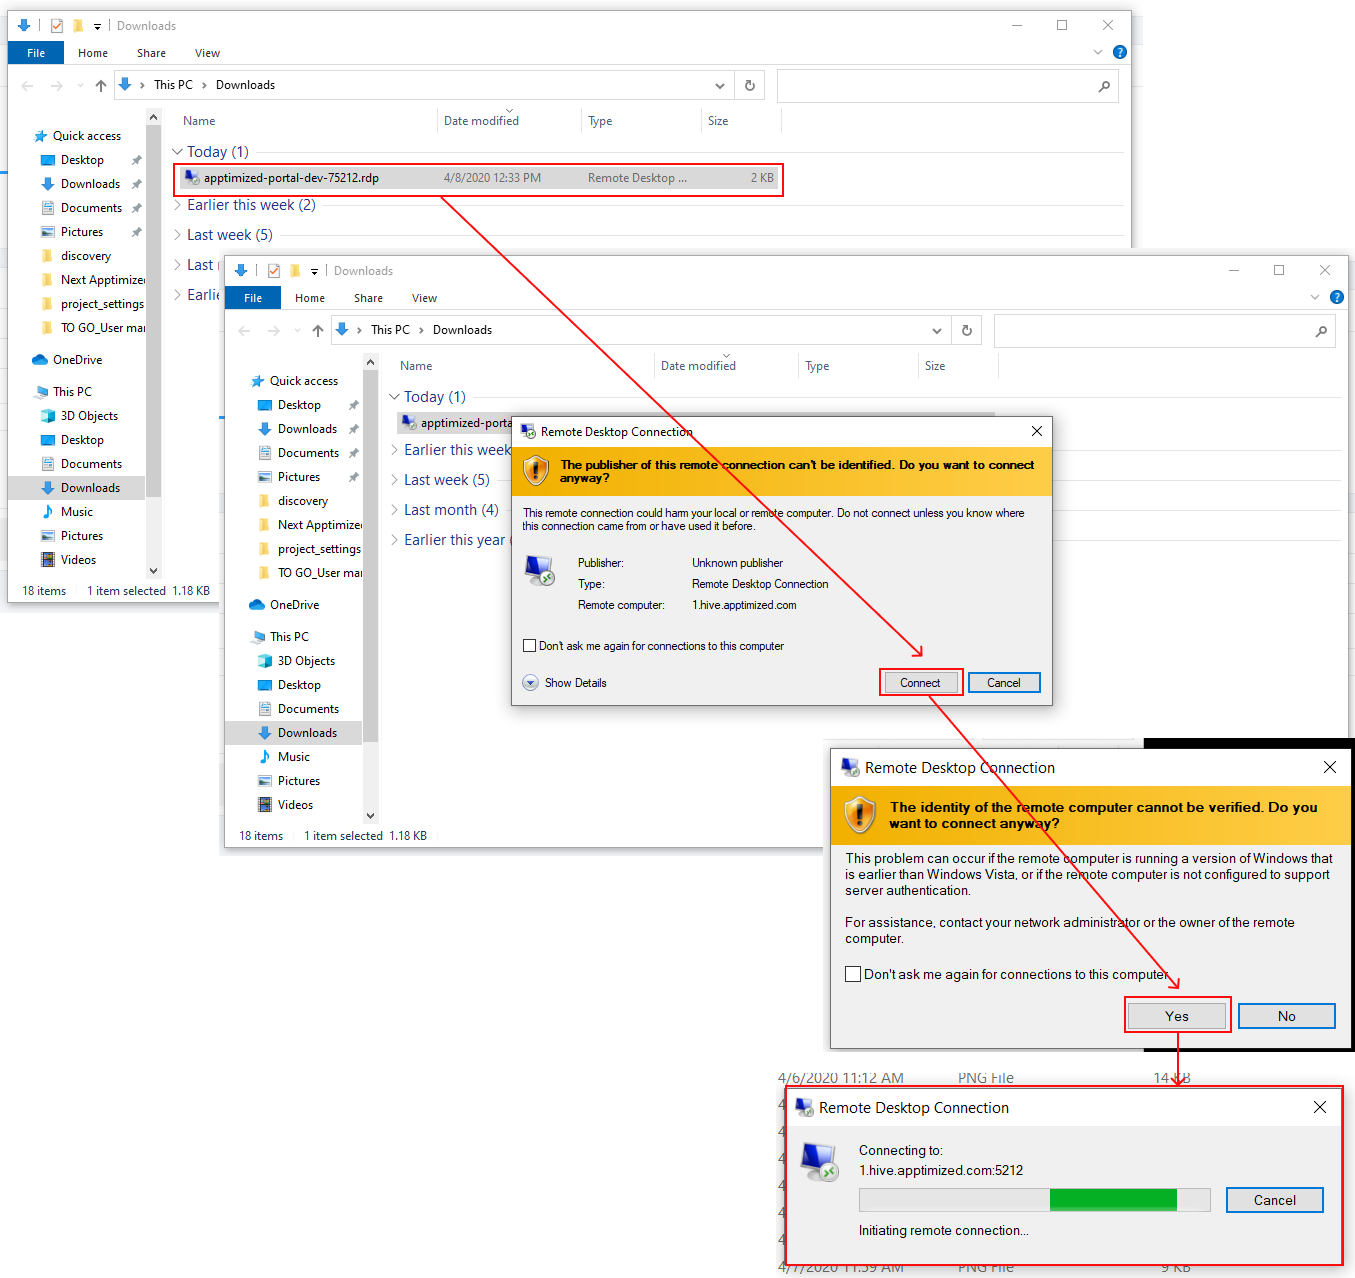
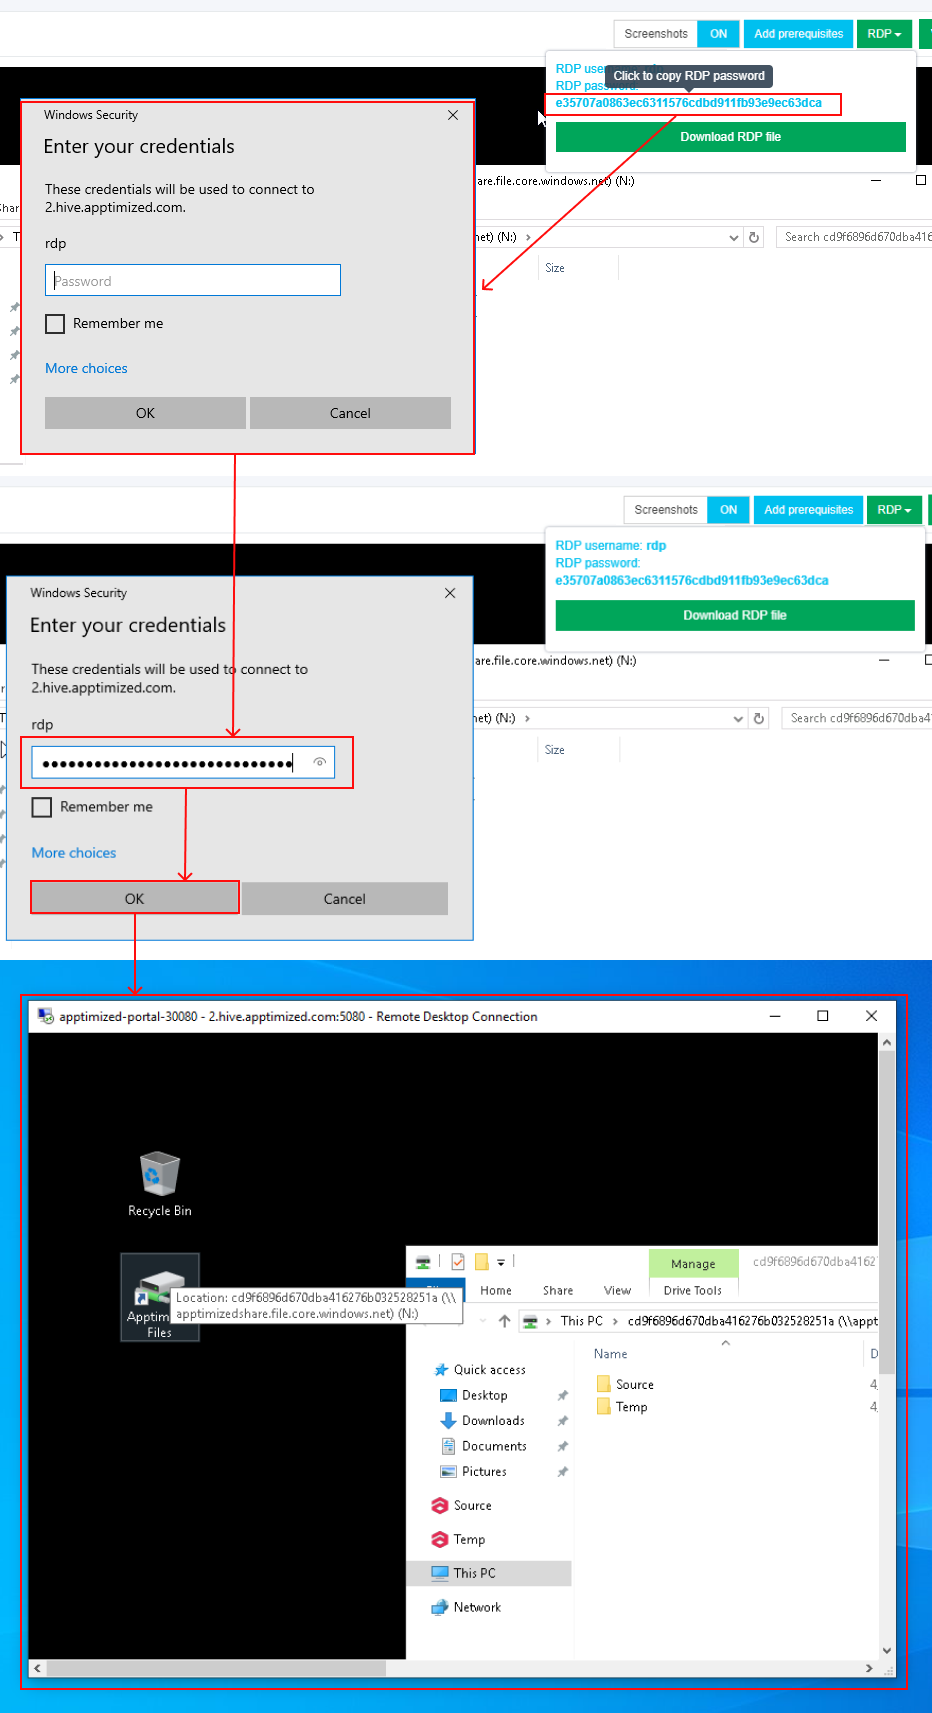
This setting enables a user to work on the VM directly via RDP rather than a browser window.
The option to download a file is available under the Download RDP file. The RDP file is available in the Downloads folder in user’s PC.
When the remote connection is set, copy the RDP password paste to the modal window. The remote desktop connection window appears when successful:
|
|
4 |
VM Snapshots |
The setting enables to create a snapshot of the VM to save its current state or to revert to a state saved earlier. This is applicable when the application has prerequisites that need to be present before a certain action (i.e., Discovery, Packaging, or Testing) can be started.
The snapshot option is available under the VM snapshot button > Snapshot name field > Take button. |
|
5 |
Clipboard |
This setting enables a user to put text from the user’s system to the VM clipboard. Transferring clipboard content between the host machine and the VM is performed via "Cut & Paste" in most user scenarios. If the user experiences any issues with "Cut & Paste", the Clipboard button can be used to put the text to the VM's clipboard.
|
|
6 |
Ctrl + Alt + Del |
This setting enables to open security options menu at the VM. |
|
7 |
Fullscreen |
This setting enables to put a browser in a full-screen mode. |
|
8 |
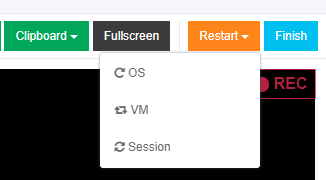
Restart |
This setting enables a user to redo the discovery session on a restarted VM. The following restart options available:
When the restart option is chosen, the confirmation model window appears. |
|
9 |
Finish |
This setting finishes the VM when the discovery session is completed. |
.png)
.png)
.png)
.png)
.png)

.png)
.png)
.png)
Discovery – Self Service screenshots
The option to edit the screenshots is available under the Continue with Discovery – Self Service screenshots button.
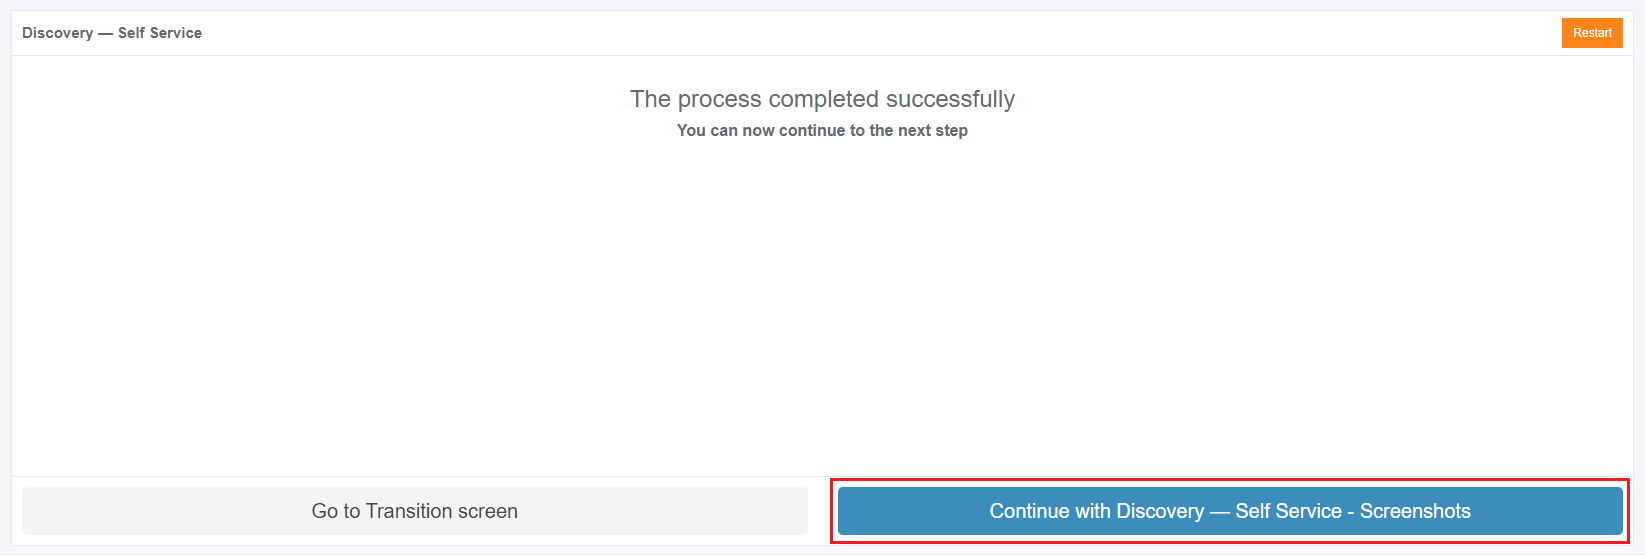
Apptimized shows the following screen when successful:
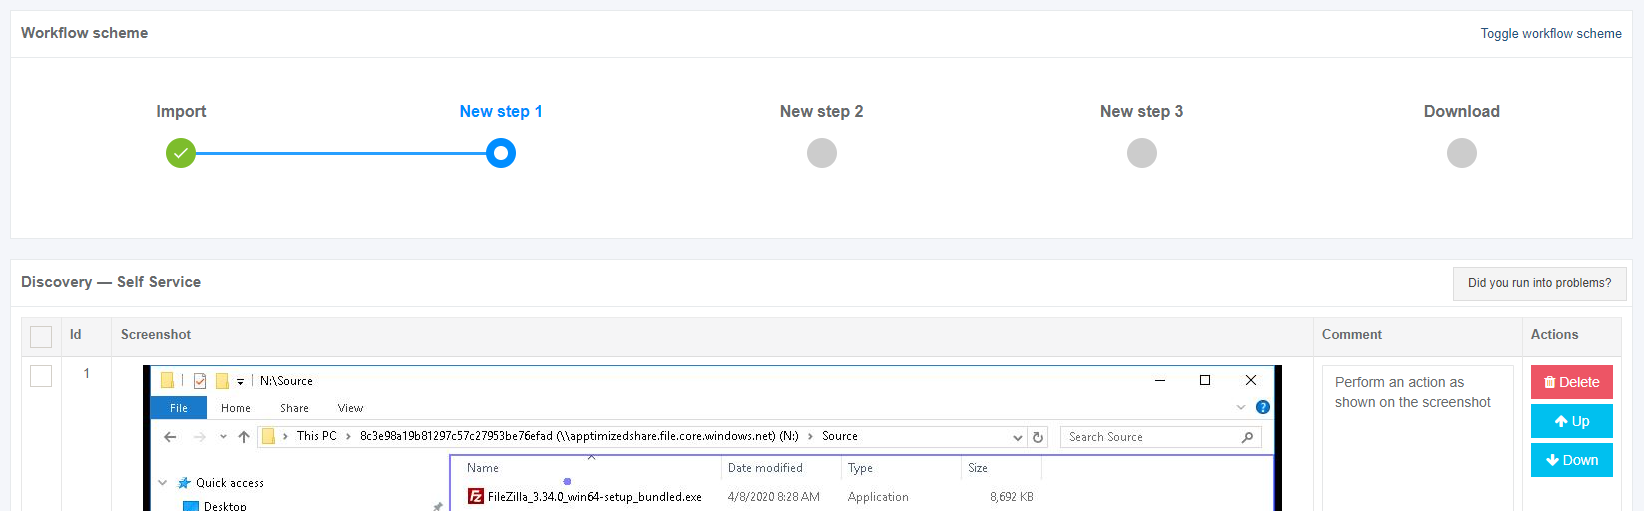
Screenshots can be excluded from discovery by clicking the Delete button.

Screenshots can be excluded from discovery in a multiple mode by unticking checkboxes in front of their ID and clicking the Delete selected screenshots button.

Apptimized shows the following modal window:

When clicking on the Confirm button, Apptimized shows the notification:
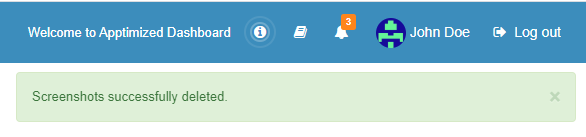
Screenshots sequence can be changed in discovery by clicking the Up or Down buttons.


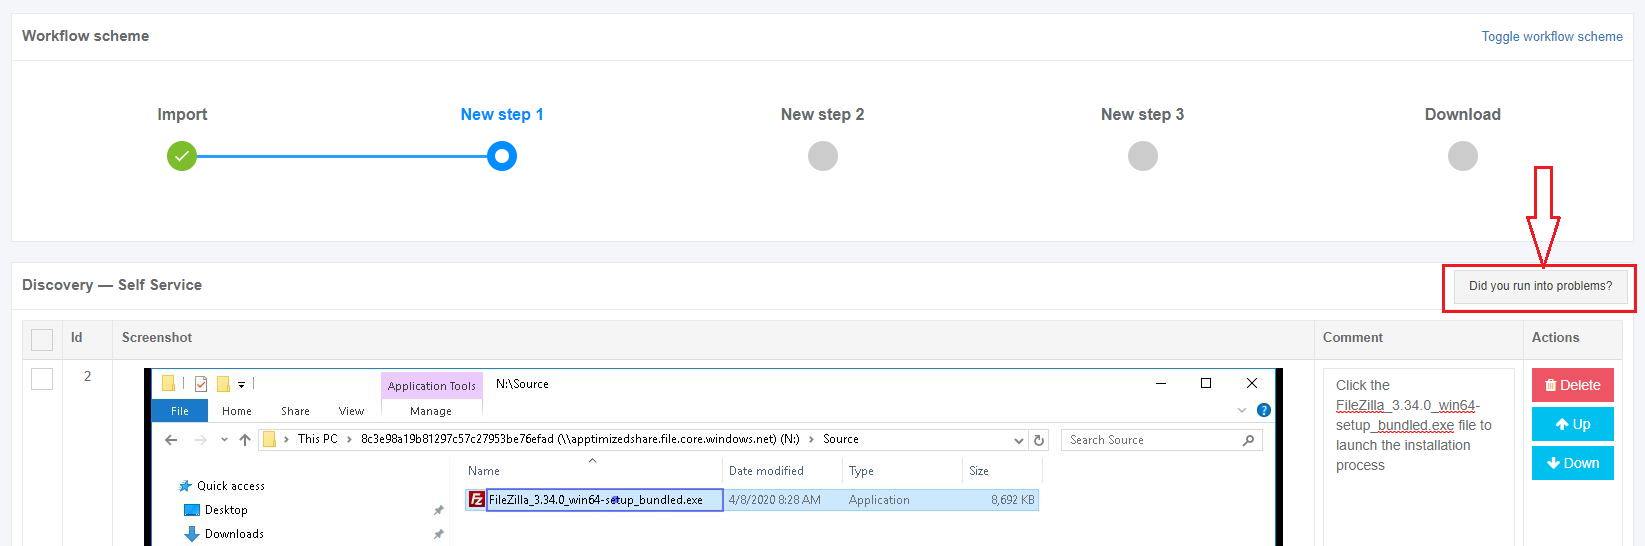
Comments to the screenshots can be edited by clicking on the comment cell.

The Additional comment (Optional) field can stay blank.

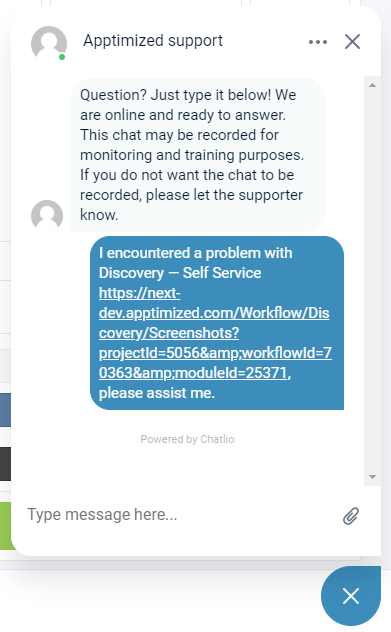
If any problems accur, the option to contact support is available under the Did you run into problems? button.
Apptimized shows the following modal window:
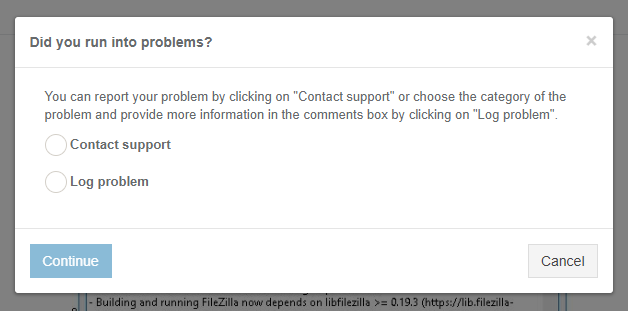
When the Contact support option is chosen, the live chat with the support team appears:
When the Log problem option is chosen, the modal window appears:

The problem category can be chosen by ticking checkboxes in front of their names.
Screenshots editing mode finalizes when clicking the Save changes button.
Apptimized shows the following interface when successful:

The generated document is available in PDF and HTML formats. To download a document, click the Download generated HTML document or Download generated PDF document buttons.
A generated HTML document first page sample is available:
.png)
The option to edit a discovery document is available under the Edit generated document button. The document editing finalizes by clicking the Save button.

The option to return to the discovery self-service screen mode is available under the Revert to Discovery – Self Service Self Service button.
The option to finish the discovery process is available under the Finish button.
Apptimized shows the following screen:
Discovery — Factory Service process
Discovery - Factory Service characteristics:
- Apptimized installs, configures, and tests an application for a user.
- Apptimized documents the configuration for a user.
- Apptimized contacts a user if any details are needed.
The Discovery - Factory Service option is available under the Discovery - Factory Service module in the Transition screen.
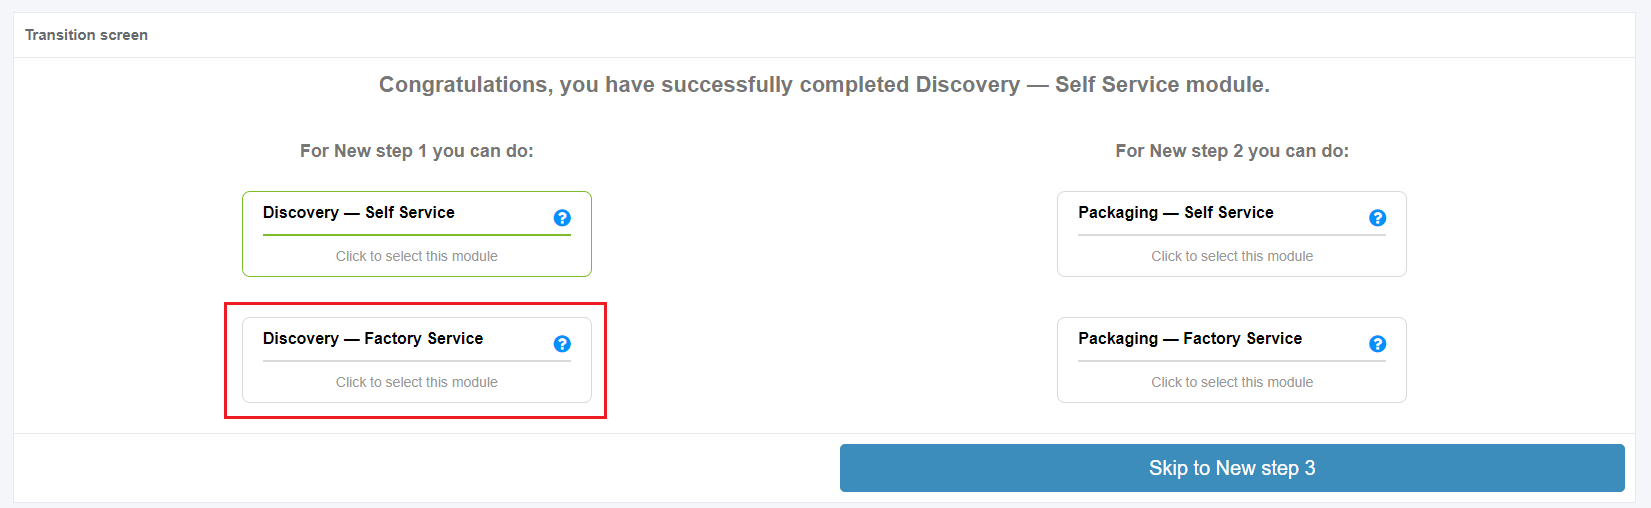
Apptimized shows the following screen when successful:
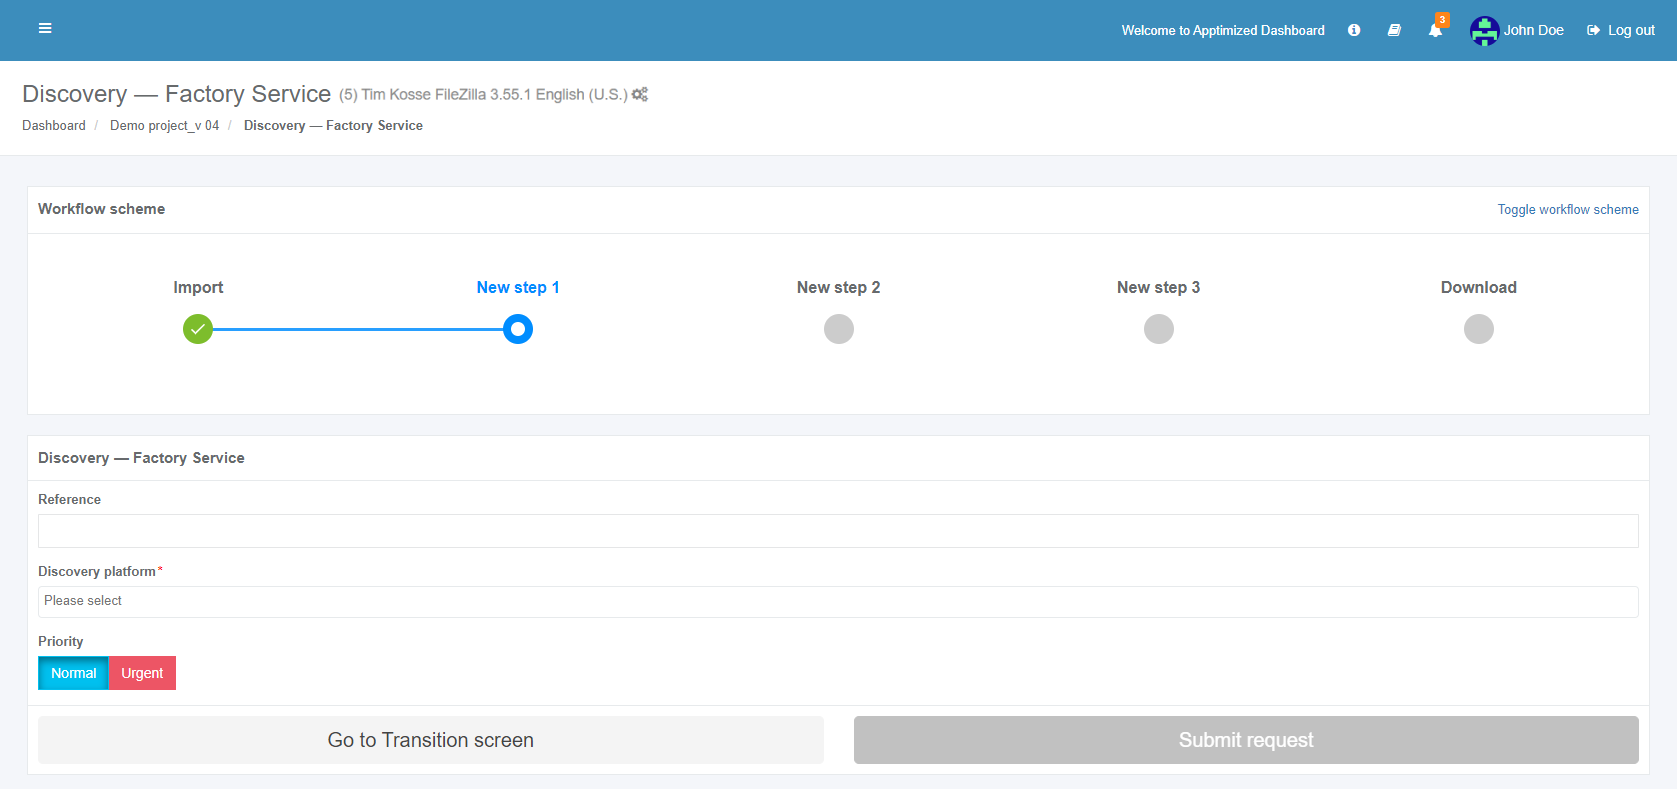
All required fields are marked with an asterisk *.
The option to provide a comment is available under the Reference field.
The option to choose the discovery platform is available under the Discovery platform field.
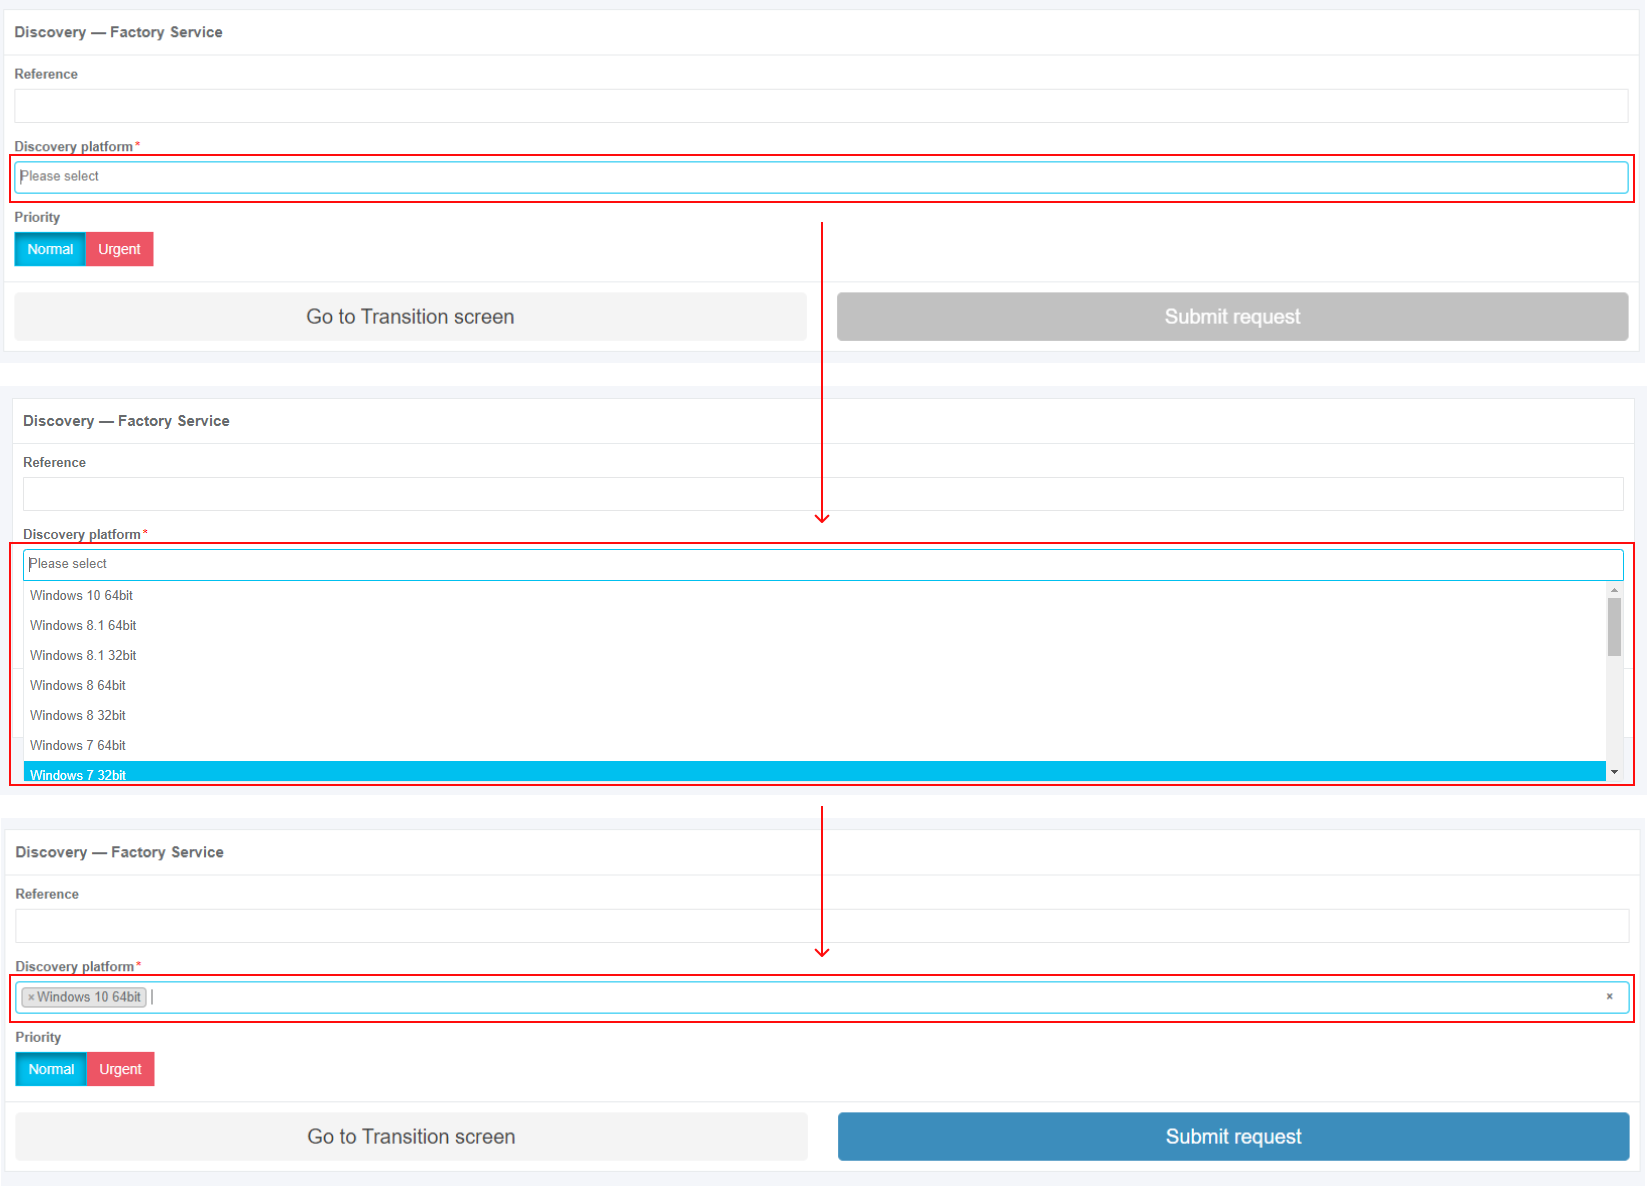
Two priority options are available: Normal and Urgent. The default value is Normal.
The option to submit submit the discovery request is available the the Submit request button.
Apptimized shows the following modal window:

The option to change the Normal priority to Urgent before approving the request is available under the NeedMake it sooner? Upgrade to Urgent by clicking hereurgent button.
The option to create the request is available under the OK button.
Apptimized shows the following screen when successful:
.png)
This is an initial screen, and all blocks except the Status block are empty.
This screen provides information on the Apptimized Discovery – Factory Service request (i.e., request progress and status). Additional information that might be needed during the discovery process will be exchanged here.
After the request is created, the current priority is displayed on the Factory Service page. Clicking the Priority field opens a modal window allowing the priority to be increased to Urgent.

Next, each Discovery – Factory Service block is shown in more detail.
Status block
The Status block shows discovery progress. The following request statuses appear depending on the Discovery – Factory Service progress:
Table 2. Discovery request statuses
|
Request status |
Description |
|
Incoming check |
The request has not been processed by the Apptimized team yet. The request is in the queue. |
|
In progress |
The request was processed by the Apptimized team. The request is in progress. |
|
Action required |
The Apptimized team asked the user a question. The user answer is needed. |
|
Delivered |
Discovery results are available to the user. Discovery results can be provided in PDF and HTML formats. |
|
Error analysis |
The user rejected the Discovery results. Apptimized team fixes bugs in the Discovery document. |
|
Approved |
The user has confirmed the Discovery results. |
|
Canceled |
The user canceled the Discovery request at the processing stage. |
The option to cancel the request is available under the Cancel Request button.


Apptimized shows the following modal window to confirm the request cancellation:

Apptimized shows the following modal window when successful:
.png)
A user can cancel the discovery request until the Delivered status is achieved, and the discovery deliverables are available.
.png)
If a user is not satisfied with the discovery results, they can be rejected under the the Factory activity block.
When a user is satisfied with the discovery results, they must be approved in the Status block. The option to approve the request is available under the Approve Request button. The Approve Request button becomes active when the Delivered status is achieved, and the discovery deliverables are available.
Apptimized shows the following modal window to confirm the request approval:
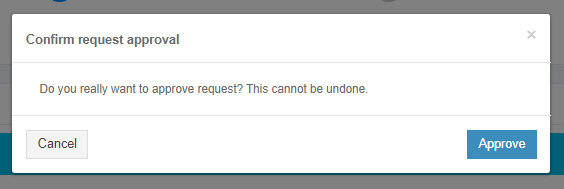
Apptimized shows the following screen window when successful:
.png)
Note. When a user approves the request, the option can`t be canceled.
Deliverables block
This block provides the discovery results to a user. Discovery results can be provided in PDF and HTML formats.
The option to download the discovery results is available under the Download button.
.png)
If a user is not satisfied with the discovery results, they can be rejected rejected for further processing by the the Apptimized team. The option to reject the discovery results is available under the the Factory request section under the the Factory activity activity block (see see Factory activity block).
Factory activity block
The option to contact the specialist from from the the team is available under the the Factory activity block > Factory request > Write a message... field.
.png)
The option to add optional attachments to the comment, such as screenshots or additional files (max 10 MB per file), is available under the the Select Select file.
.png)
The option to send send a a message is available under the the Add button.
.png)
The option to provide additional comments or attachments to the Apptimized team is available under the the Factory activity block after the Factory request was solved.
The option to ask additional questions to the Apptimized team is available under the the Report a problem button.
.png)
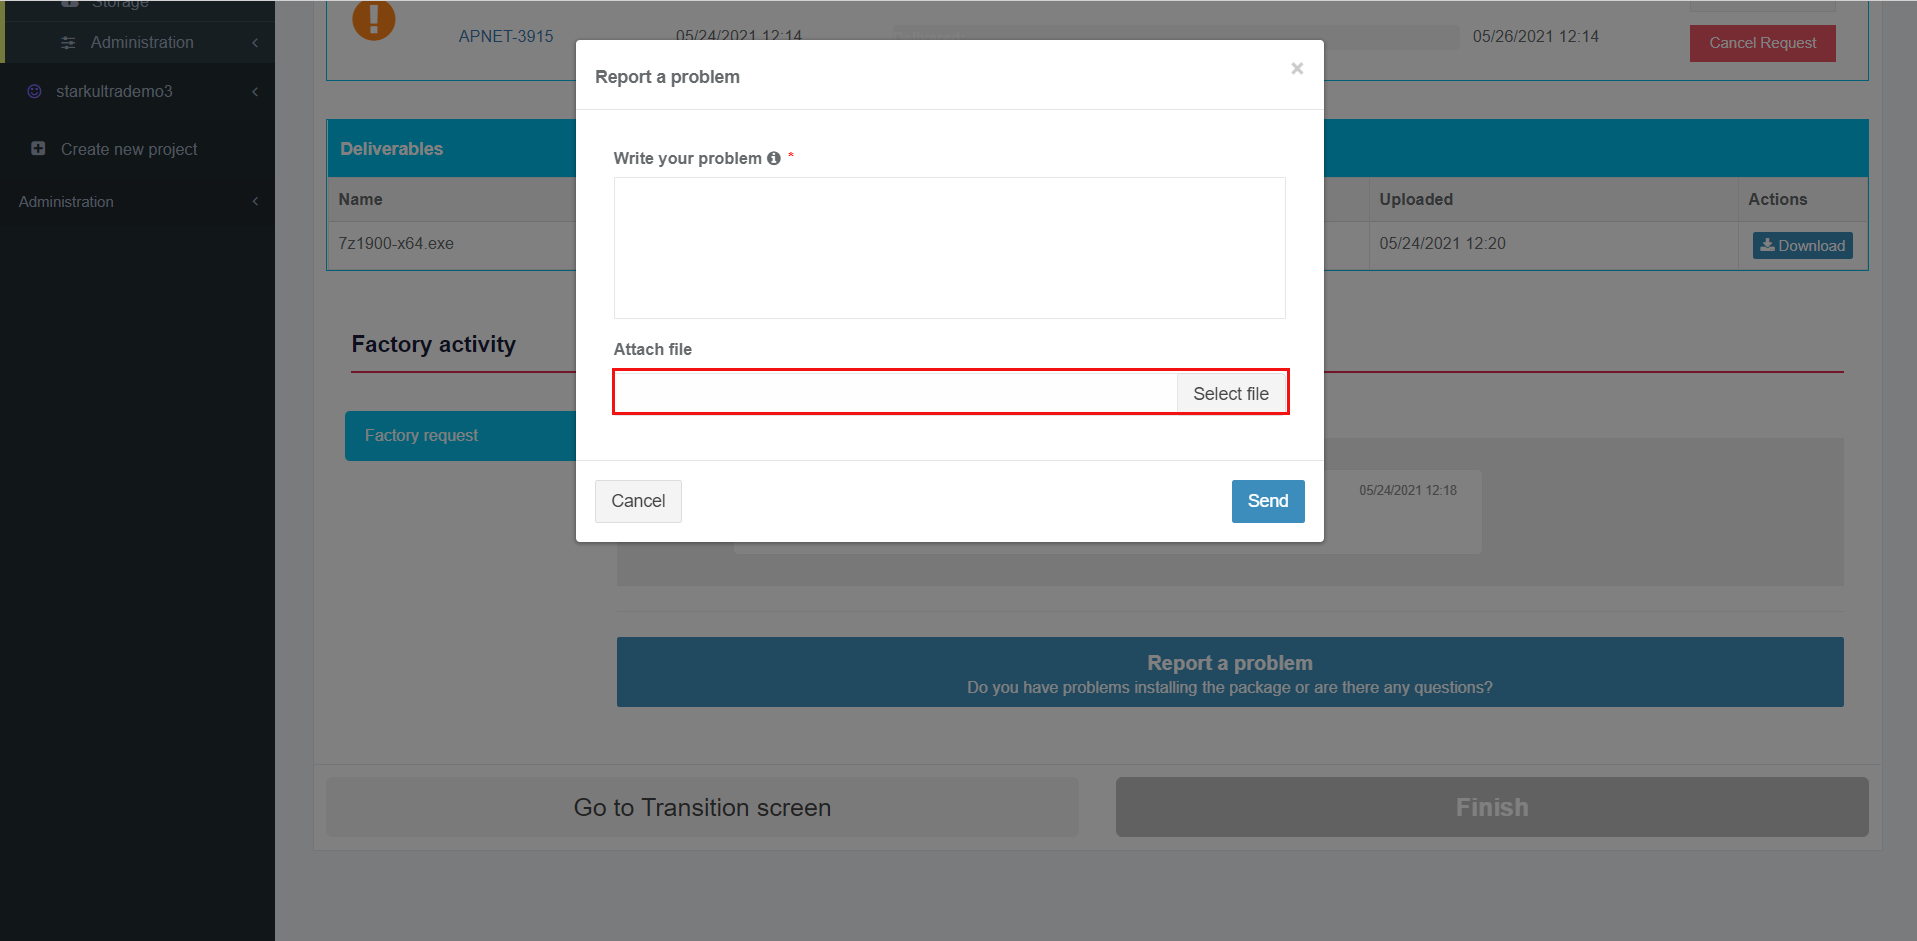
Apptimized provides the following modal window when successful:
.png)
The option to write a text message is available under under the the Write your problem field.

Note. This field is mandatory.
The option to attach attach a a file is available under the the Select file field.
The option to change the attached file is available under the the Change button.
.png)
The option to remove the attached file is available under the the Remove button.
.png)
The option to send send a a message is available under under Send field. Cancel – reverts to to general Factory process process workflow.

Apptimized shows the message history interface when successful:
Note. The attached ttached files appear above the message history interface.
.png)
If Apptimized needs some additional information, a user will receive notifications and a warning icon in the dashboard:
.png)
.png)
If there is is feedback from the user user regarding the Factory Request, the following notification and status in the dashboard appear:
.png)
.png)
Apptimized provides the following following notification and and statuses in workflow and dashboard after the request was solved:
.png)
.png)
Finish Discovery - Factory Service
.png)
The option to create a new request is available under the Create new request button. Apptimized shows the following modal window to confirm the request approval:
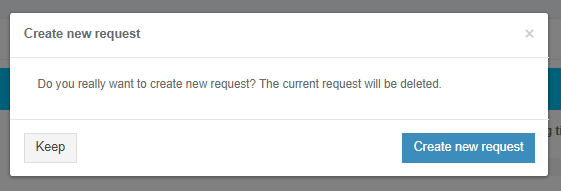
Apptimized shows the following screen when successful:

The option to finish Discovery - Factory Service process is available under the Finish button.
.png)
Apptimized shows the following screen when successful:
