Integration
SCCM Connector empowers Apptimized customers to:
- import software estate from SCCM server to Apptimized project portfolio;
- create an application in SCCM Console;
- add the deployment type to application with automatic media transfer;
- start the deployment of an application.
SCCM Connector Integration saves time and provides instant deployment of SCCM packages without the need to leave Apptimized.
Requirements and limitations
The following prerequisites apply for SCCM connector:
- endpoint PC or VM with access to the 443 port of app.apptimized.com host;
- endpoint membership in Active Directory domain;
- Microsoft Windows Desktop (Windows 7 and above) or Server OS (Windows Server 2012 R2 and above) with installed .NET Framework 4.6.1;
- write permissions for network share with packages source media for automatic media transfer;
- administrator role for SCCM or permissions to create applications, deployment types, and deployments;
- installed SCCM Administrator Console with a connection to the SCCM server.
Integration configuration with Apptimized
Initial integration to Apptimized requires a one-time configuration of SCCM Connector settings. It is required to establish a connection to the remote SCCM Environment.
It is possible to override preconfigured settings during the creation of an object in SCCM if needed, so they take precedence over the template of settings defined during the initial setup.
Connection and default configuration
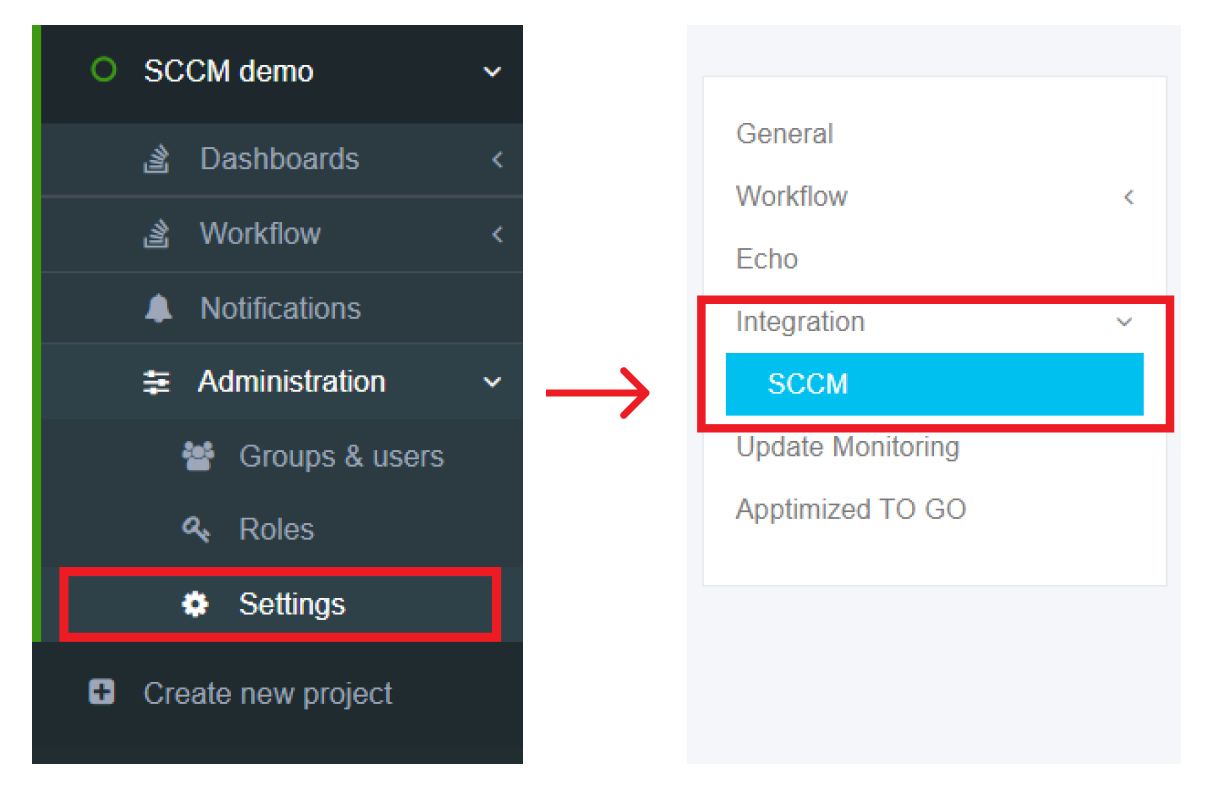
The one-time configuration is available for project administrators under Settings in the project menu > Integration section > SCCM type.
SCCM Connector becomes active when switched on and once the required settings are completed.
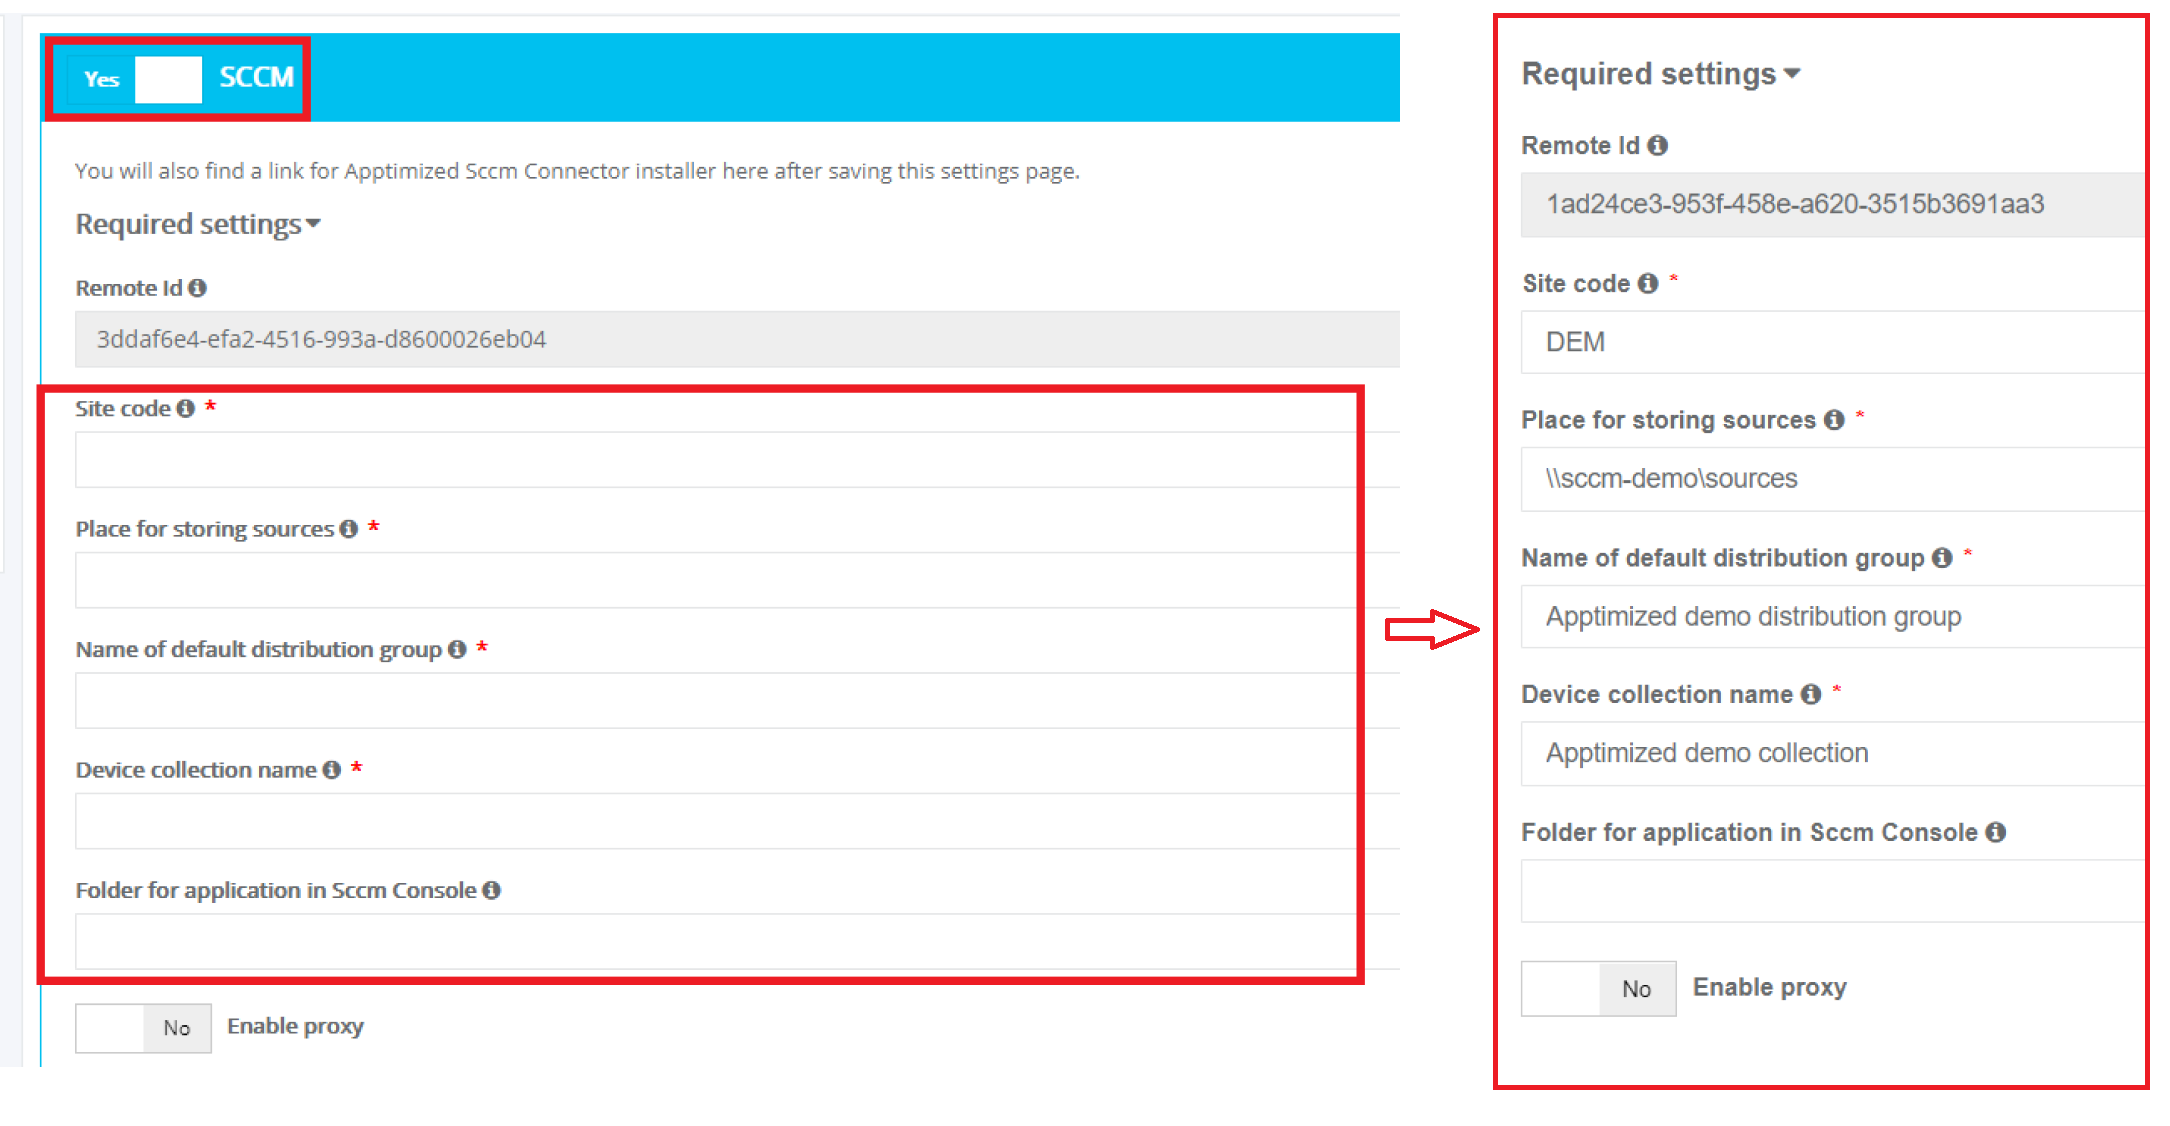
Table 1. Basic settings
|
Settings |
Details |
| Remote ID |
The remote ID is a unique identifier generated automatically for every project during its creation. Remote ID provides customer identification. |
| Site code |
Site codes and site names identify sites in a Configuration Manager hierarchy. Configuration Manager Setup prompts for a site code and site name for the central administration site, and each primary site and secondary site installation. Learn more. |
| The place for storing sources | Network share for SCCM package source media. |
| Name of the default distribution group |
Indicates the default group of users or devices where to Install applications. This setting corresponds to the term "Distribution point group" in the SCCM admin console. |
| Device collection name |
Indicates the collection of devices where to install applications. This setting corresponds to the term "Device collection" in the SCCM admin console. |
| Folder for application in SCCM Console |
This field is optional and can stay blank. If provided, overrides the default “Application” folder in SCCM Administrator Console as a target path for created application records.
Example: Testfolder1\testFolder2 or Testfolder1\testfolder2\testfolder3. |
If the endpoint connects to the internet via the proxy server, configure the connection by turning on Enable proxy and selecting Use default windows credentials or providing credentials in Username and Password fields.
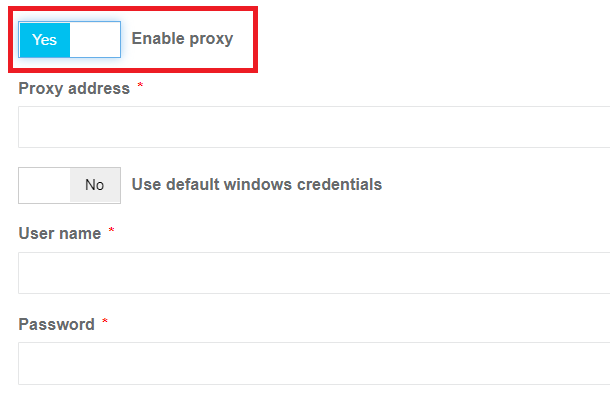
Note. SCCM connector doesn'isn't have the abilityable to use Windows default proxy settings. A user enters manually the proxy settings (which are configured on a machine) into the Apptimized portal.
Advanced settings are optional and provide granular configuration of the SCCM Connector.
The set of advanced settings depends on the chosen installer type. Table 2 shows settings suitable for all installer types.
Table 2. Advanced settings for all installer types
|
Settings |
Details |
|
Path to SCCM Console |
The field indicates a binary of the SCCM console on the disk. By default, the path is C:\Program Files (x86)\Microsoft Configuration Manager\AdminConsole\bin. |
| Auto-install in task sequence of SCCM Console |
This setting indicates whether a task sequence action in SCCM Console can install the application. Yes or No options are available. The default value is Yes. |
| Installer type |
This setting indicates the type of installer to use. The following installer types are available: The default value is Script Installer. |
| What to do on a slow network |
This option specifies actions with package sources in case of a slow network. Following options are available:
|
| Maximum installation time (minutes) |
This option indicates the maximum duration per installation in minutes. The default value is 120. |
| Estimated installation time by default (minutes) |
This option indicates the estimated duration per installation in minutes. The default value is 0. |
| Install or uninstall the application by default |
This option specifies the default action on the client's machine or device. Install or Uninstall options are available. The default value is Install. |
| Deploy the purpose of the installation by default |
This option specifies whether the application deployment can is mandatory or optional. Available or Required options are available. The default value is Available. |
| Deadline time |
This option indicates the deadline time of installation. The deadline is a current date for the moment of creation of an application on the SCCM server. The default value is 18:00. |
| Time zone of a deadline |
Local time or UTC options are available. The default value is Local time. |
Table 3. Advanced settings for Script Installer only
| Settings | Details |
| Script type for the detection method |
This setting indicates the type of script content of the detection method. The following script types for detection method are available: The default value is Powershell. |
|
Detection script content template |
This field specifies the script template of the detection method. It is possible to provide a custom template with mandatory variables in square brackets, indicating them in any order and quantity. The Connector replaces these variables with specific values during the deployment to SCCM. The default value is Get-ItemProperty "HKLM:Software\[PackageName]\ |
|
Persist content in the client cache |
This setting indicates the necessity to upload the application or package source to the client's machine or device cache. Yes or No options are available. The default value is No. |
|
Uninstallation command with parameters |
This setting indicates the command to run during the package uninstallation. The default value is Deploy-Application.exe -DeploymentType Uninstall |
|
Installation context |
This option defines the context of the package installation. The following installation contexts are available:
The default value is Install for the system. This option corresponds to the term Installation behaviour in the SCCM admin console. |
|
Should the user be logged on or not |
This option defines the required user state when the installation starts. The following options are available:
The default value is Whether or not users are active in the system. This option corresponds to the term Logon requirement in the SCCM admin console. |
| Installation visibility for the user |
This option defines the installation process visibility. The following options are available:
The default value is Normal. This option corresponds to the term Installation program visibility in the SCCM admin console. |
| Requires user interaction |
This setting indicates if the user can be involved in the installation or uninstallation process. Yes or No options are available. The default value is No. |
Table 4. Advanced settings for MSI and Script Installer only
| Settings | Details |
| Installation command with parameters |
This setting indicates the command to run during the package installation. The default value for the Script Installer is Deploy-Application.exe -DeploymentType Install The default value for the MSI Package is msiexec /i "\\atd-dist01\Public\CM\DTeam\FeatureData\OSD\Tbreck\Setup1.msi" or msiexec /i "\\atd-dist01\Public\CM\DTeam\FeatureData\OSD\Tbreck\Setup1.msi" /qn |
| Run installation program as a 32-bit process on 64-bit client |
This setting forces the installer to launch as a 32-bit process on the 64-bit client. Yes or No options are available. The default value is No. |
Table 5. Advanced settings for MSI and App V installers only
| Settings | Details |
| Identify deployment type information from a package file |
This setting indicates the option of a manual (Yes) or automatic (No) deployment type information identification. The default value is No. |
| The file where to get information |
This field indicates the file with the deployment type information. The following options are available:
|
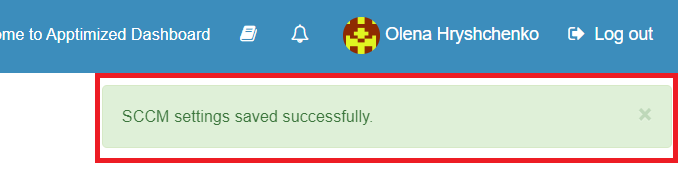
Settings are persisted on click to Save button.
In case of success, Apptimized shows the following notification:
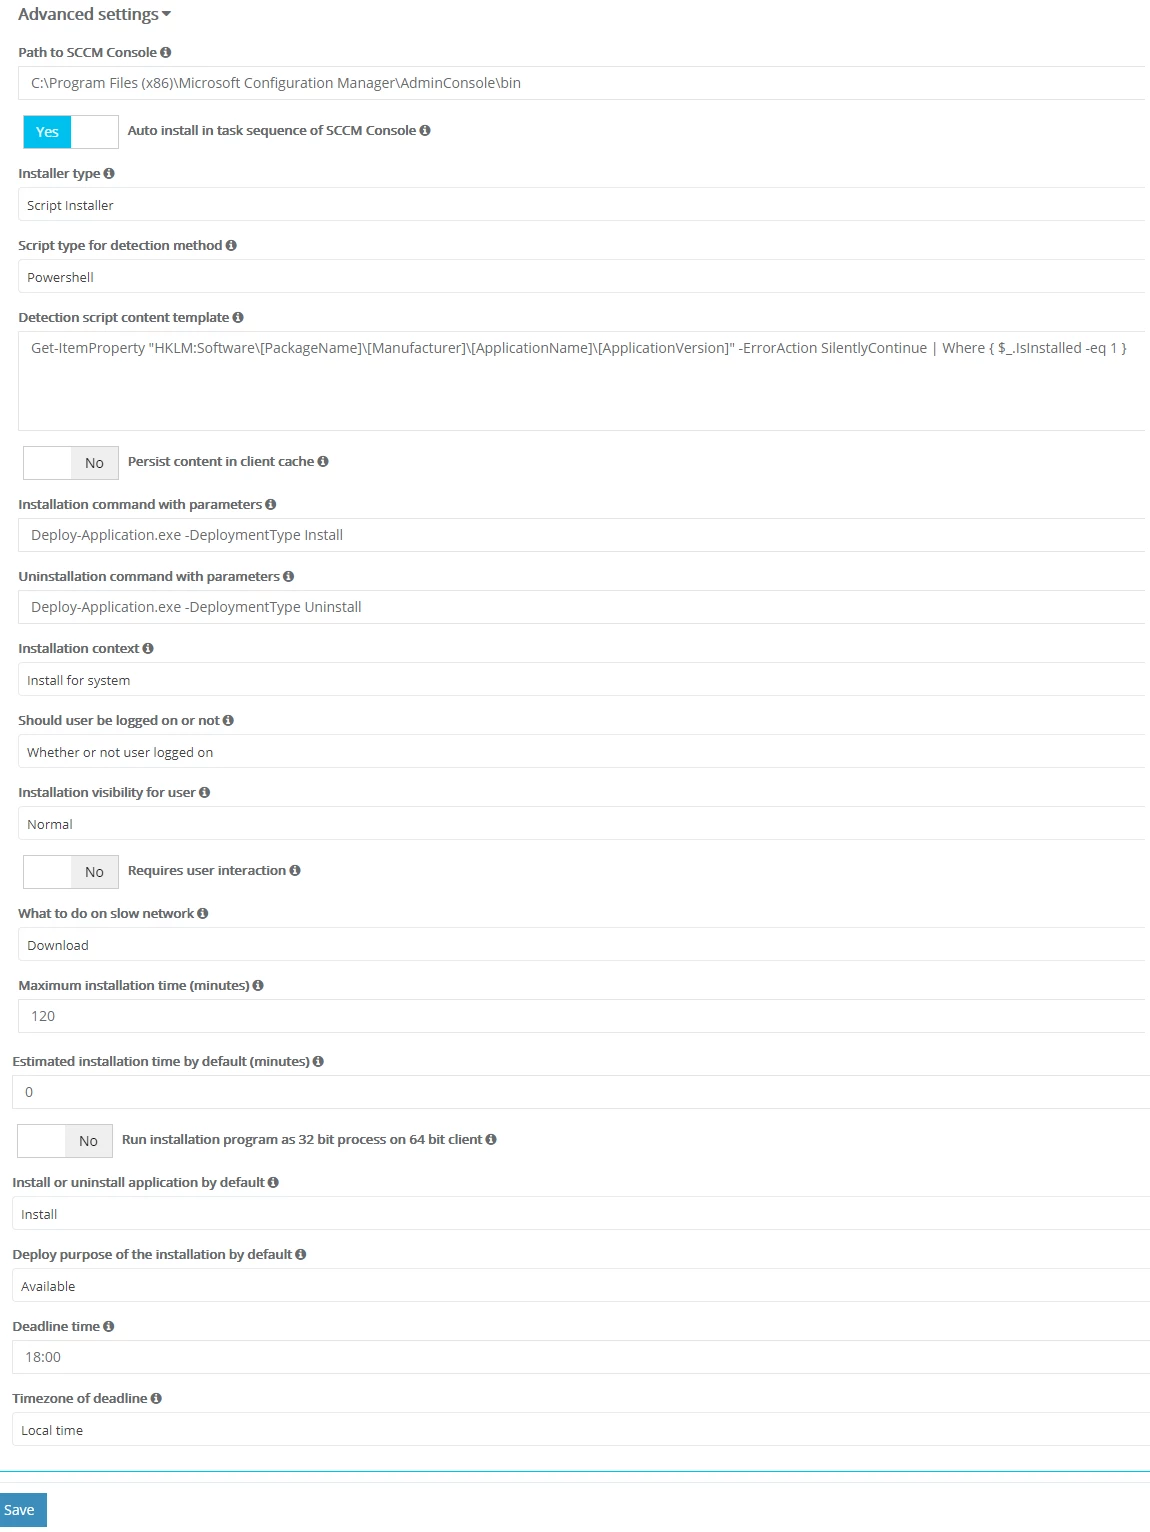
The screenshot below shows the default values of the Advanced settings for Script Installer.
Apptimized SCCM connector installer
The integration procedure of the Apptimized SCCM Connector and SCCM environment ends up with the installation of SCCM Connector Agent to the endpoint PC.
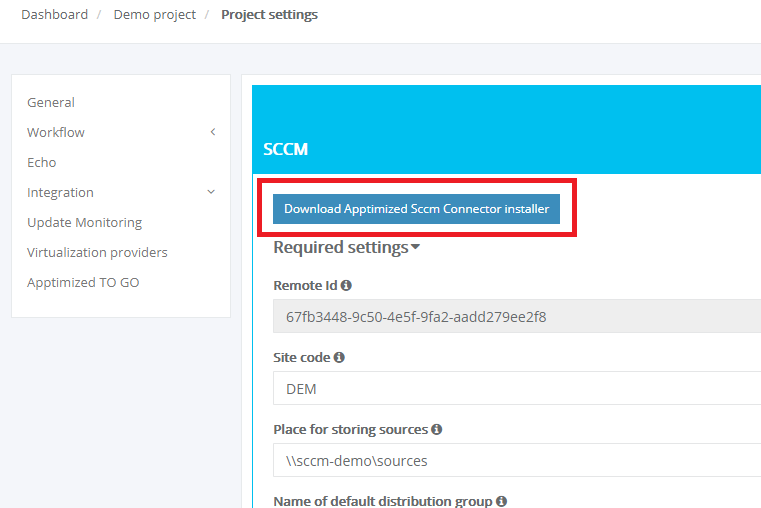
Installer is available for project administrators under Settings in project menu > Integration section > SCCM type > Download Apptimized SCCM Connector Installer button.
The installer comes compressed in ApptimizedSccmConnector.zip archive.
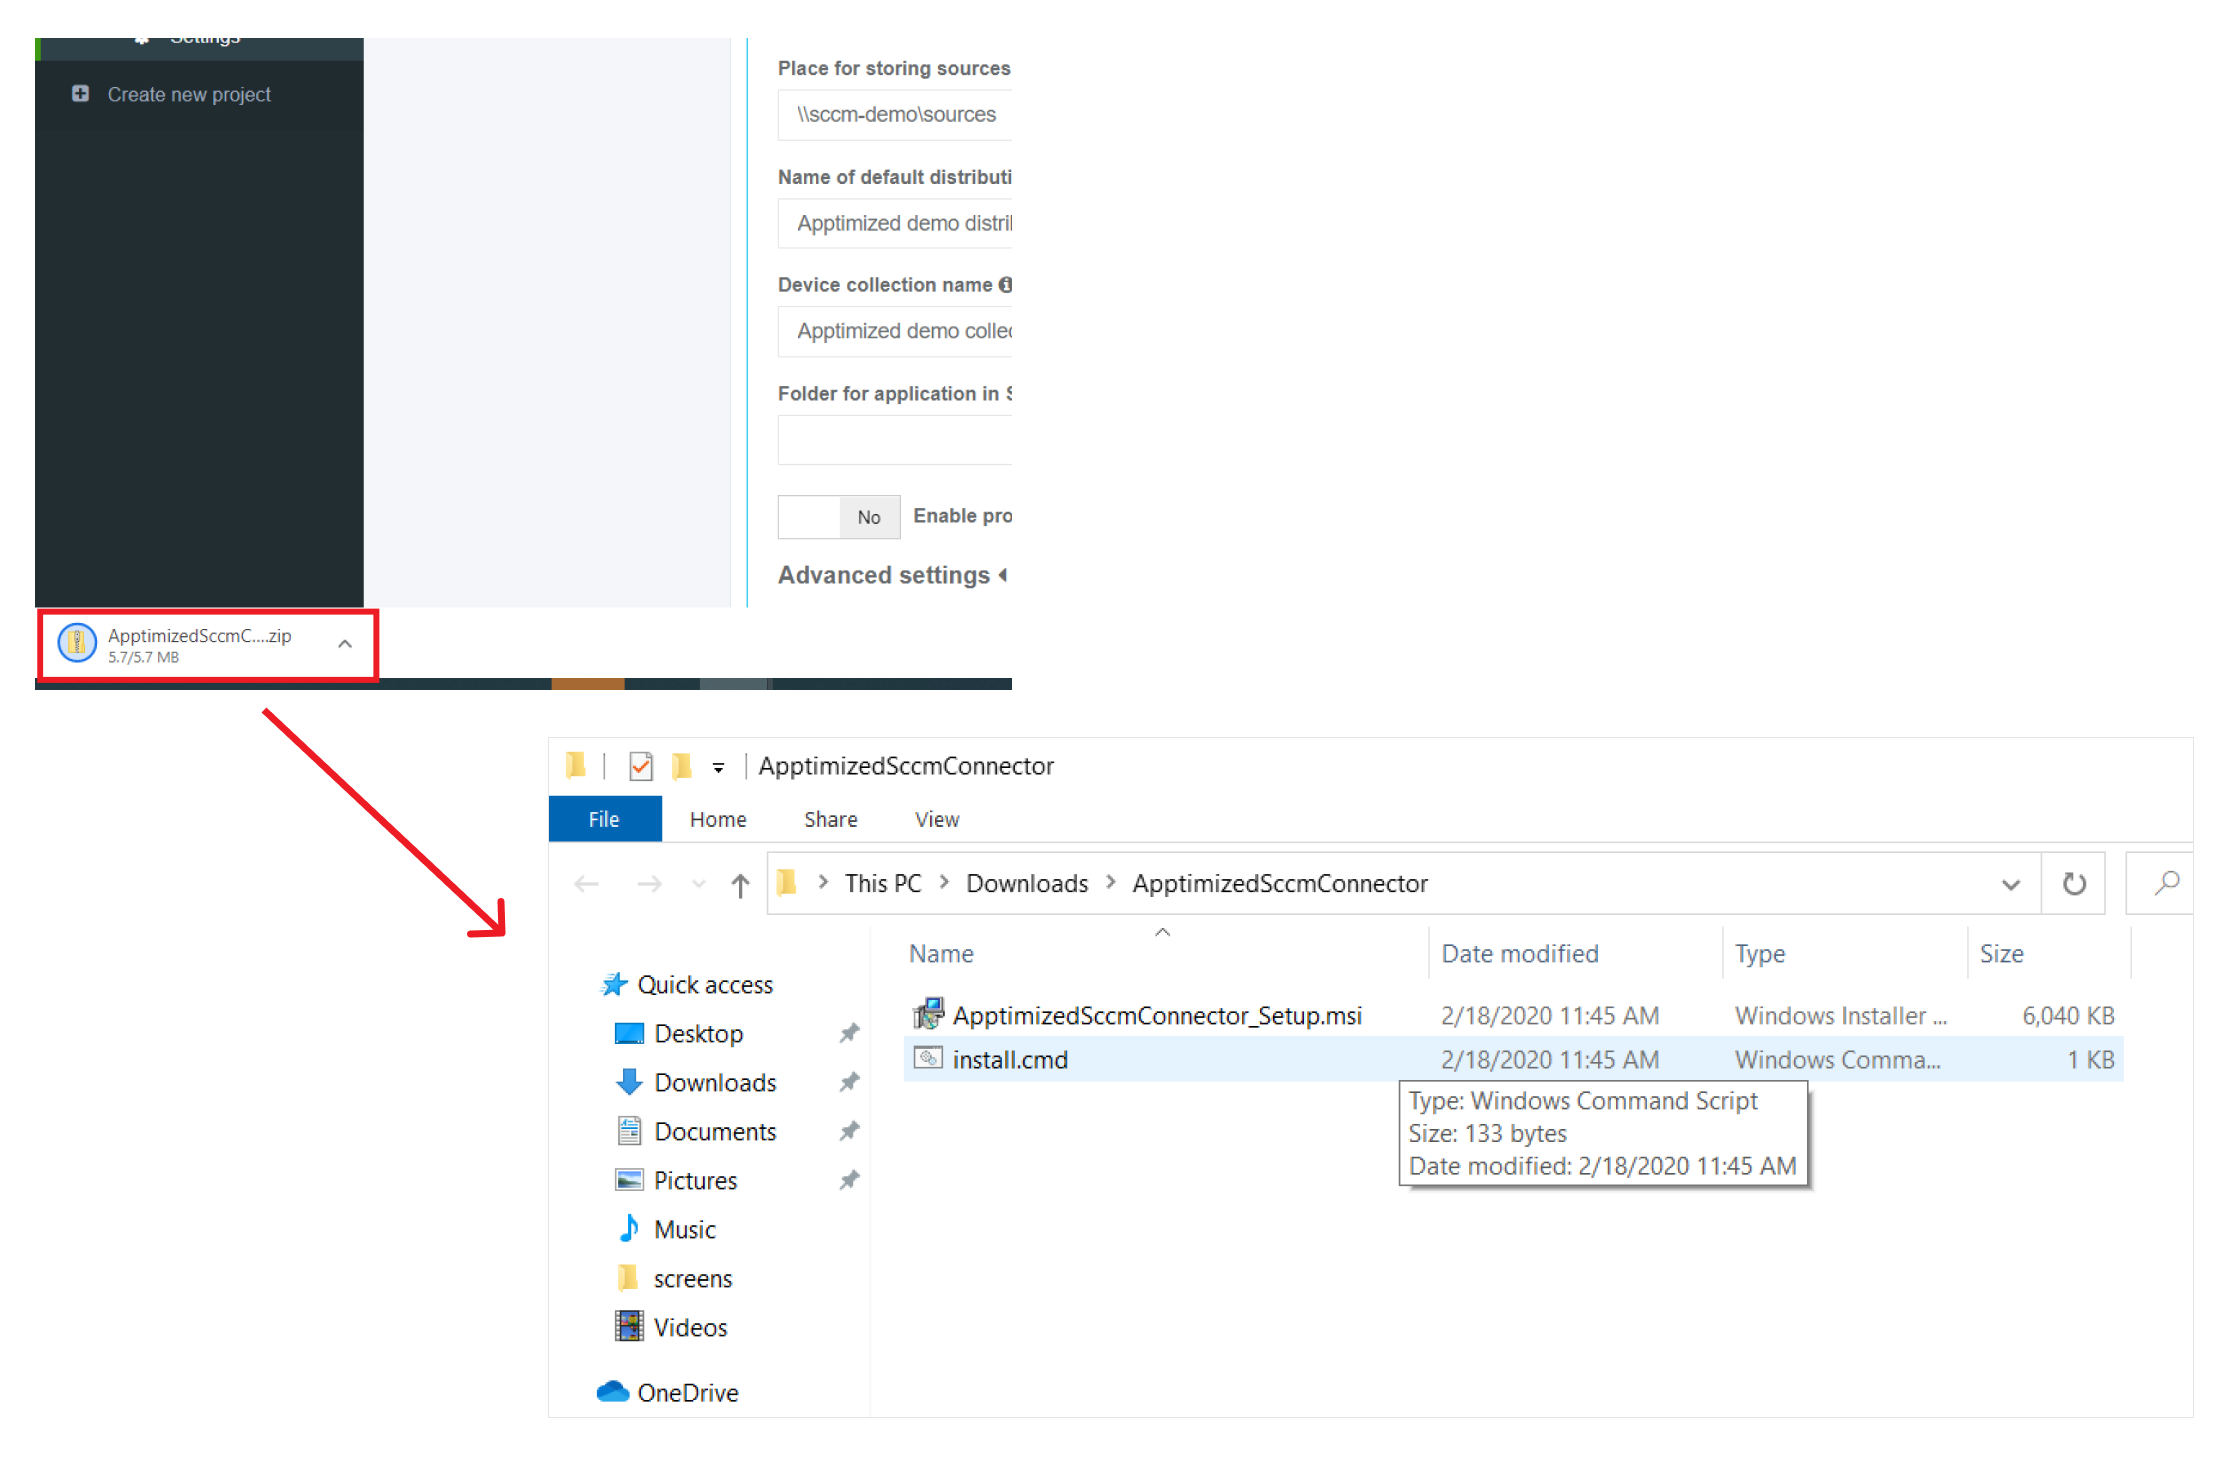
Installation starts by launching install.cmd with Run as administrator option in the context menu of Windows Explorer.

SCCM Connector installs silently and takes few minutes to complete.

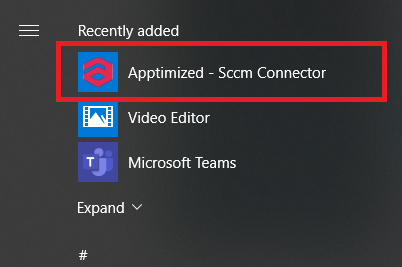
SCCM Connector launches from the Start menu:
Note. Apptimized SCCM connector isn’t able to work when no user is logged on (including a case when it has been installed on a server). A user must log in to the Apptimized portal to provide any activities with SCCM connector (i.e., deploy to SCCM, import from SCCM).
Manage project roles
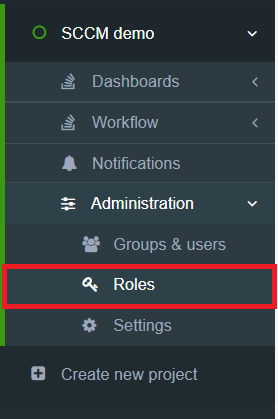
SCCM Connector requires the assignment of the project user to the role with the required permission. Assign needed permissions under Roles in a project setting.
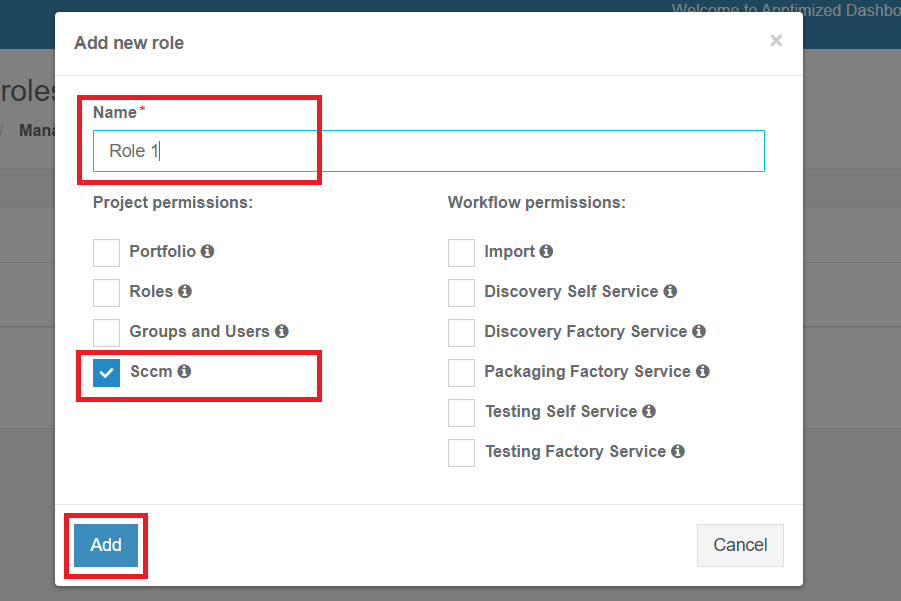
It is possible to add permission to the existing group or create a new one by clicking on the “Add new role” button, as shown on the screenshots below.
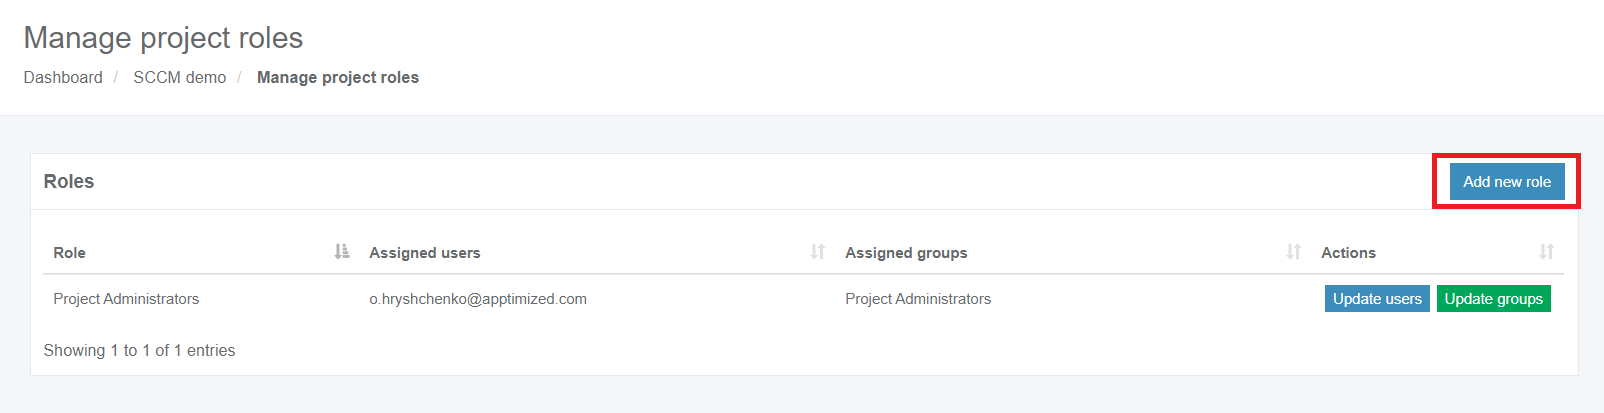
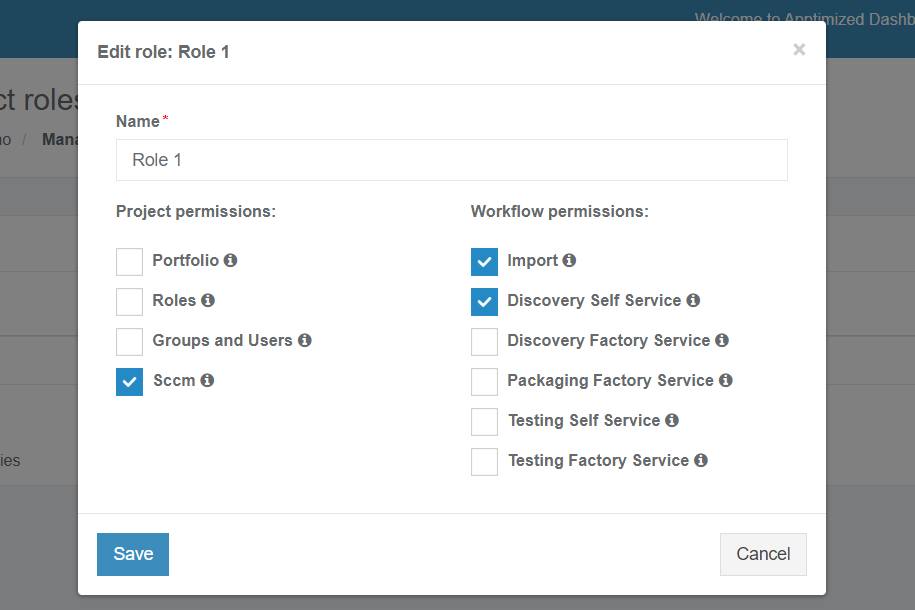
The new role requires its name and SCCM project permission.
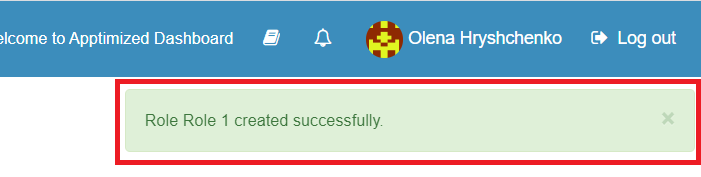
Apptimized shows the following notification when completed successfully:
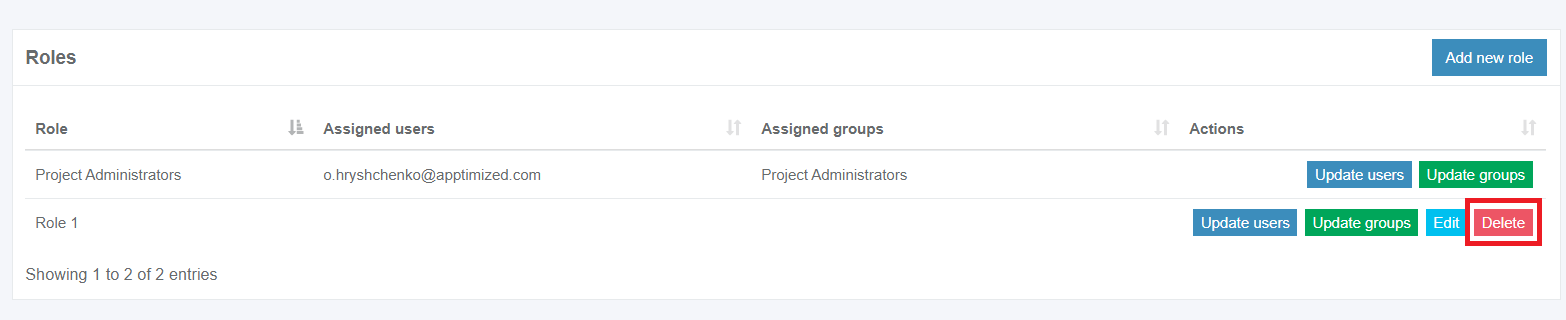
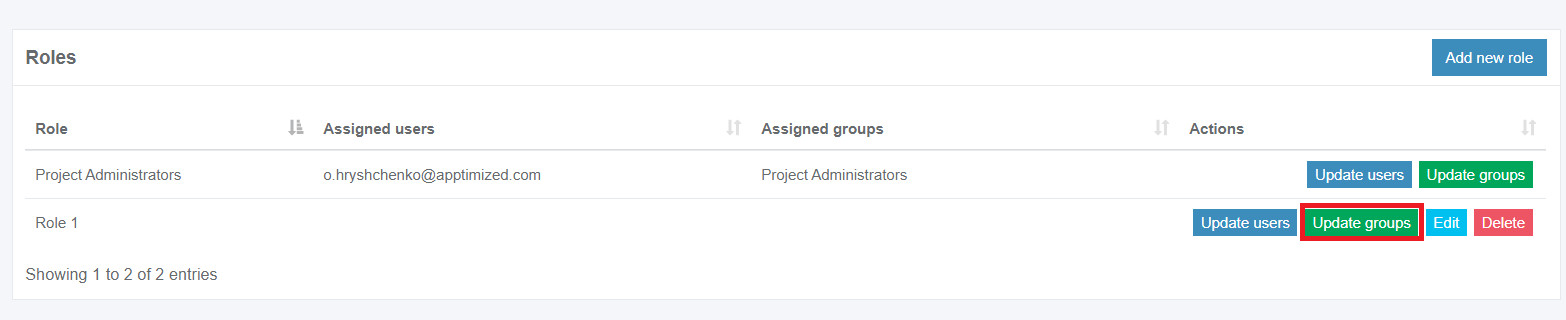
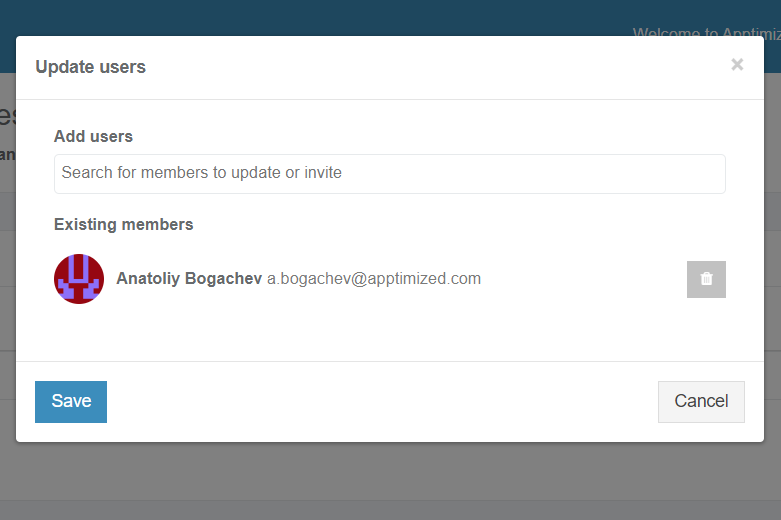
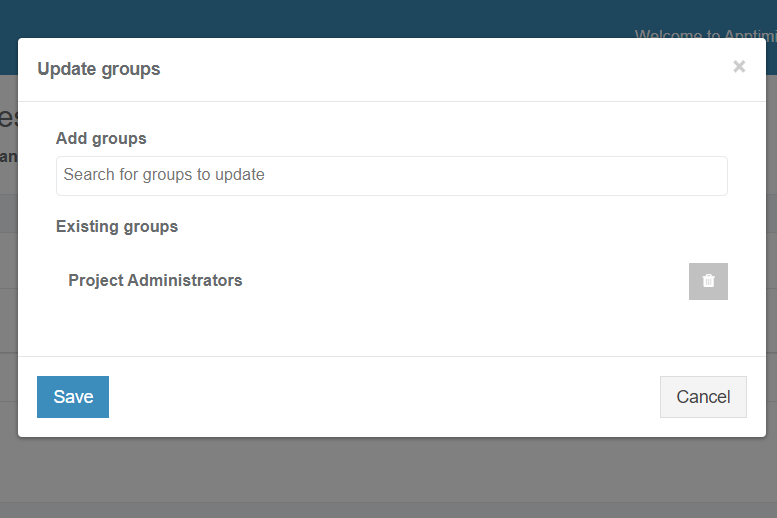
Users can be added to the role via Update users or Update groups screens.

A new group or user can be selected on the next screen, and click on Save persists all changes.
A current role can be changed with the Edit screen and by following the same set of operations as for adding a new role.
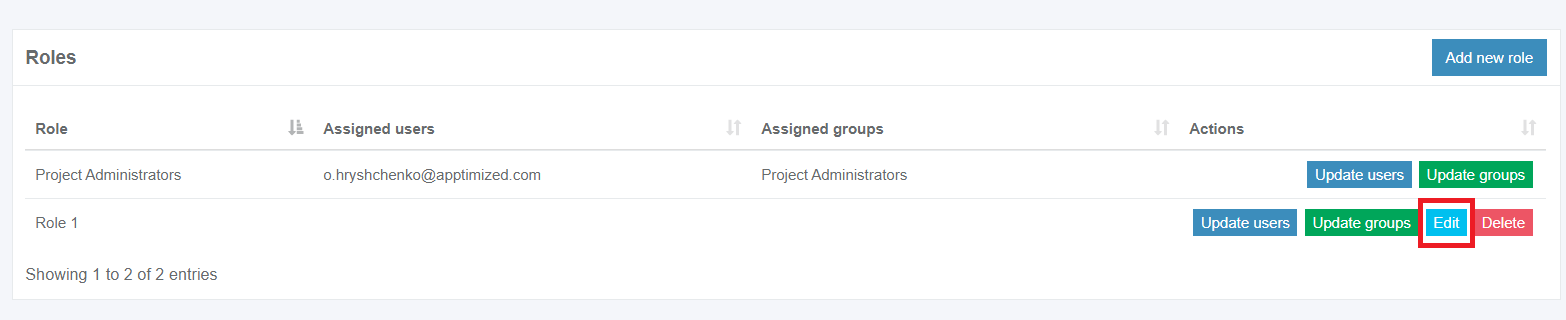
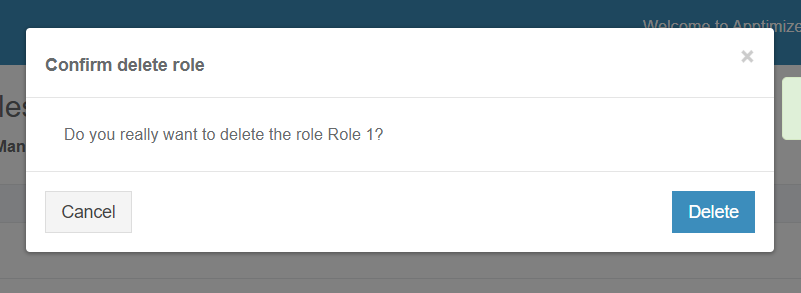
The role can be removed by clicking on the Delete button and after providing a confirmation.