Apptimized TO GO Agent User Guide
- Apptimized TO GO Agent integration
- Run the Apptimized TO GO agent
- Discovery via Apptimized TO GO Agent
- Testing via Apptimized TO GO Agent
- Download the documentation
Apptimized TO GO Agent integration
Enable Apptimized TO GO agent
The one-time configuration is available for project administrators under Settings in the project menu > Apptimized TO GO section. Apptimized - TO GO becomes active when switched on.

Settings are persisted on click to Save button.
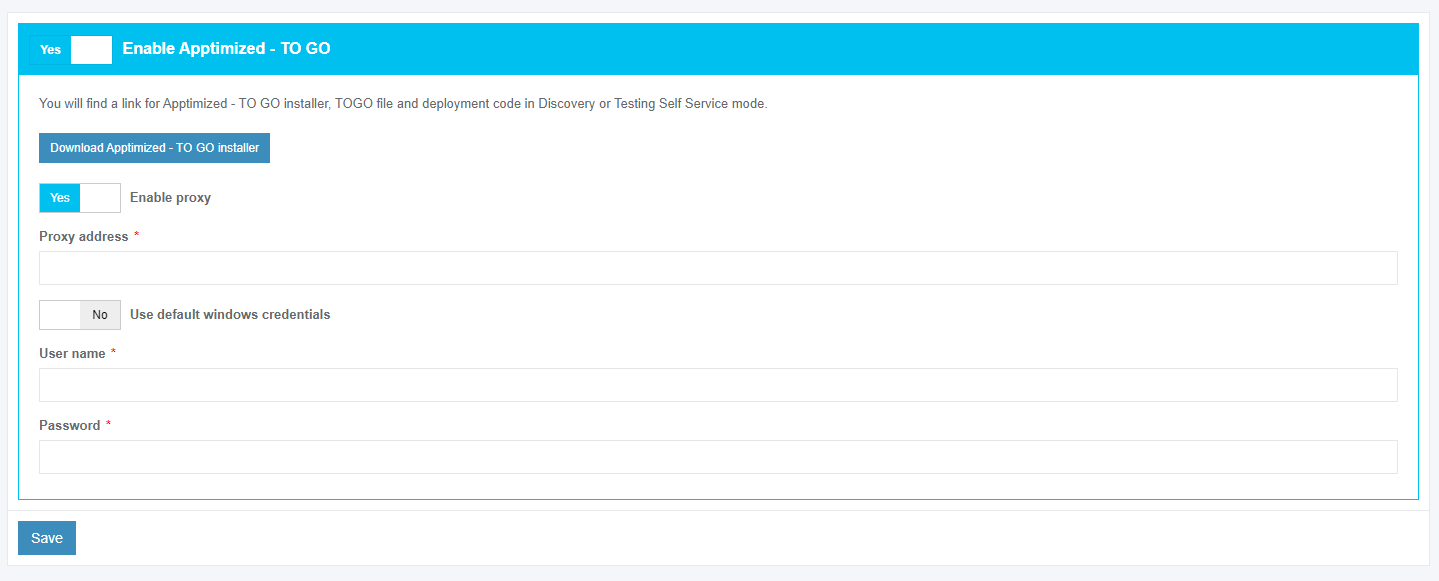
If the endpoint connects to the internet via the proxy server, configure the connection by turning on Enable proxy and selecting Use default windows credentials or providing credentials in Username and Password fields.
Settings are persisted on click to Save button.
In case of success, Apptimized shows the following notification:

Apptimized TO GO agent installer
The integration procedure ends up with the installation of Apptimized TO GO Agent to the endpoint PC.
The installer is available for project administrators under Settings in project menu > Apptimized TO GO section > Download Apptimized - TO GO installer button.

The installer comes compressed in the ApptimizedTOGO.zip archive.
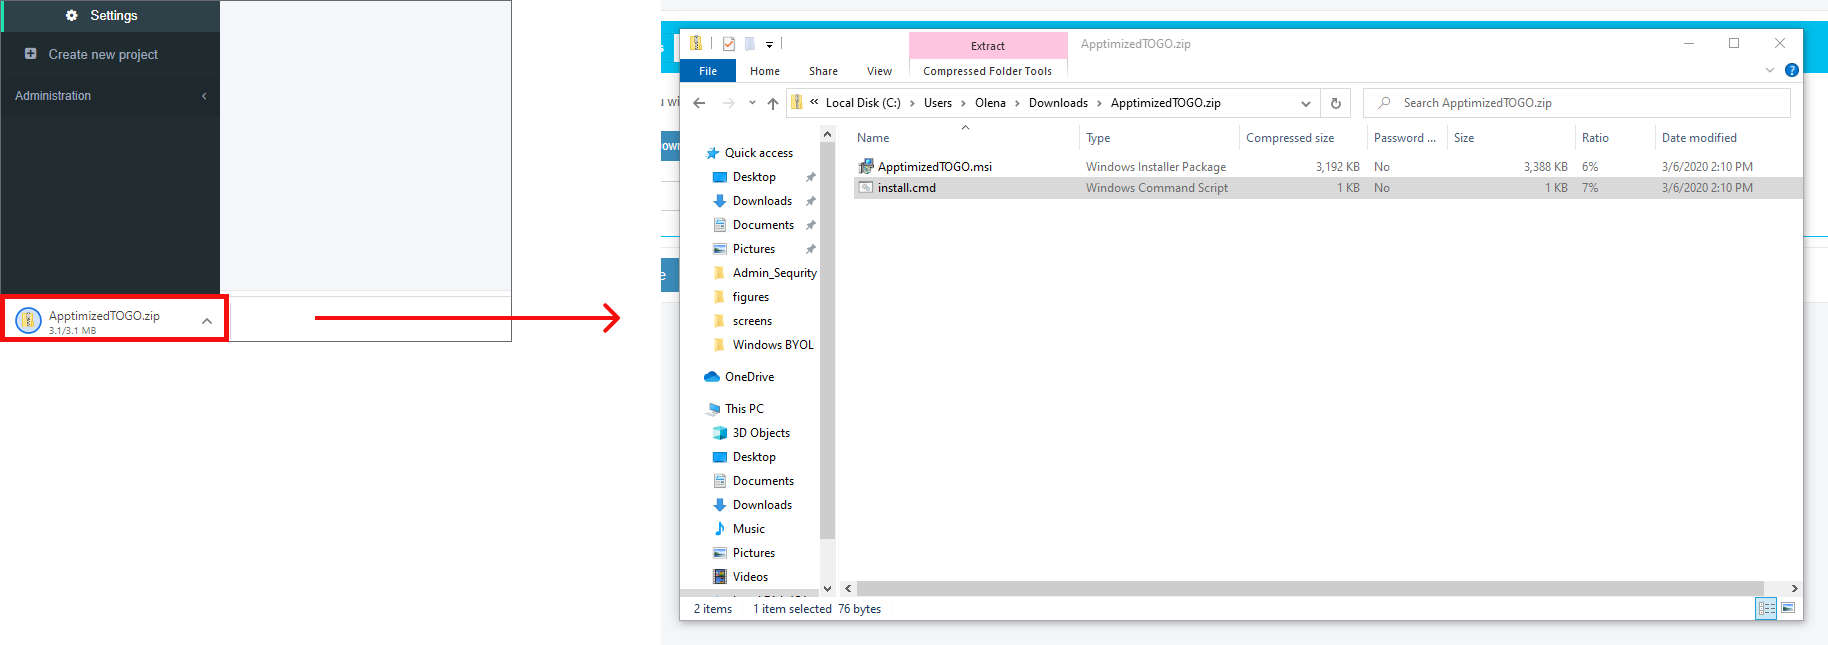
Installation starts by launching install.cmd.
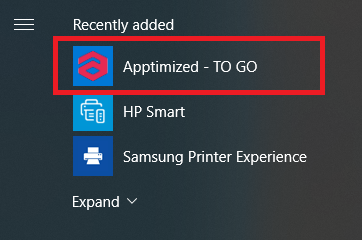
Apptimized TO GO agent installs silently and takes few minutes to complete.

Apptimized TO GO agent launches from the Start menu:
Application import
To run the Discovery or Testing process via Apptimized TO GO the application must be imported to the project.
The option to start the import is called “Classic import”. It is available under Import in project menu > Start Import section > Classic import option.
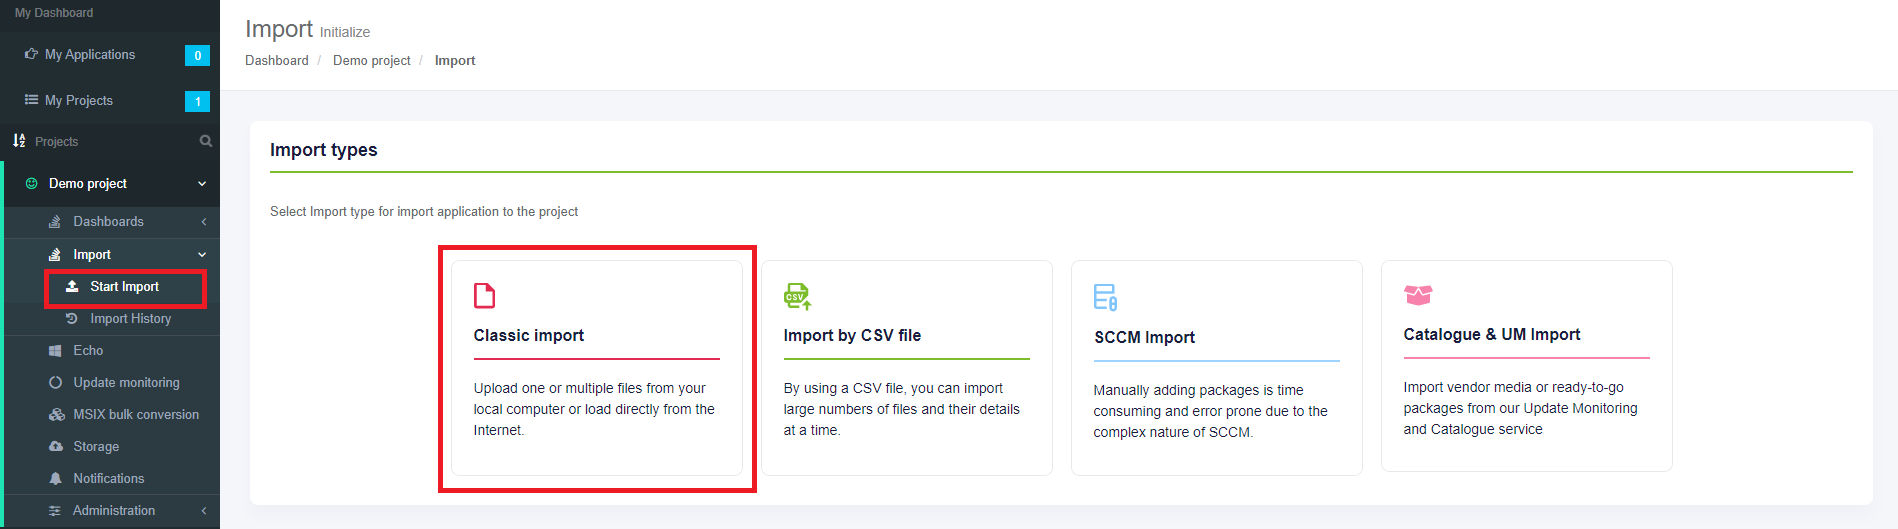
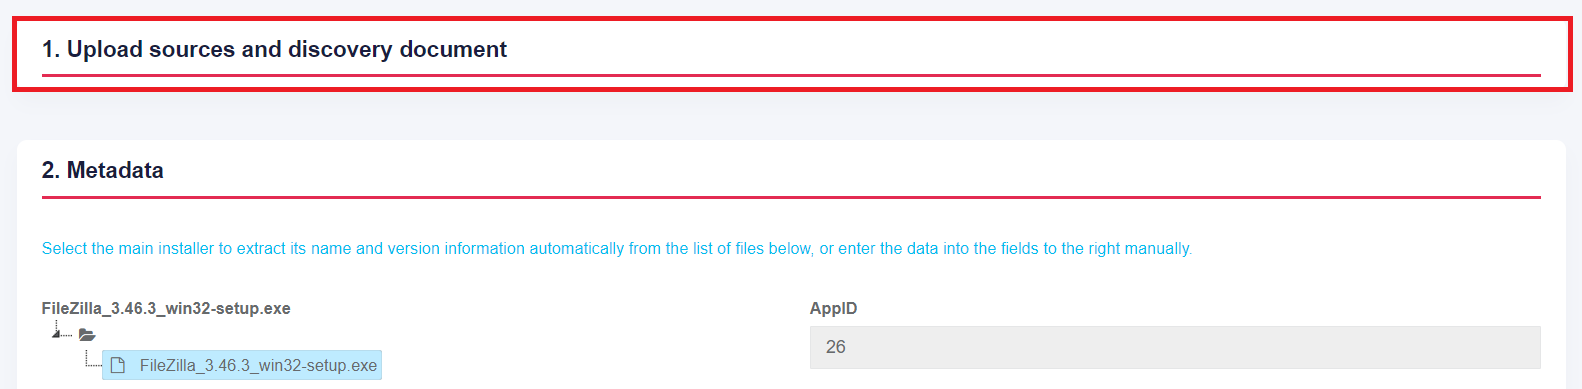
The initial preparation process may take a while. In case of success, Apptimized shows the Upload sources and discovery document step.
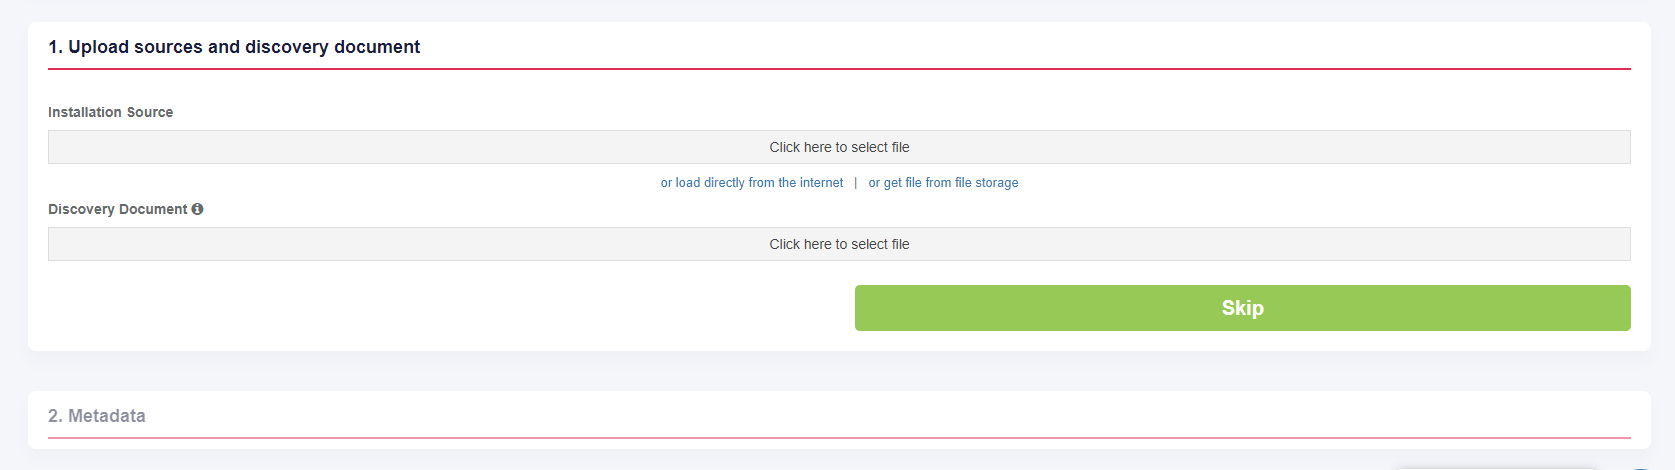
Three options to upload Installation Source are available:
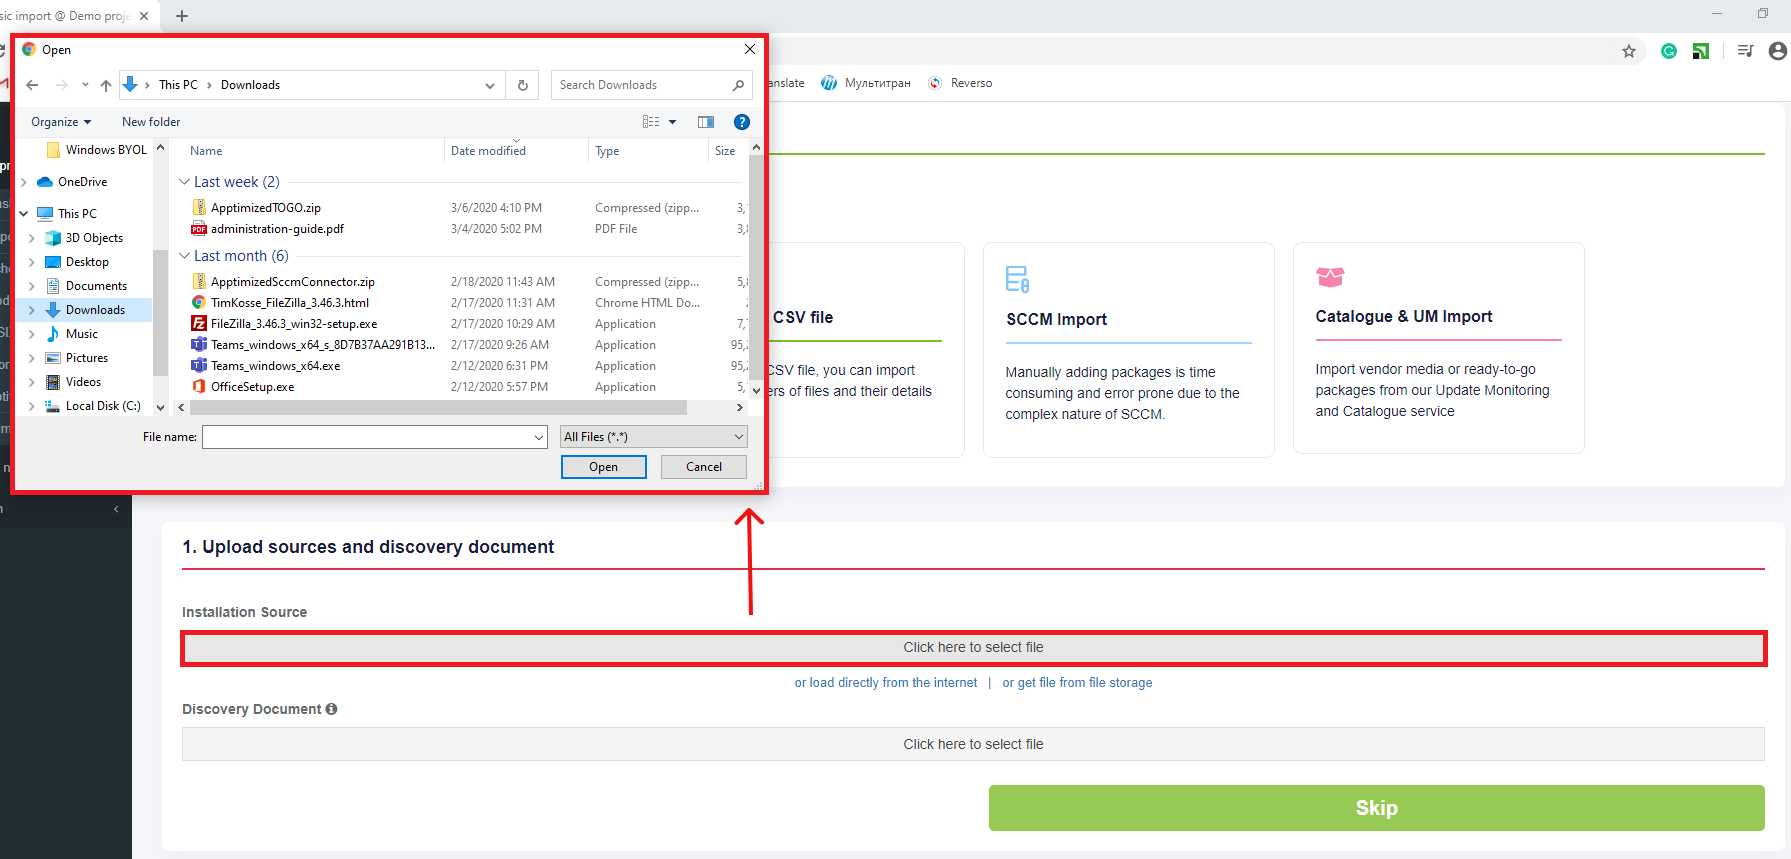
- Upload application file from customer's PC;
- Upload application file from the Internet;

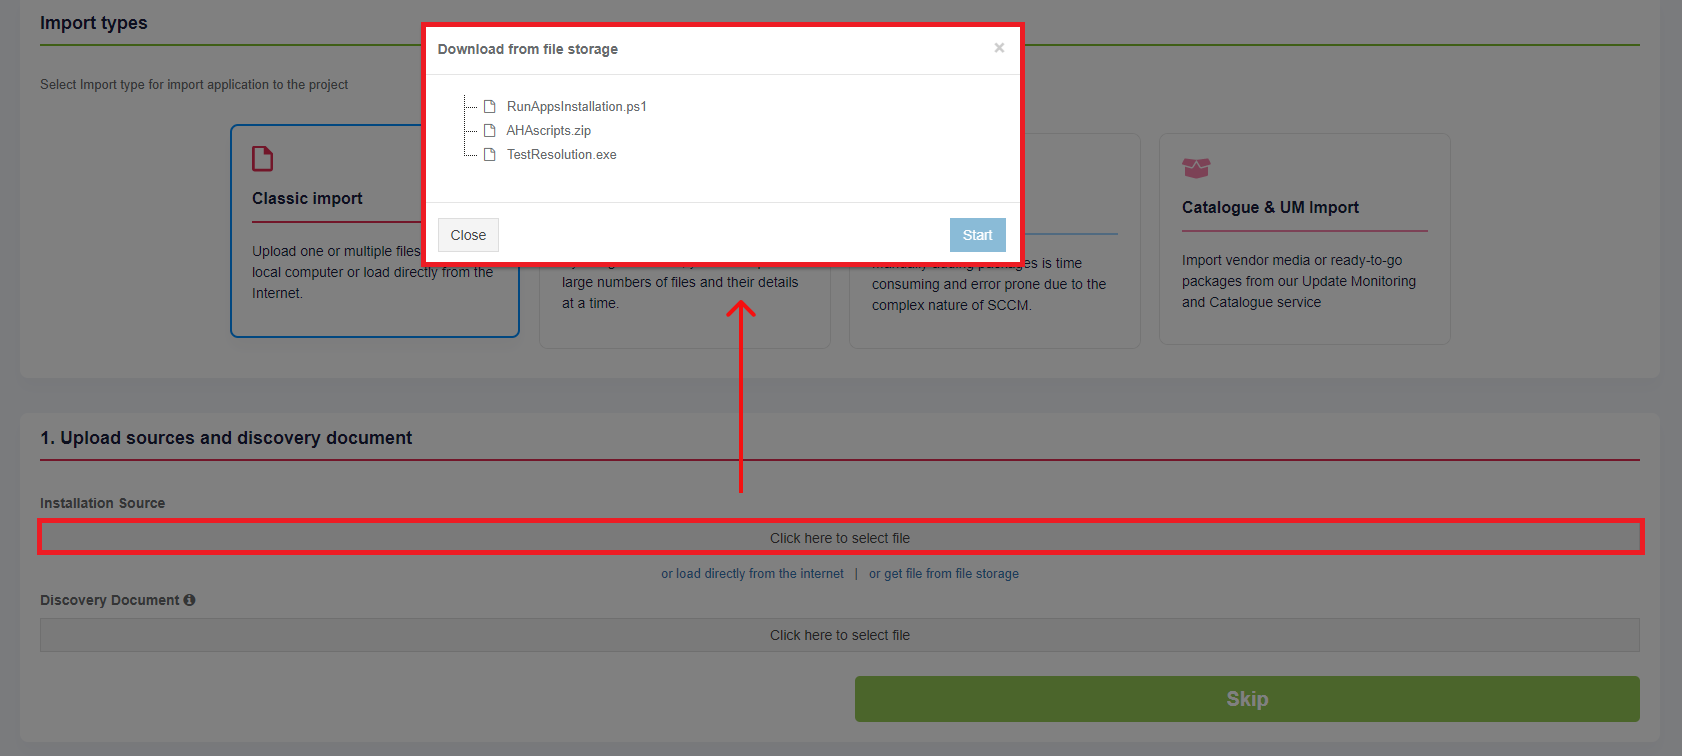
- Upload application file from the file storage.
The Installation Source uploading progress is shown as follows:

The uploading time depends on the application's size. When the download of the application is completed, the customer can start uploading another application. Five application uploads are available for one session.
Uploading Discovery Document is optional. A discovery document can be generated in previous sessions.
One discovery document upload is available for one session.
The Upload sources and discovery document step finalizes by clicking on the Next button.
Apptimized shows the Metadata step when successful.
The process reverts to the previous step by clicking on the Upload sources and discovery document button.
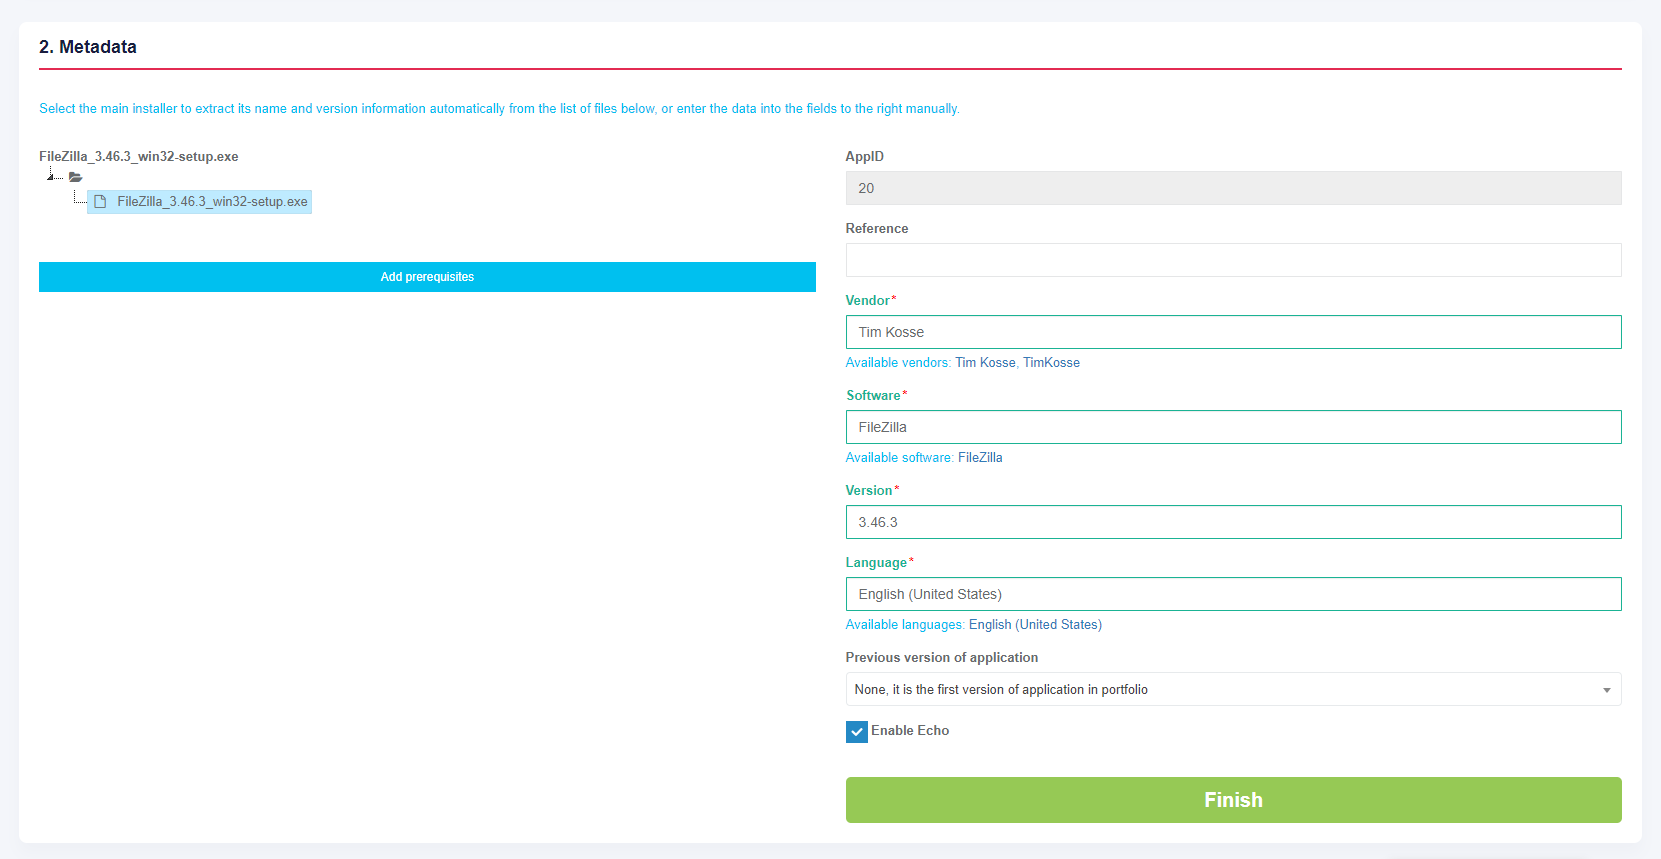
To extract the application metadata automatically a customer can select the main installer from the list on the left or can enter the metadata manually into the fields on the right. All required fields have * in front of their label.
The following metadata will be provided:
Table 1. Application metadata
|
Metadata |
Details |
|
Application ID |
The application ID is a unique identifier generated automatically for every application during its upload. Application ID provides application identification. |
|
Reference |
This field is optional and can stay blank. This field provides additional comments from a customer to the Apptimized portal (i.e. internal application ID). |
|
Vendor |
This field defines the vendor name (i.e. Tim Kosse). This is a required field. |
|
Software |
This field defines the application name (i.e. FileZilla). This is a required field. |
|
Version |
This field defines the application version (i.e. 3.46.3). This is a required field. |
|
Language |
This field defines the application language (i.e. English (United States)). This is a required field. |
|
A previous version of an application |
This field defines if the previous version of the application is available in the portfolio. The default value is None, it is the first version of the application in the portfolio. A click opens a dropdown list to select the previous version of the application from the list. |
|
Enable Echo |
This option defines if Echo is needed to be enabled. The Echo is enabled by default. |
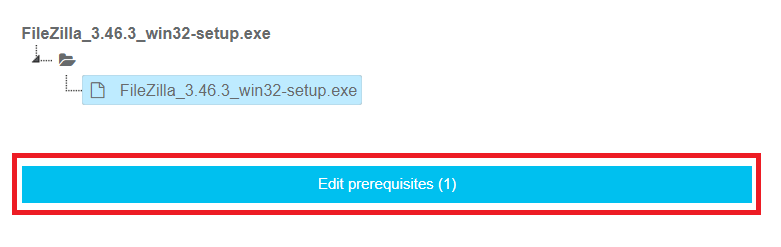
The prerequisites can be added by clicking on the Add prerequisites button.
A prerequisite may be a specific application that must be installed before the target application.
A field "Select media type for …" is filled automatically can be changed if needed.
A prerequisite is added by clicking on the Save button. Apptimized shows the following notification when successful:

Current prerequisites can be changed by clicking on the Edit prerequisites button and by following the same set of operations as for adding a prerequisite.
The Metadata step finalizes by clicking on the Finish button.
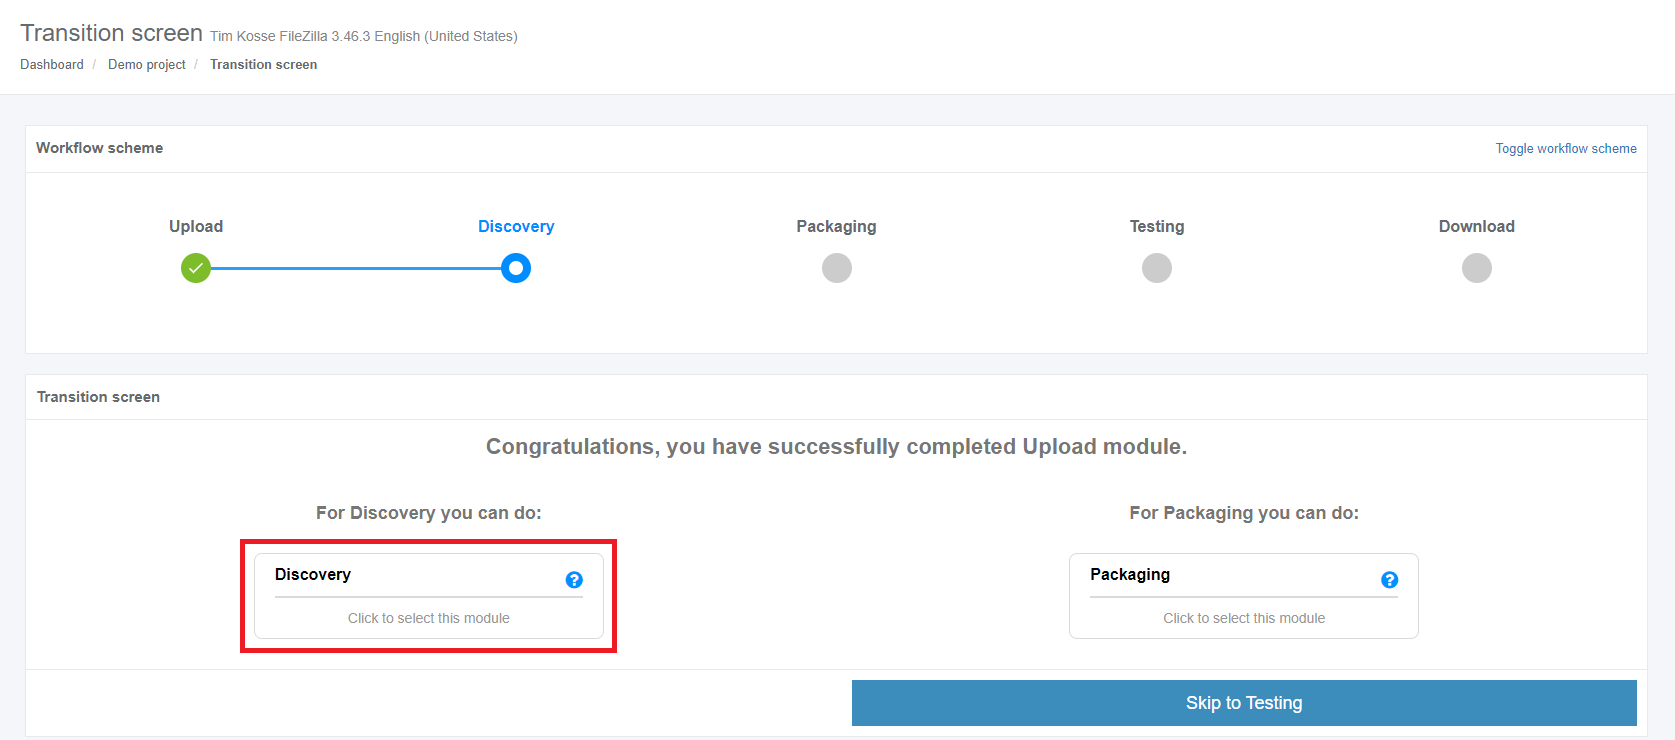
A Transition screen for application immediately appears where the Workflow scheme and modalities for interaction with the application (namely discovery, packaging, testing) are available.

Apptimized TO GO can be used only for Discovery and Testing.
Run the Apptimized TO GO agent
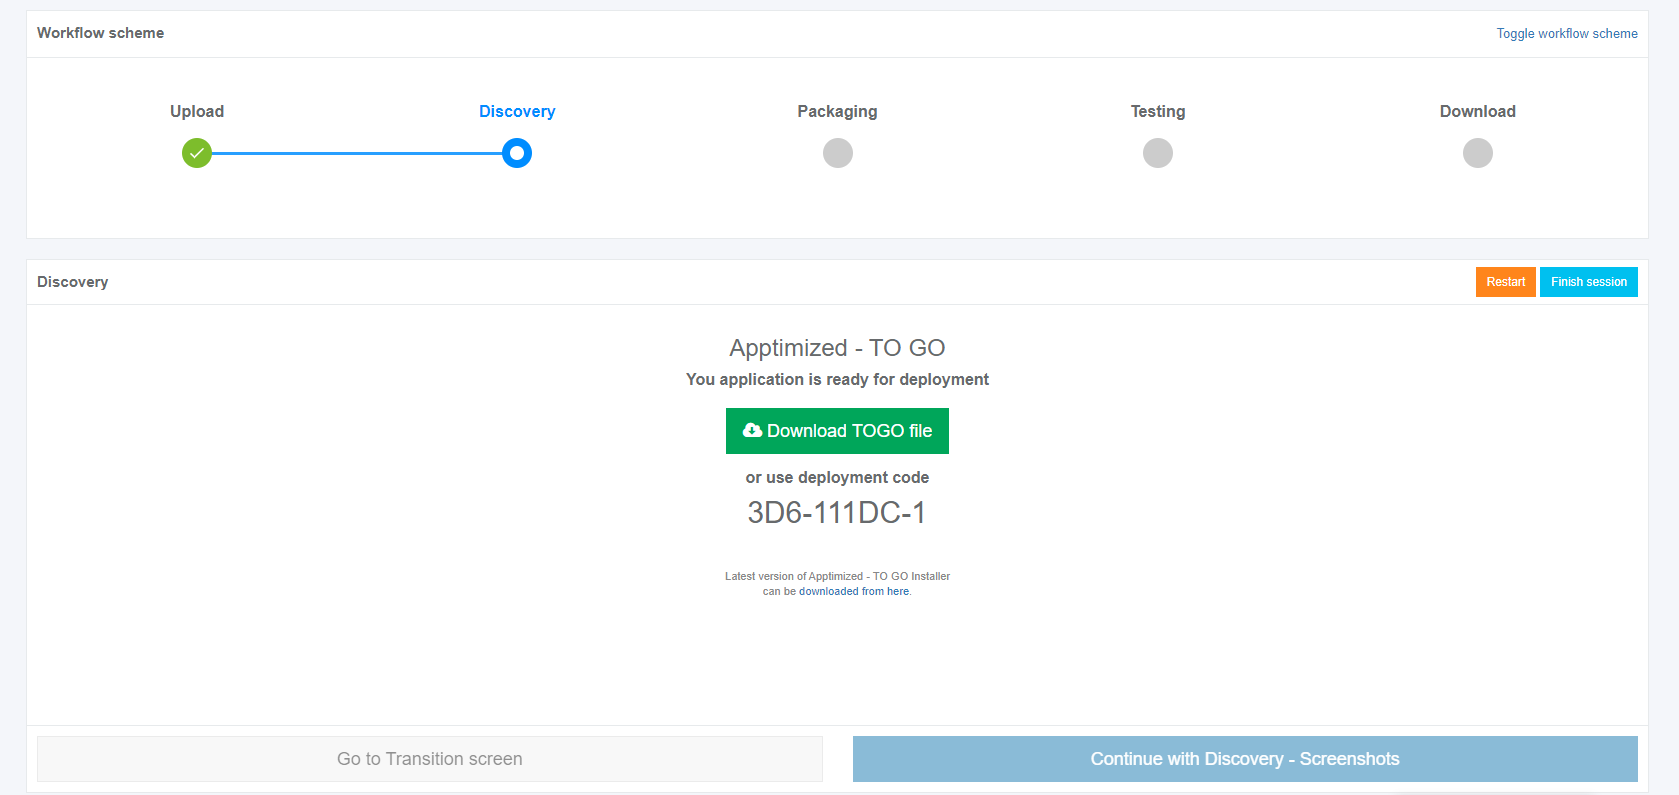
Launching Apptimized TO GO agent is available in two options: Download To Go file or Use a deployment code.
Using a TO GO file
When clicking on the Download TO GO file button a file becomes available on the customer's PC in the Downloads folder.
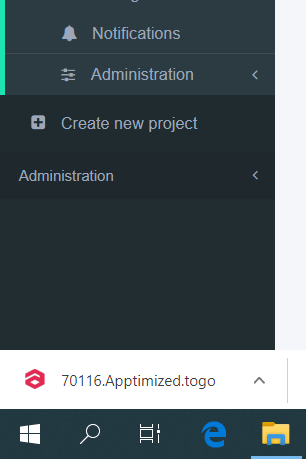
Apptimized TO GO agent launches when clicking on the Apptimized - TO GO Manifest file (i.e. 70116.Apptimized.togo).
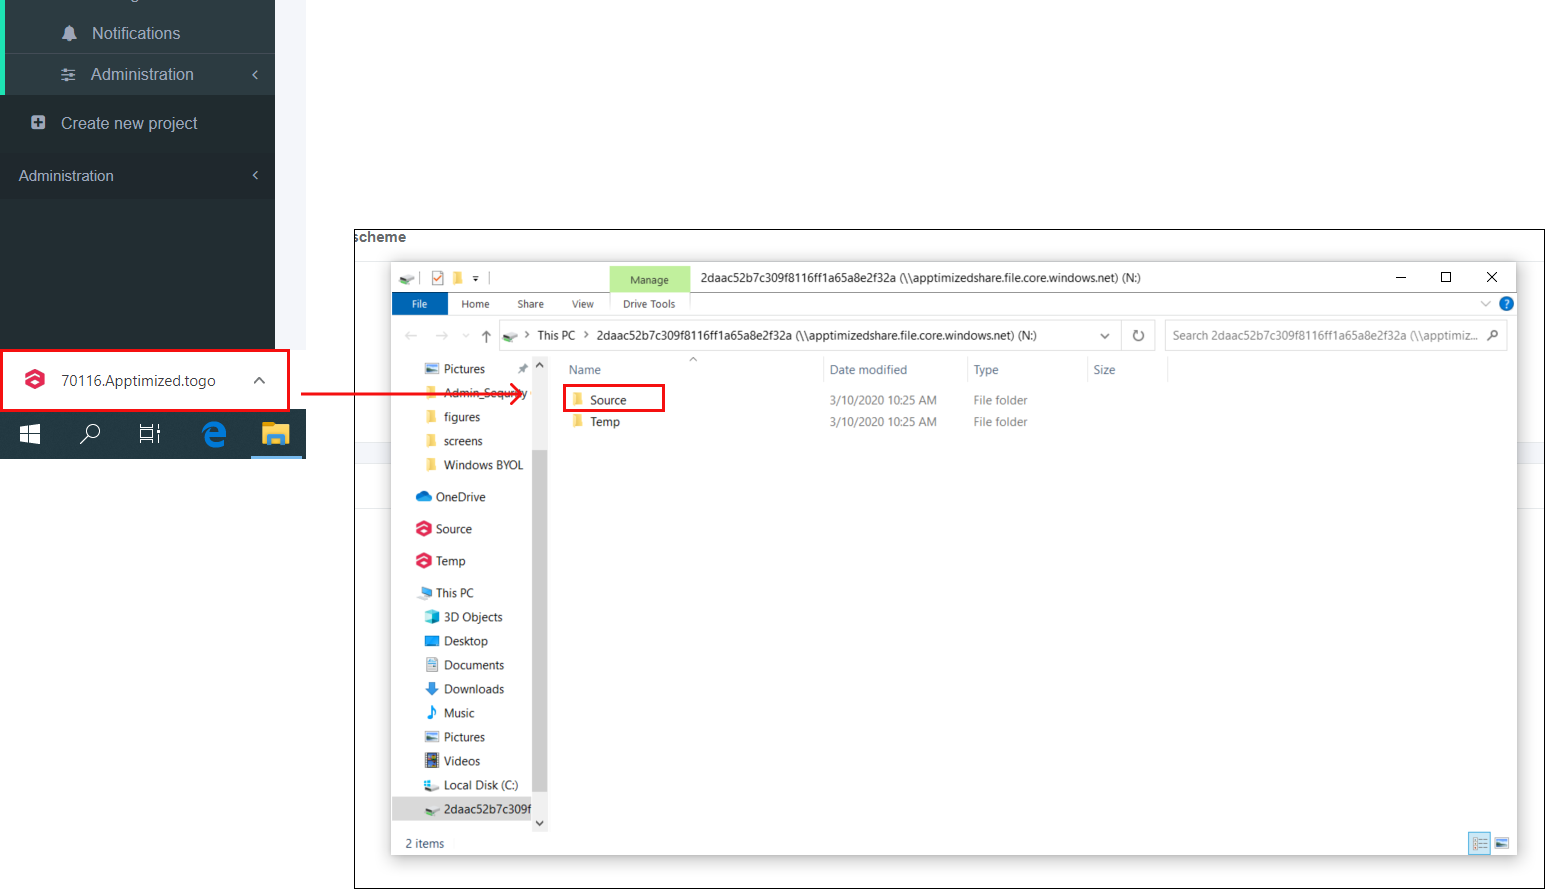
A guide recording process via Apptimized TO GO agent starts.
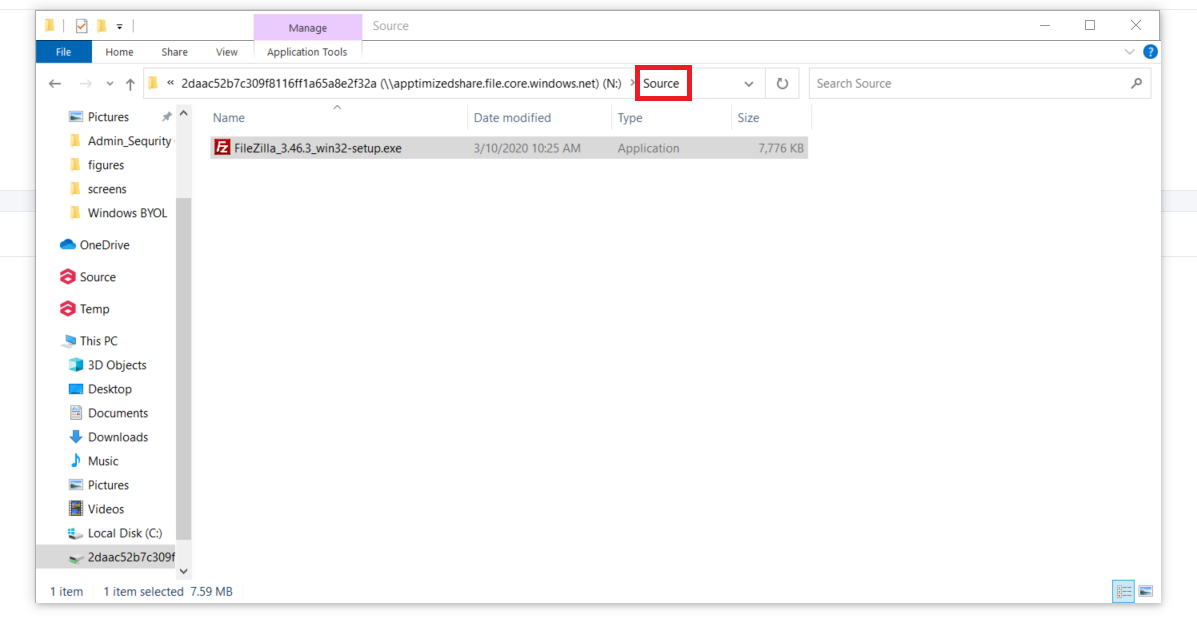
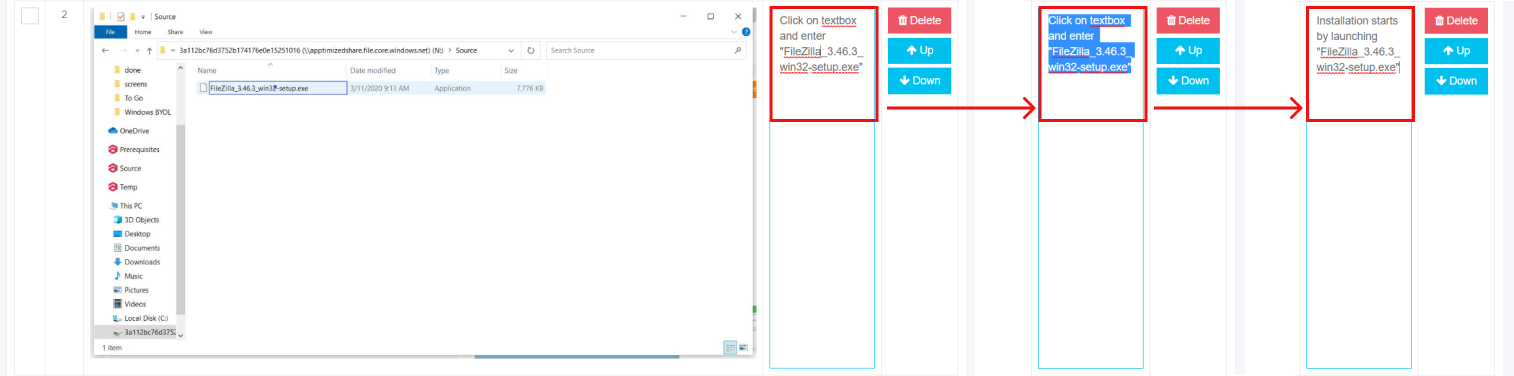
A customer needs to navigate to the files to be installed. As it is shown on the screenshot below the file is available in the Source folder.
The initial preparation process may take a while.

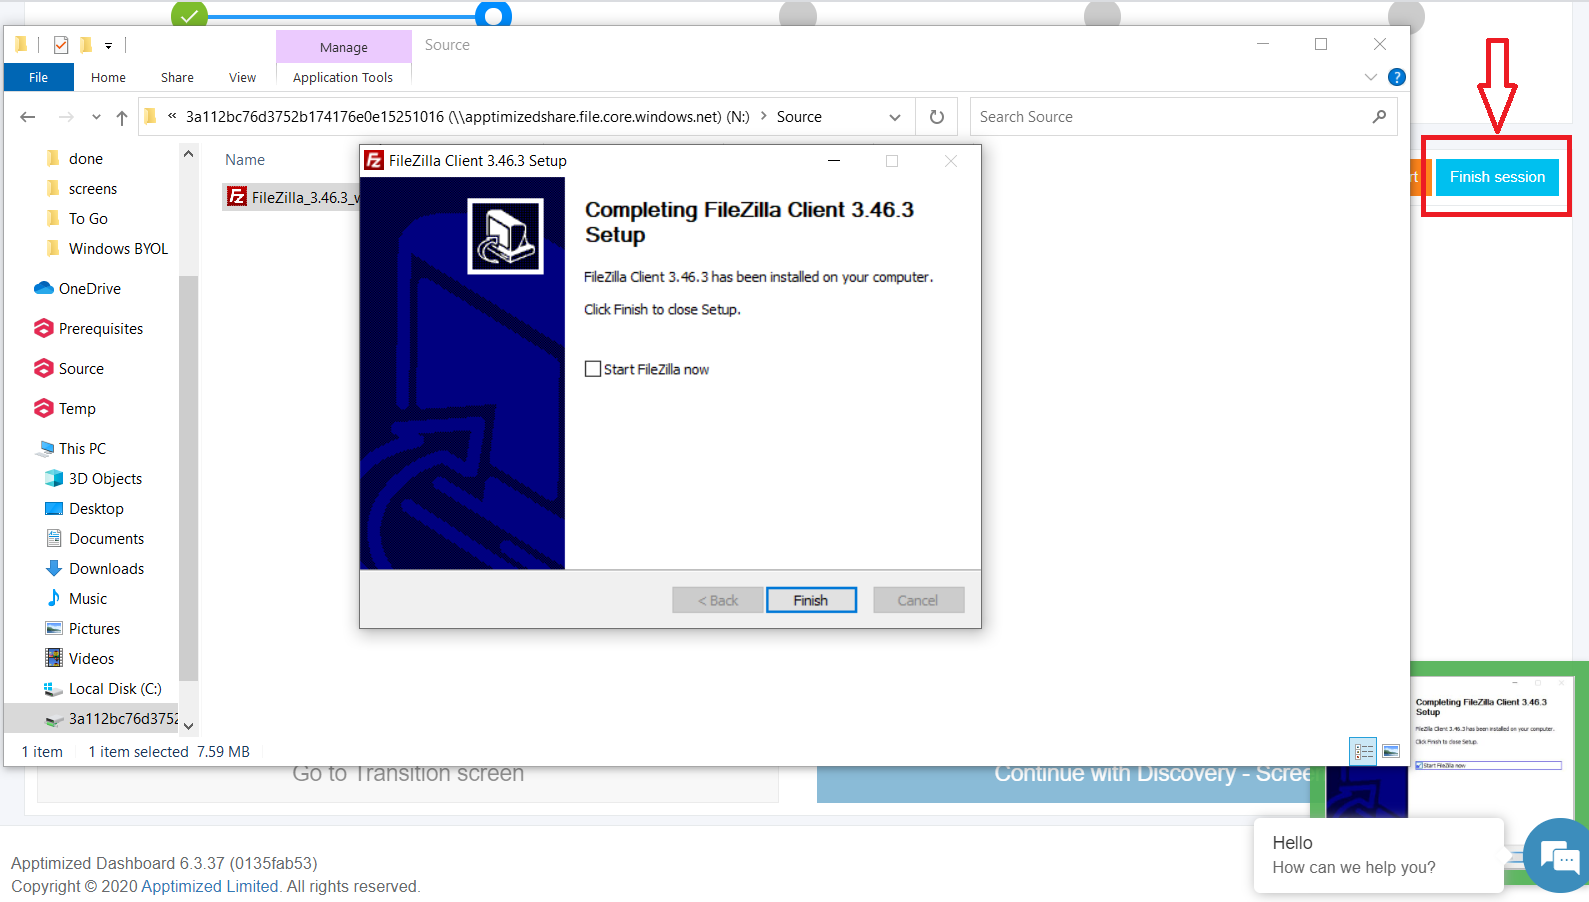
To transfer a customer experience to Apptimized all installation and configuration steps with the application must be proceeded.

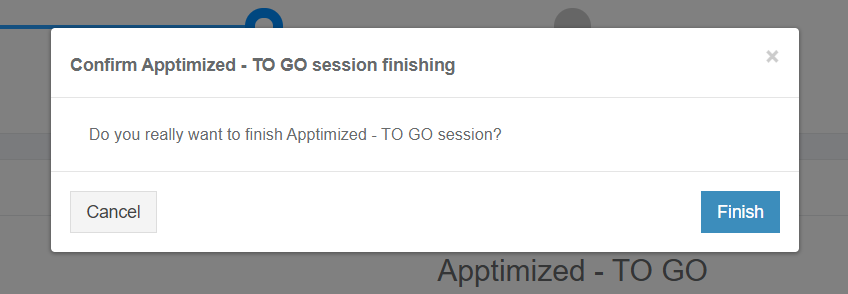
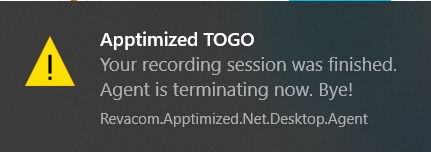
The session finishes by clicking on the Finish session button.
The following notifications will appear when successful:
Using a deployment code
The text will be copied to a clipboard when clicking on a deployment code.
.png)
To establish a connection of a customer machine with Apptimized in the cloud the Apptimized TO GO agent launches from the Start menu. Then the deployment code must be entered into a pop-up window.
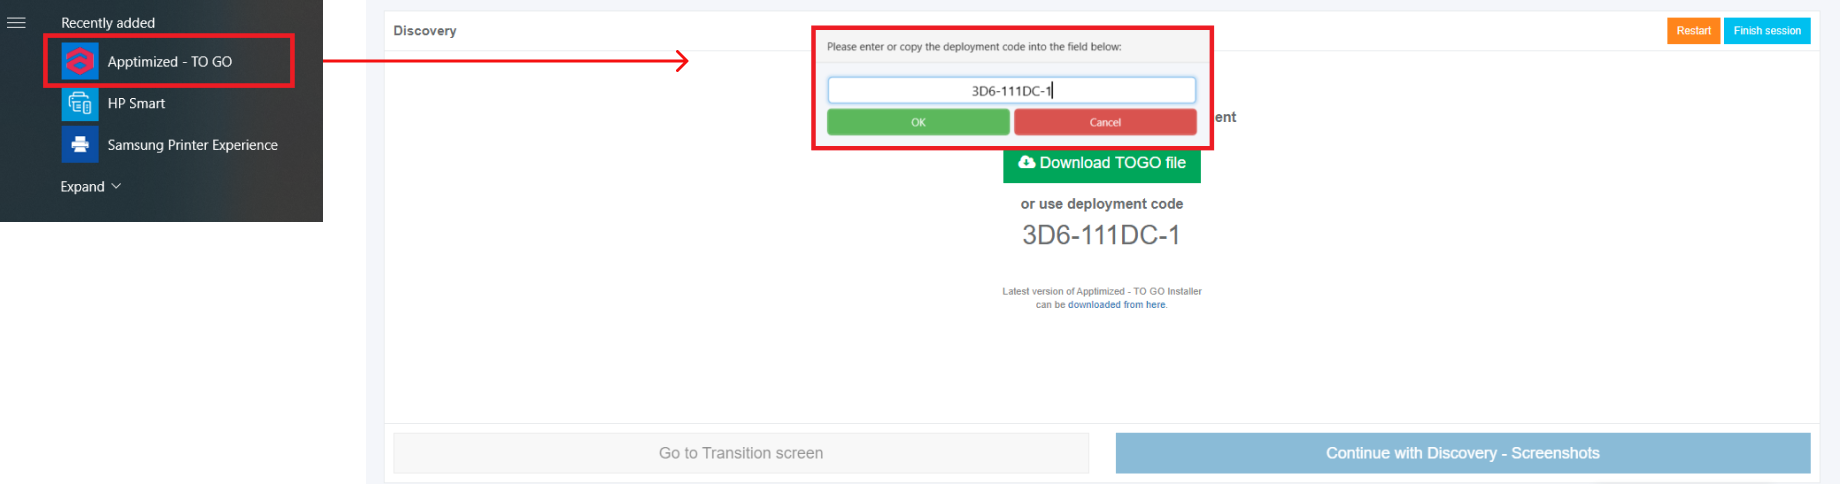
Apptimized Files with uploaded files will be automatically uploaded to the folder after clicking on the OK button:
.PNG)
A guide recording process via Apptimized TO GO agent starts.
A customer needs to navigate to the files to be installed. As it is shown on the screenshot below the file is available in the Source folder.
The initial preparation process may take a while.
To transfer a customer experience to Apptimized all installation and configuration steps with the application must be proceeded.
The session finishes by clicking on the Finish session button.
The following notifications will appear when successful:
Discovery via Apptimized TO GO Agent
Before implementing the Discovery via Apptimized TO GO the application must be imported to the project.
Using the Discovery module, a customer can record a guide to install and configure the application. Customer’s actions are automatically captured as step-by-step screenshots and further described in textual format automatically. Before sending a document (which is available in PDF and HTML formats) to Apptimized, the customer can change the scenario that they recorded (i.e., to swap screenshots, to edit comments for each screenshot or to delete unnecessary screenshots).
The discovery process starts by clicking on the Discovery module on the Transition screen.
Apptimized shows the following interface when successful:
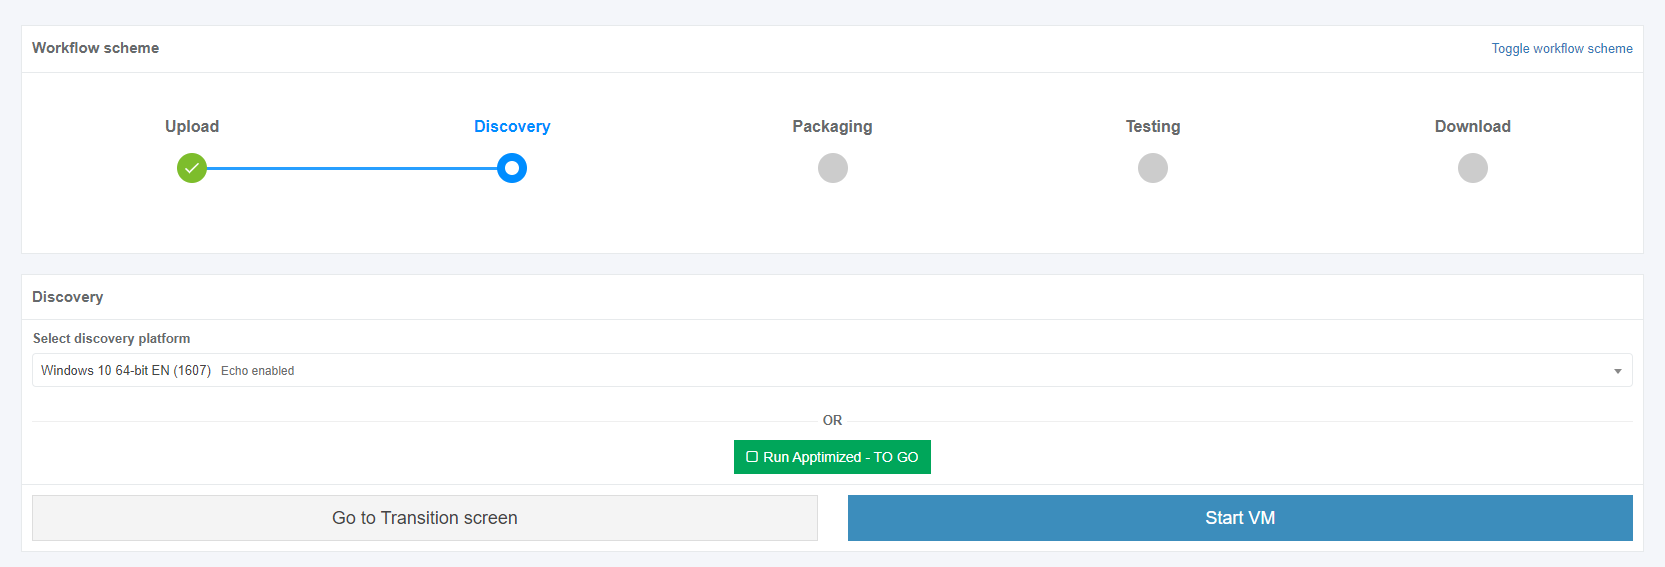
A field "Select discovery platform" is filled automatically and can be changed if needed.

The Apptimized To Go is enabled by ticking the checkbox and clicking on the Run Apptimized - To Go button.

The files synchronizing process may take a while. In case of success, Apptimized shows the following interface:
The instructions to launch Apptimized TO GO agent were provided in the paragraph "Run the Apptimized TO GO agent".
The following interface will appear when recording session with Apptimized TO GO agent finishes:
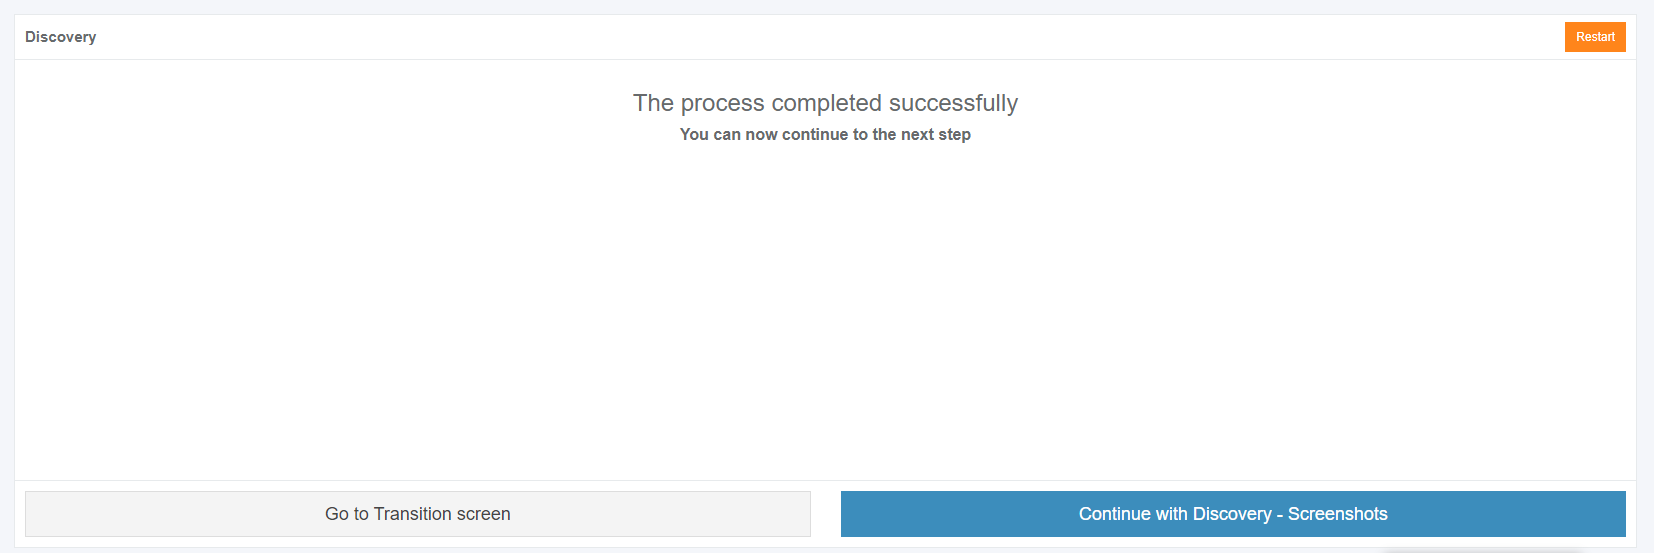
Screenshots editing mode becomes active when clicking on the Continue with Discovery - Screenshots button.
Screenshots can be excluded from discovery by clicking on the Delete button.
.png)
Screenshots can be excluded from discovery in a multiple mode by unticking checkboxes in front of their ID and clicking on the Delete selected screenshots button.
.PNG)
Screenshots sequence can be changed in discovery by clicking on the Up or Down buttons.
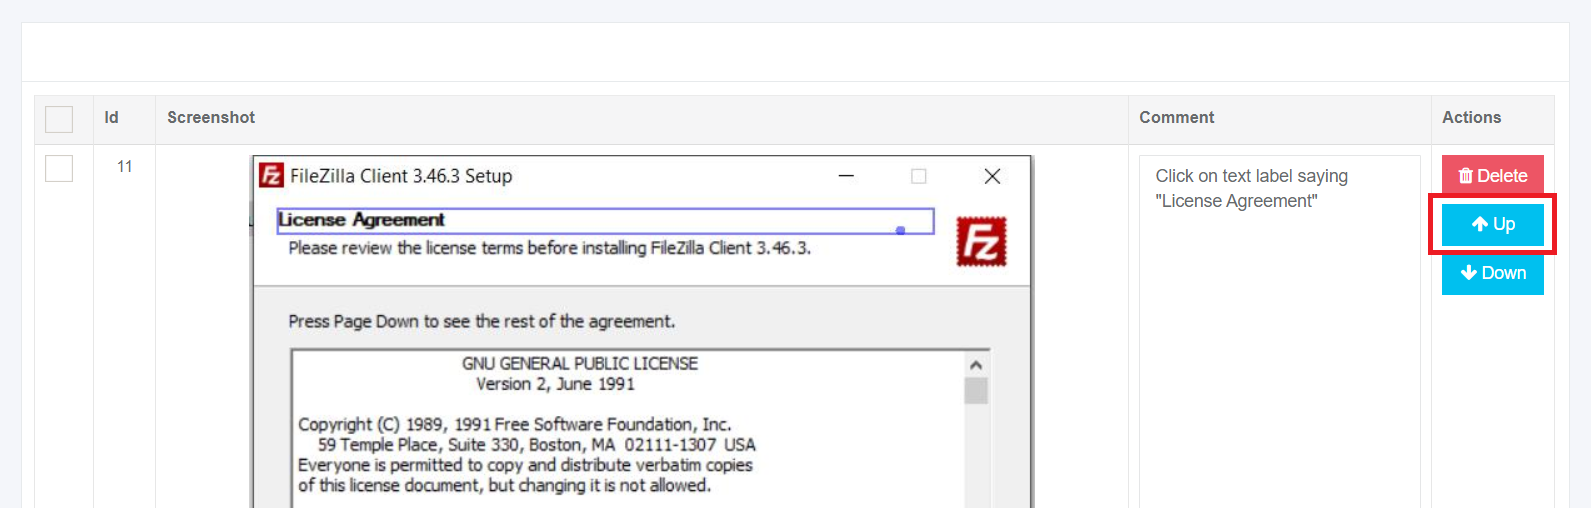
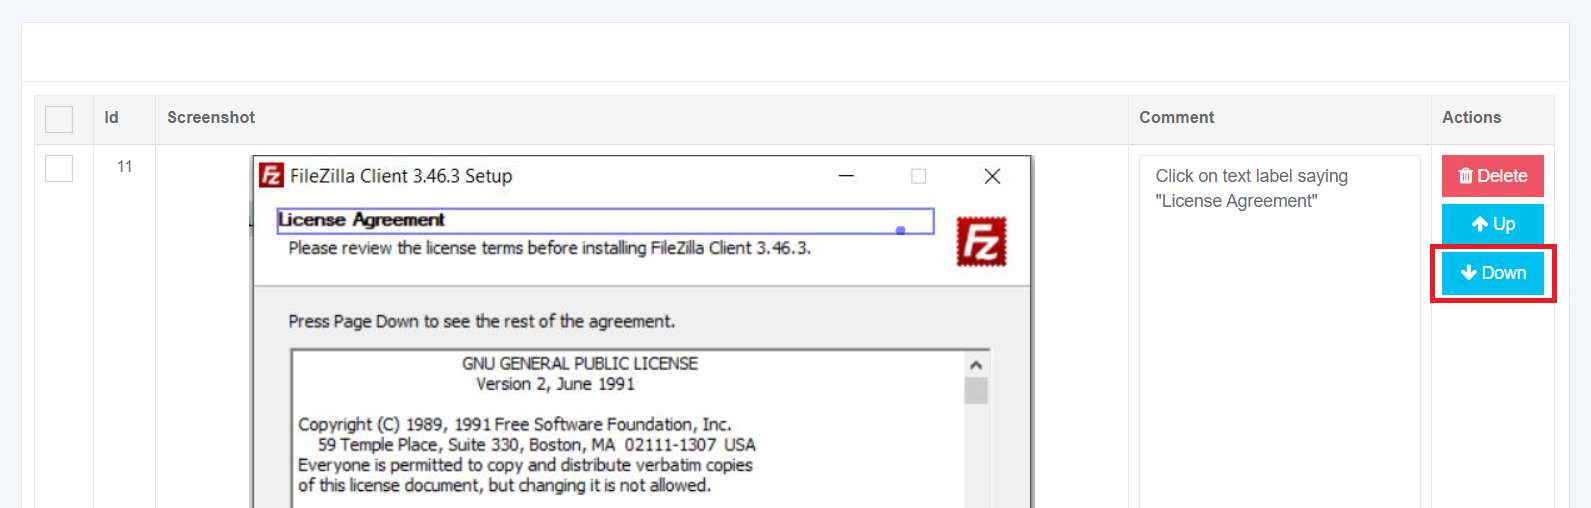
Comments to the screenshots can be edited by clicking on the comment cell.
The field Additional comment (Optional) can stay blank.
Screenshots editing mode finalizes when clicking on the Save changes button.

Apptimized shows the following interface when successful:

The generated document is available in PDF and HTML formats. Download starts when clicking on the Download generated HTML document or Download generated PDF document buttons.
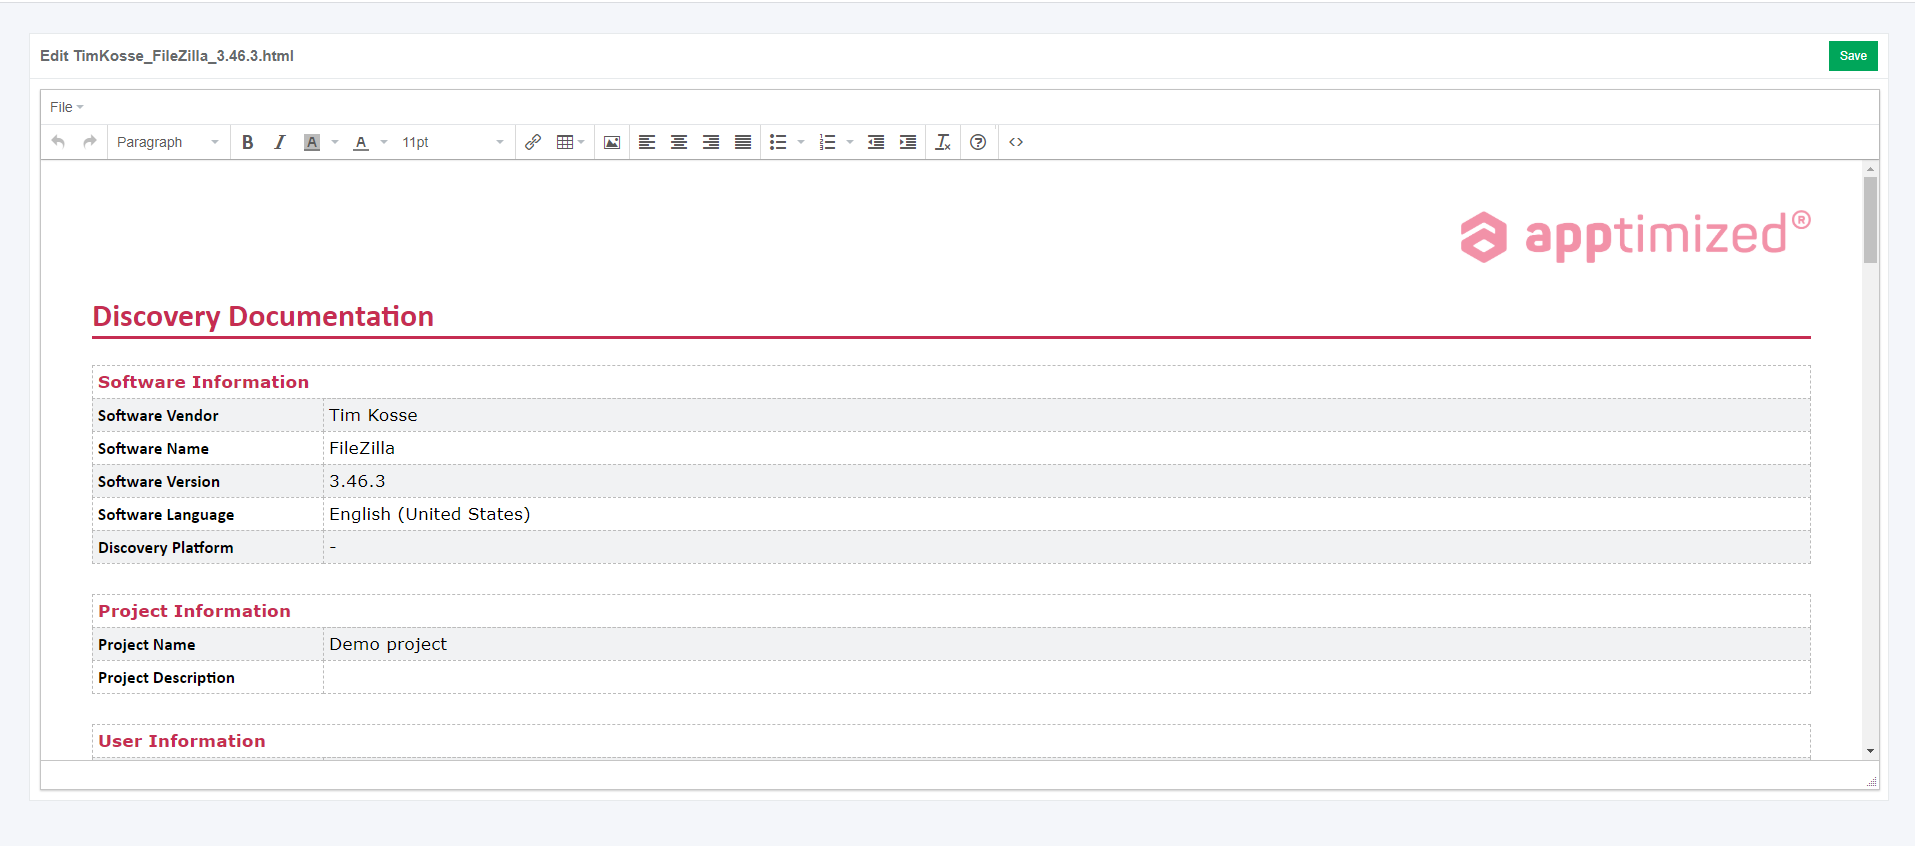
A discovery document can be edited by clicking on the Edit generated document button. The document editing finalizes by clicking on the Save button.
The process reverts to the screenshots editing mode by clicking on the Revert to Discovery - Screenshots button and finalizes by clicking on the Finish button.
Testing via Apptimized TO GO Agent
Before implementing the Testing via Apptimized TO GO the application must be imported to the project.
Using the Testing module, a customer can record a guide to install and configure the application. Also, a testing option can be enabled and the status of the testing can be set.
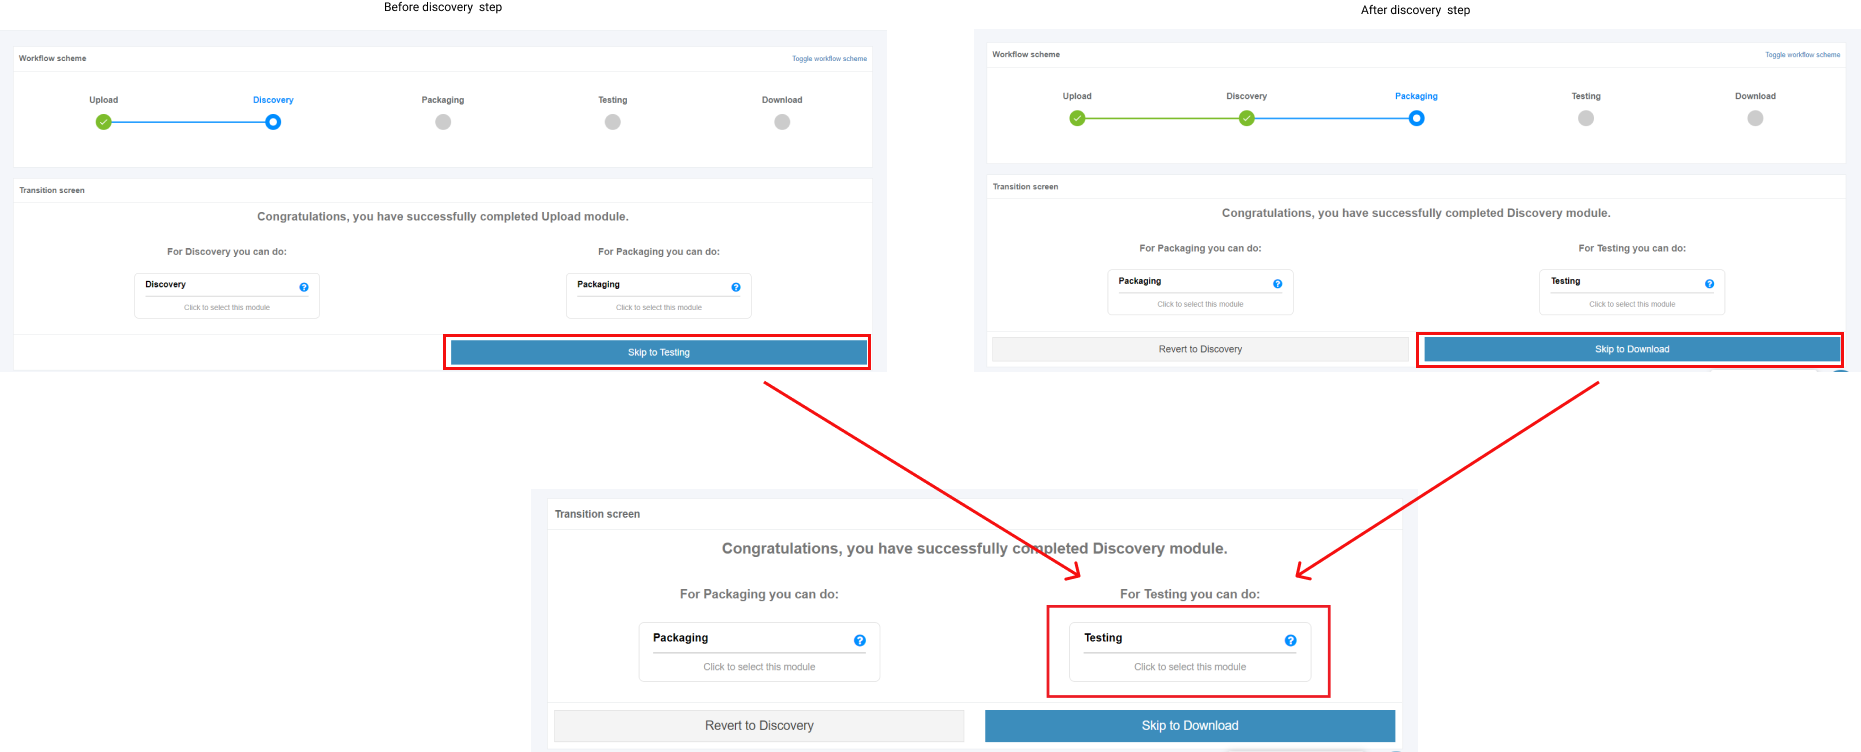
The testing process starts by clicking on the Skip for Testing button (before or after discovery step) and clicking in the Testing module on the Transition screen.
Apptimized shows the following interface when successful:
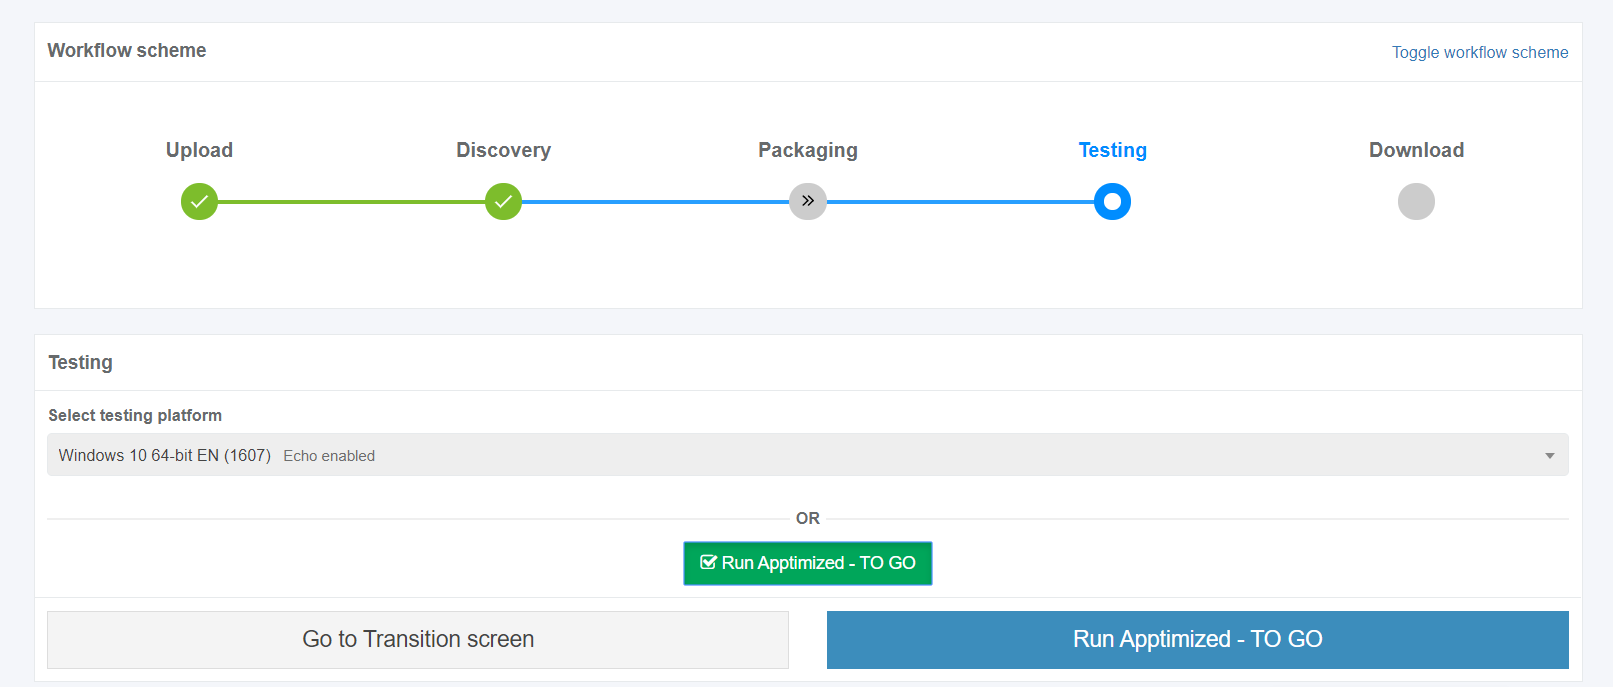
A field "Select discovery platform" is filled automatically and can be changed if needed.
The Apptimized To Go is enabled by ticking the checkbox and clicking on the Run Apptimized - To Go button.
The files synchronizing process may take a while. In case of success, Apptimized shows the following interface:

The instructions to launch Apptimized TO GO agent were provided in the paragraph "Run the Apptimized TO GO agent".
The following interface will appear when recording session with Apptimized TO GO agent finishes:
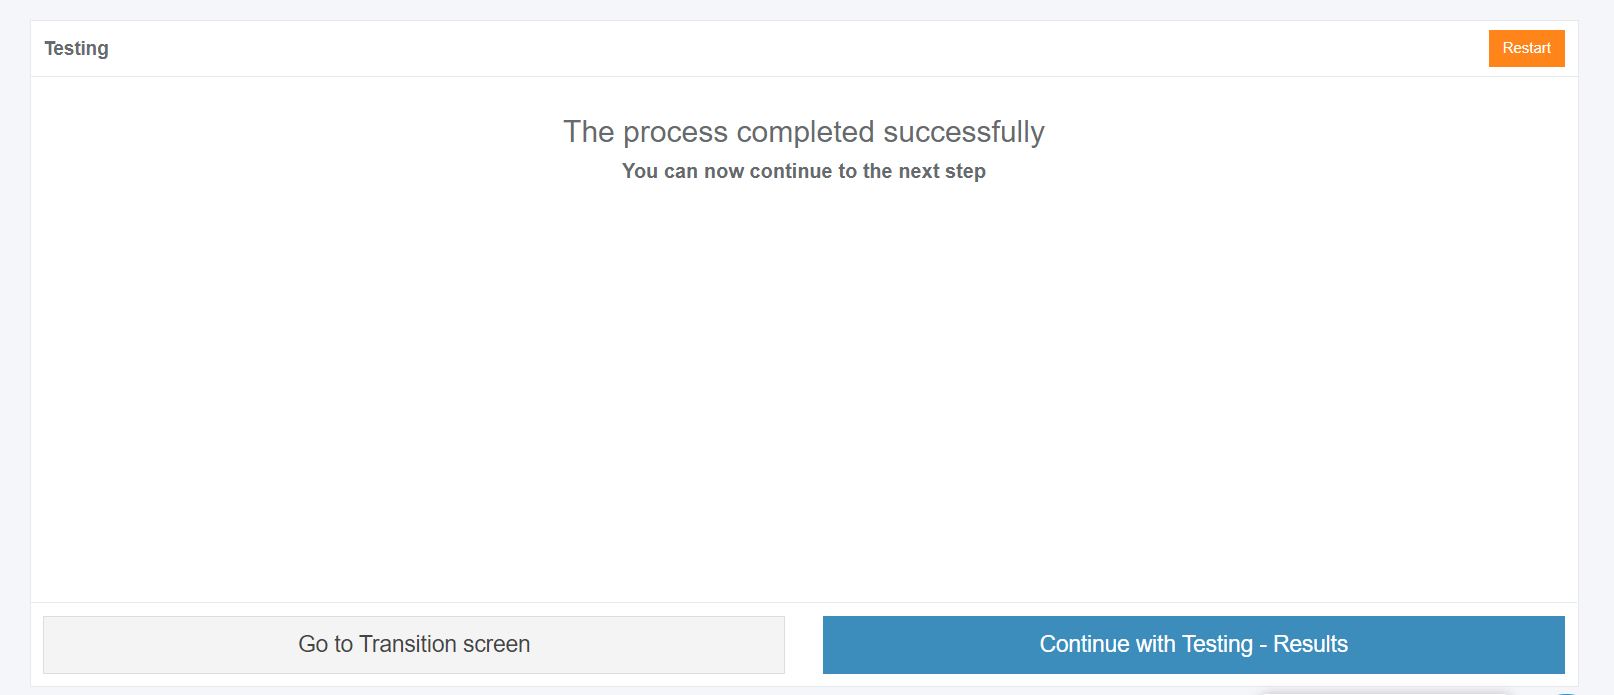
Screenshots editing mode becomes active when clicking on the Continue with Testing - Results button.
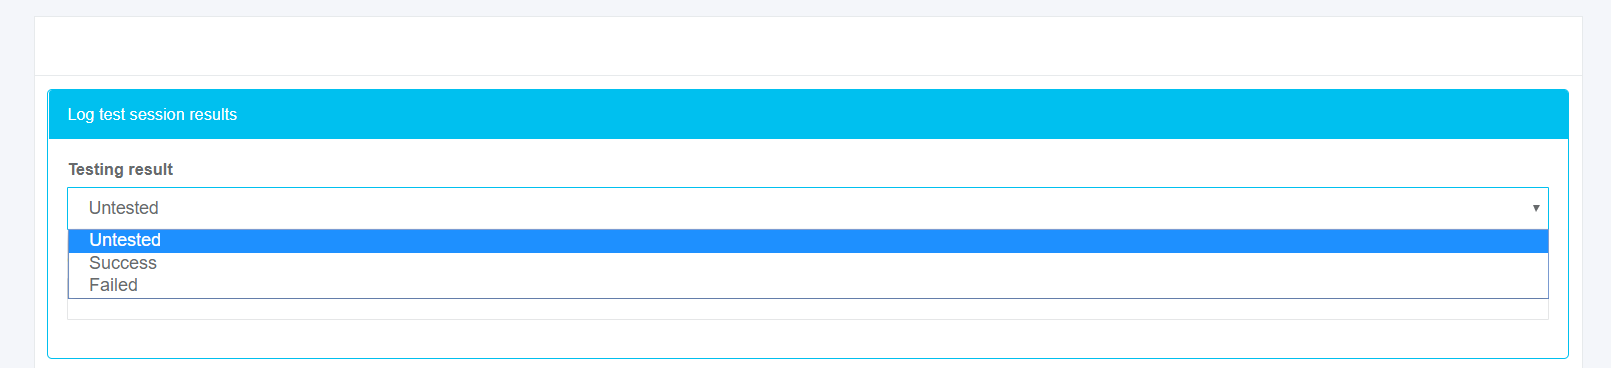
Apptimized shows the following interface when successful:

The following options to log test session results are available:
- Untested;
- Success;
- Failed.
The default value is Untested.
The field Optional comment can stay blank.
Screenshots can be excluded from discovery by clicking on the Delete button.
Screenshots can be excluded from discovery in a multiple mode by unticking checkboxes in front of their ID and clicking on the Delete selected screenshots button.
Screenshots sequence can be changed in discovery by clicking on the Up or Down buttons.
Comments to the screenshots can be edited by clicking on the comment cell.
The field Additional comment (Optional) can stay blank.

Screenshots editing mode finalizes when clicking on the Save changes button.
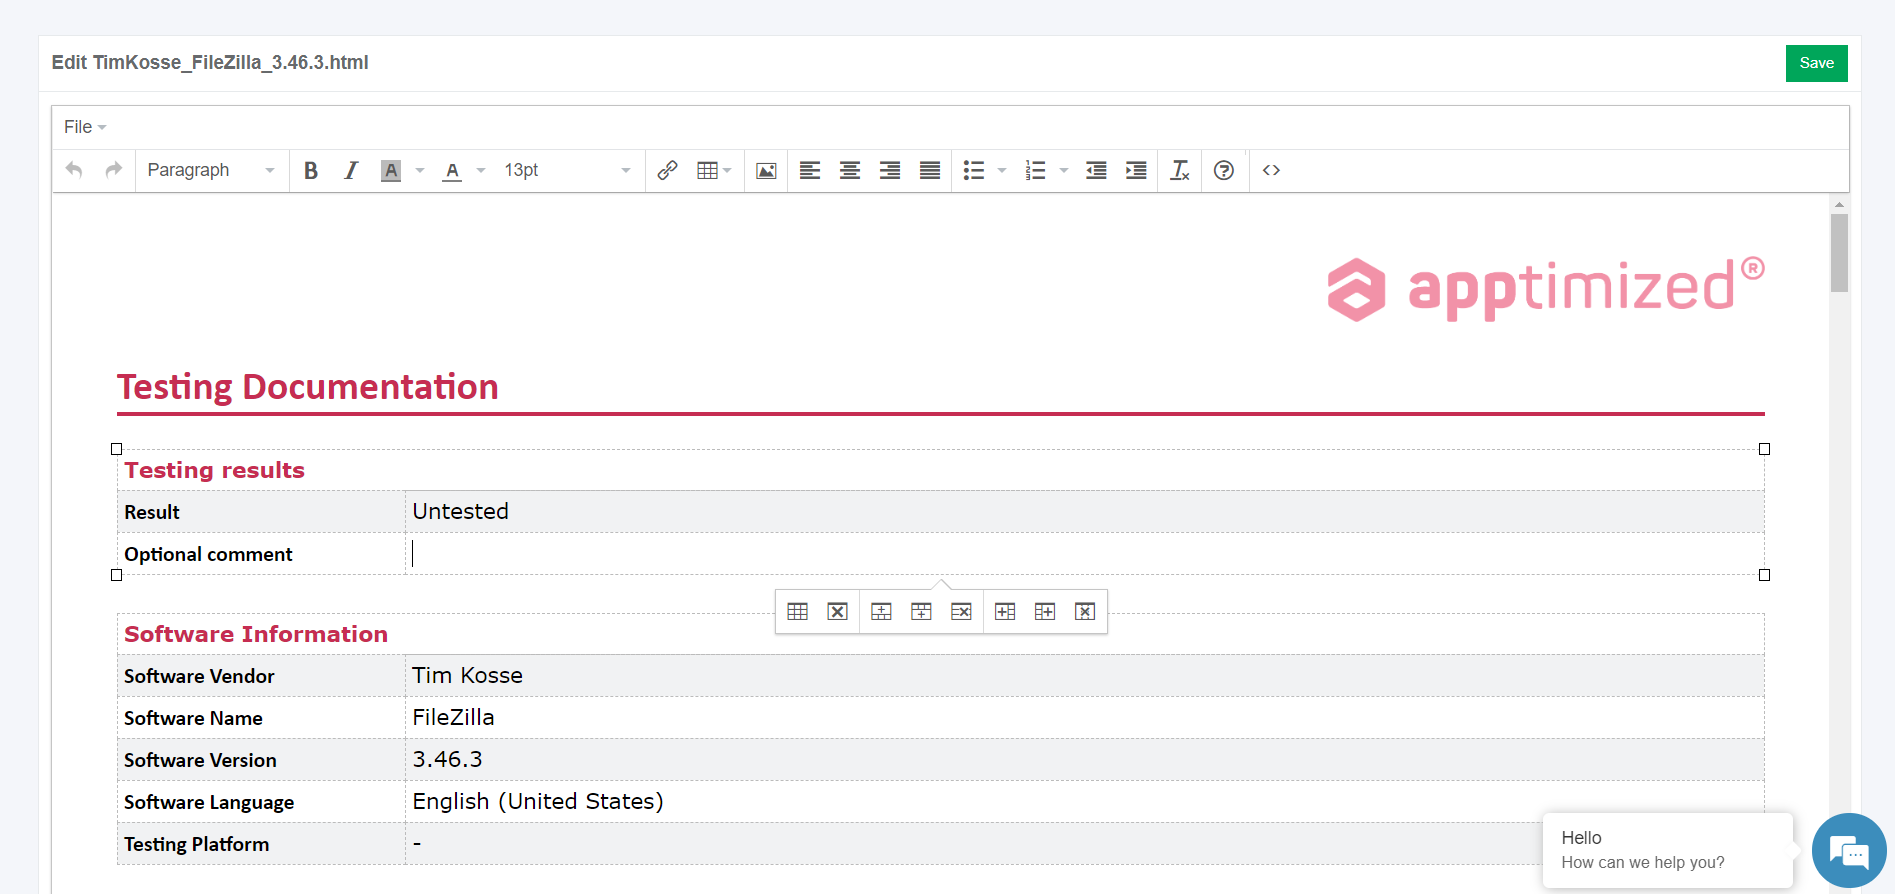
Apptimized shows the following interface when successful:

The generated document is available in PDF and HTML formats. Download starts when clicking on the Download generated HTML document or Download generated PDF document buttons.
A testing document can be edited by clicking on the Edit generated document button. The document editing finalizes by clicking on the Save button.
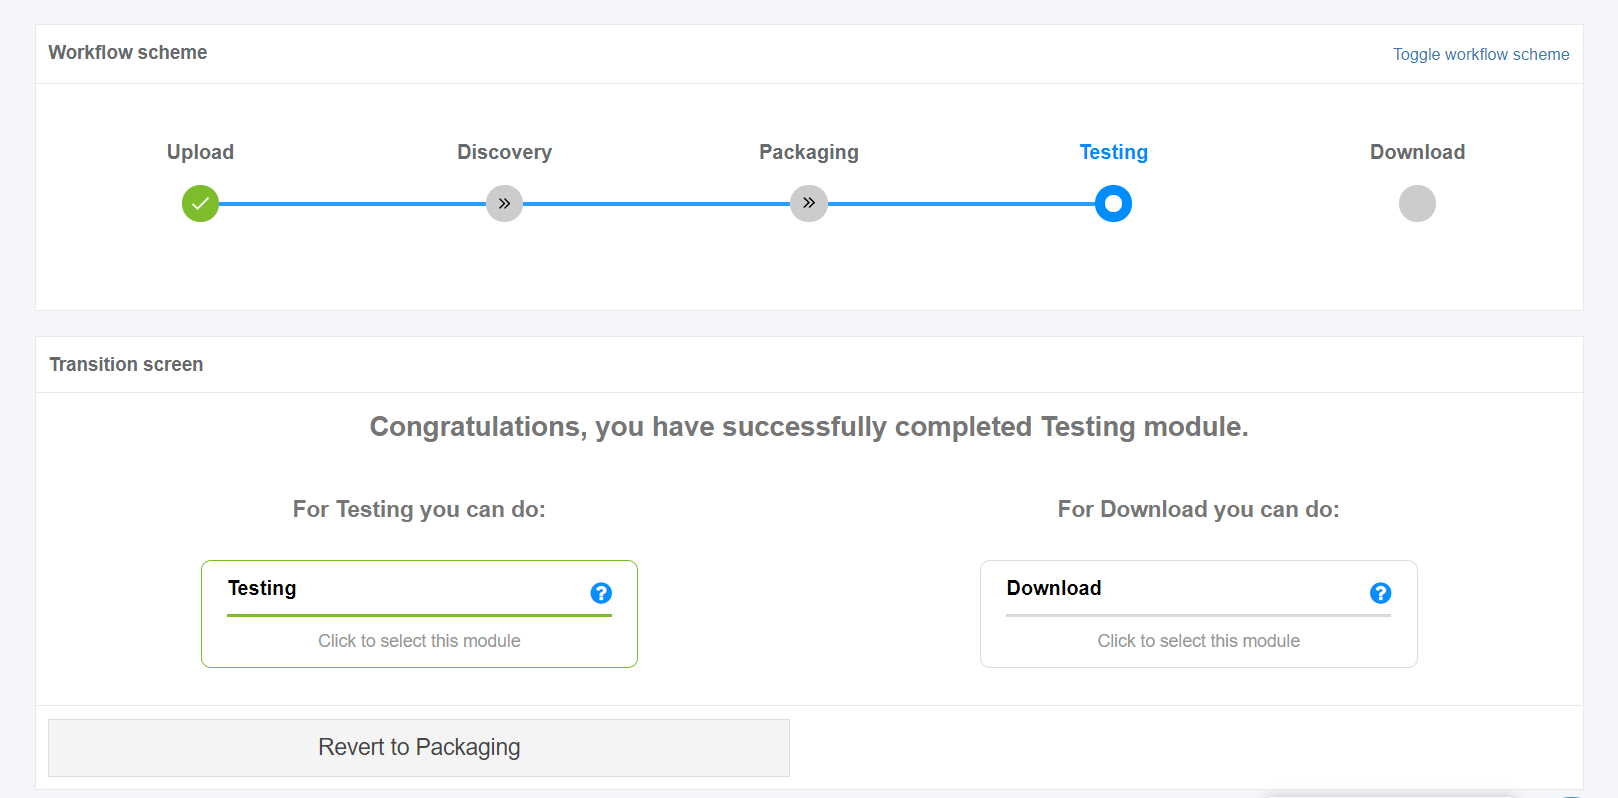
The process reverts to the screenshots editing mode by clicking on the Revert to Testing - Results button and finalizes by clicking on the Finish button.
Download the documentation
The download process starts by clicking on the Download module on the Transition screen:
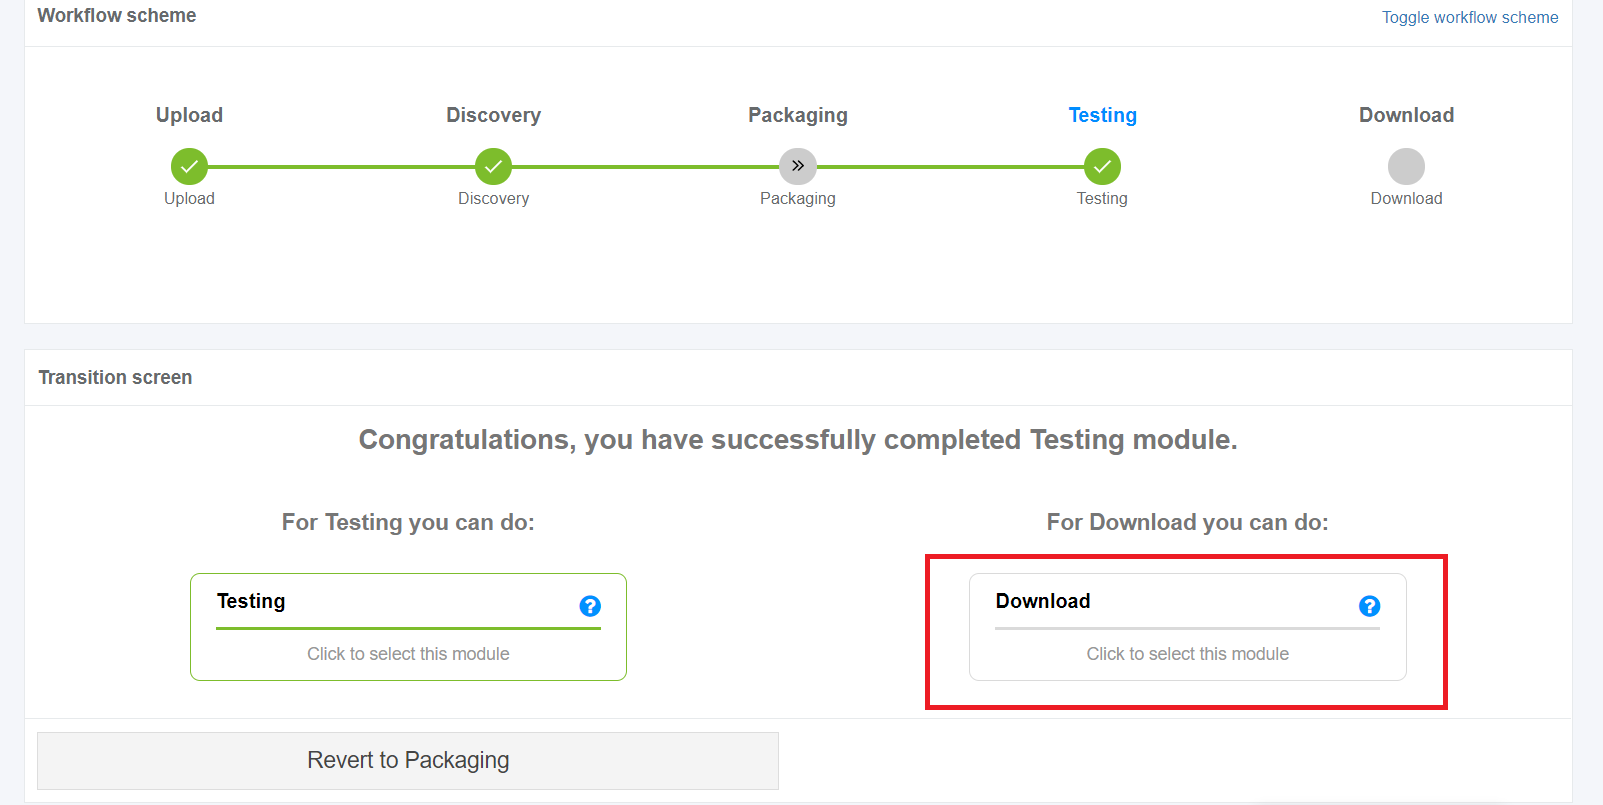
Apptimized shows the following interface when successful:
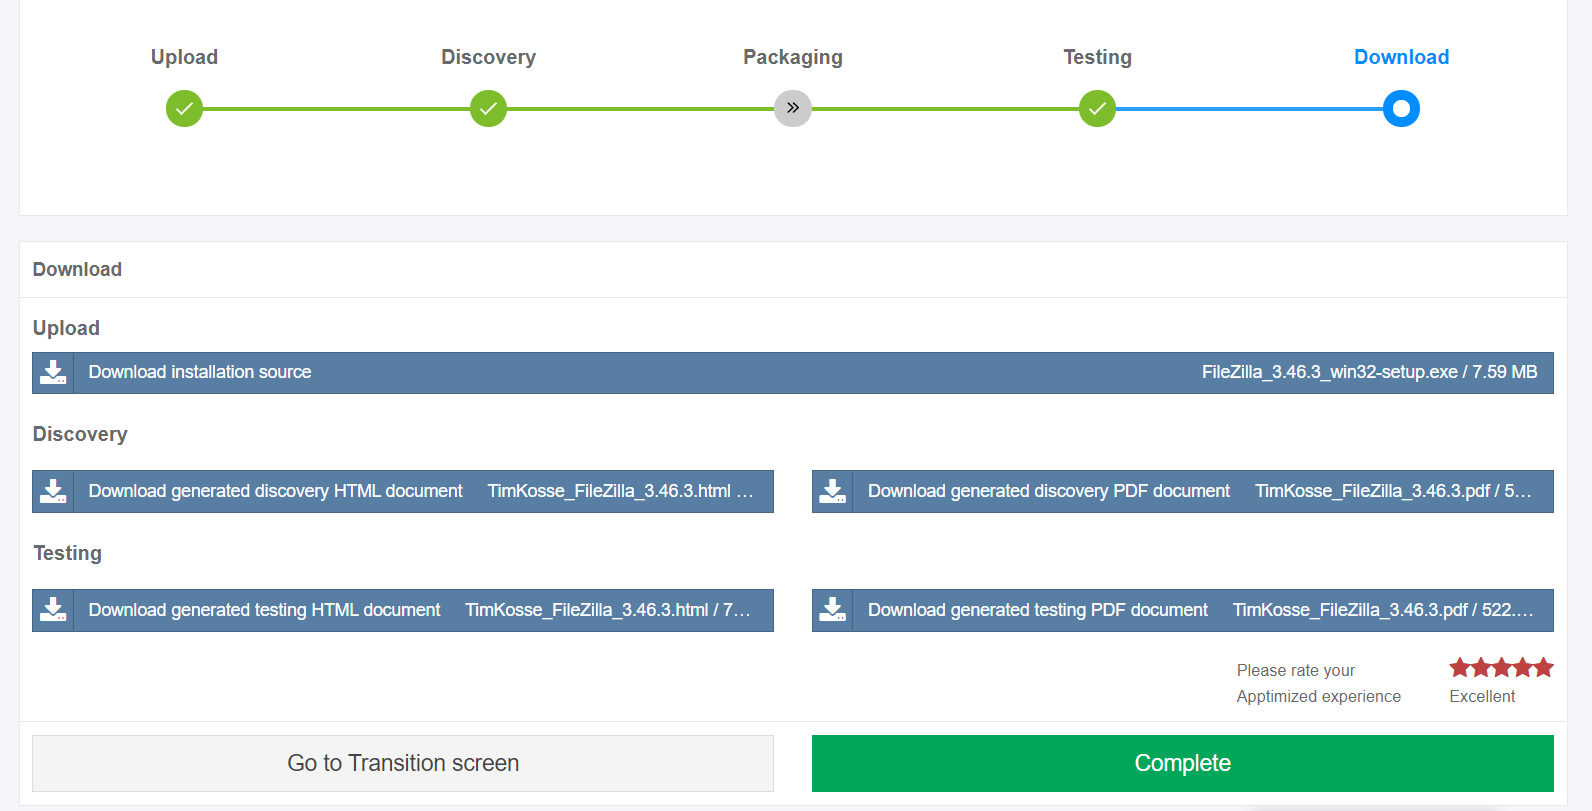
The process reverts to the initial screen by clicking on the Revert to Transition screen button.
The process finalizes by rating the Apptimized experience and clicking on the Complete button.
Apptimized shows the following notification when successful: